
Divi Catalogue Lists Module is a third-party plugin that adds a new module to the Divi Builder to create menu cards and catalog lists. It’s a great choice for building food menus for restaurant websites, lists of services, products, or anything else you can imaging placing within a list.
Images can open in a lightbox, allowing you to navigate through all the images within the list, or take you to a page to see content related to that image. Display the lists as a table, with shadow effects and a different background for each line, add border effects, add space between the fields, and much more. Apply the effects to the list itself as well as the individual items within the lists. You can even add the lists to your Divi library and place them within other modules using the built-in shortcodes.
- Divi Catalogue List Module is available in the EMP store.
In this article we’ll take a look at some of the things Divi Catalogue Lists Module can do. Images in these examples were taken from Unsplash.com.
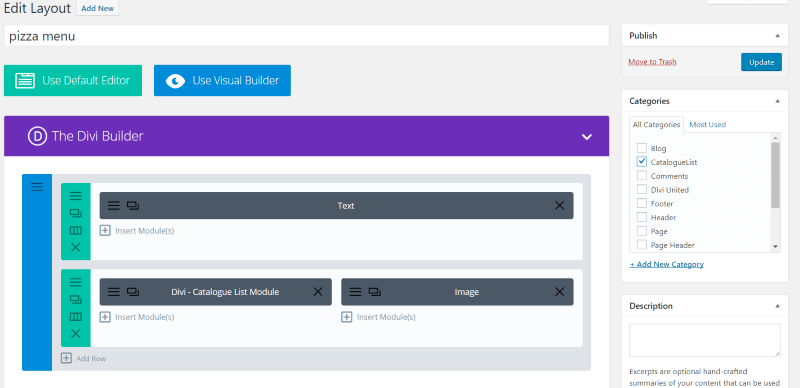
Divi Catalogue List Module in the Divi Builder
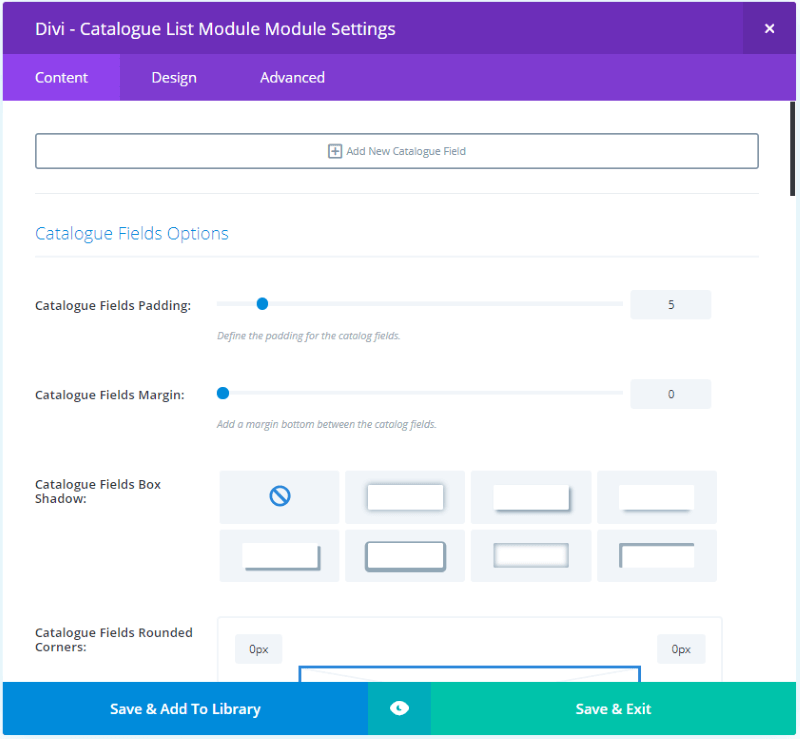
A new module is added to the Divi Builder called Divi Catalogue List Module. Here you can add fields to create the list. Field options include padding, margin, box shadow, rounded corners, border styles, and enable or disable the border bottom. It also includes options for image, currency, link/lightbox, and background. All of the design options for text, sizing, filters, box shadow, animation, etc., are included in the Design tab. The Advanced tab adds custom CSS fields for all of the module’s elements.
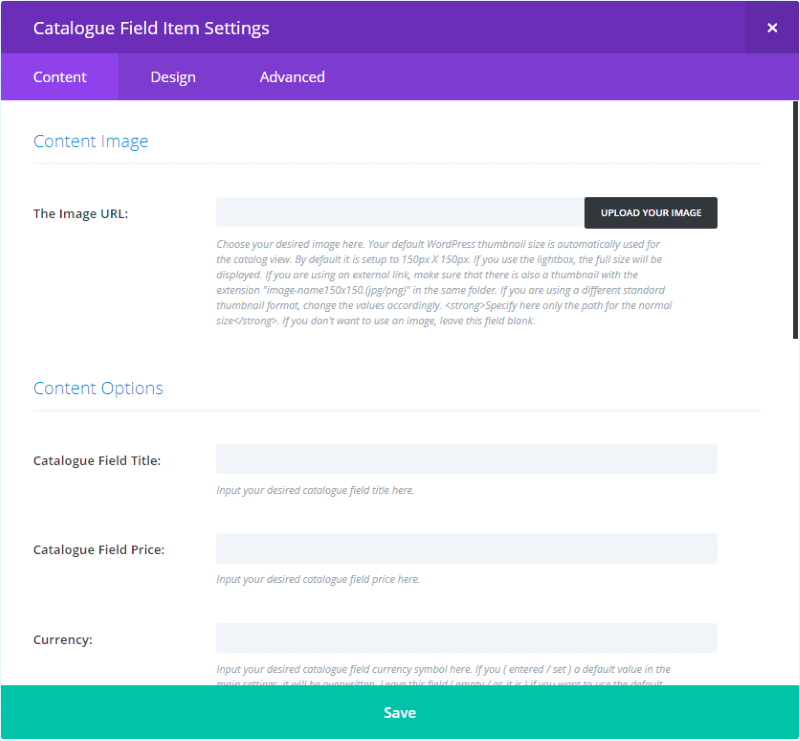
Clicking Add New Catalogue Field within the Content tab opens the field’s settings. Here you can add your image, set the field’s title, price, currency (if it’s different from the parent settings), add a description, the link setting (which is enabled or disabled in the parent settings), adjust the background, adjust colors, fonts, spacing, border, shadow, and filters. The Advanced tab includes CSS fields for all of the elements.
Having settings for both the list and the fields gives you a lot of design options, allowing you to customize fields independently of each other.
Create a Divi Catalogue List Module
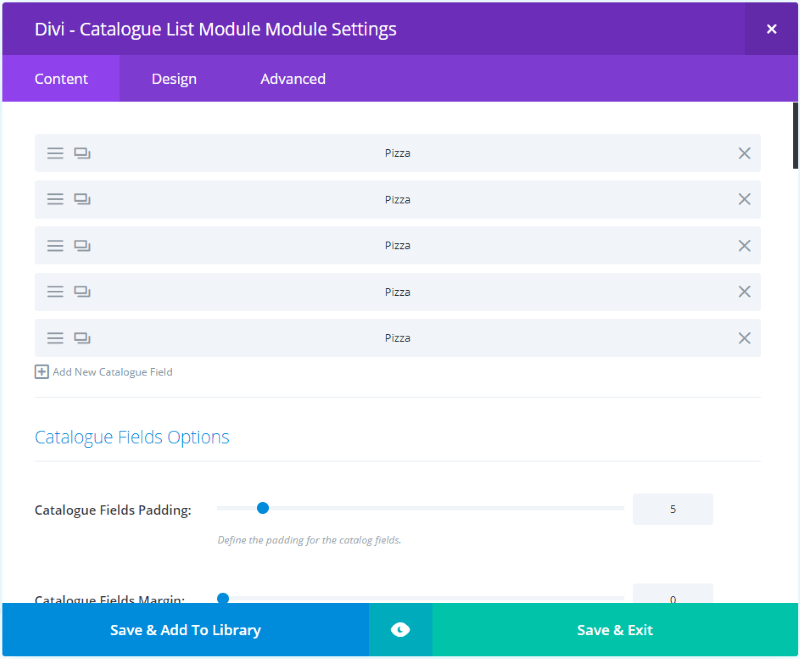
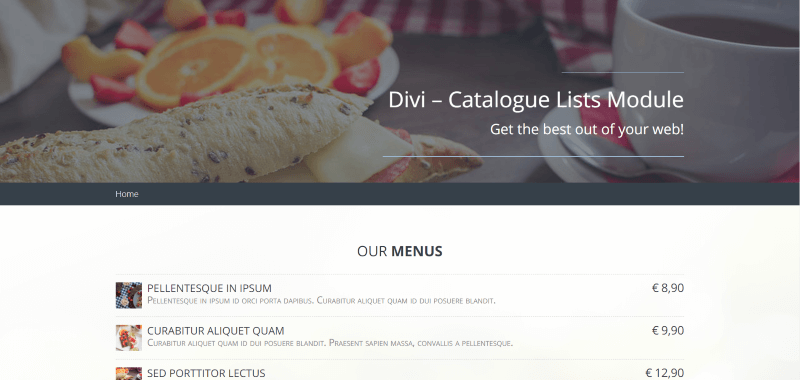
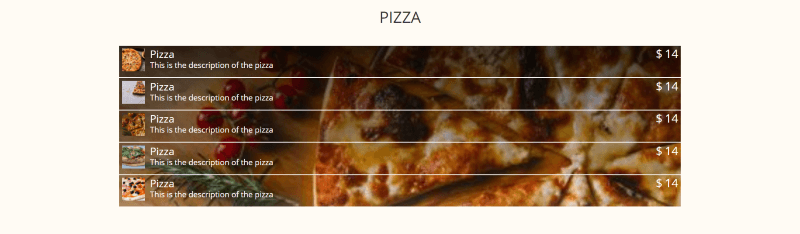
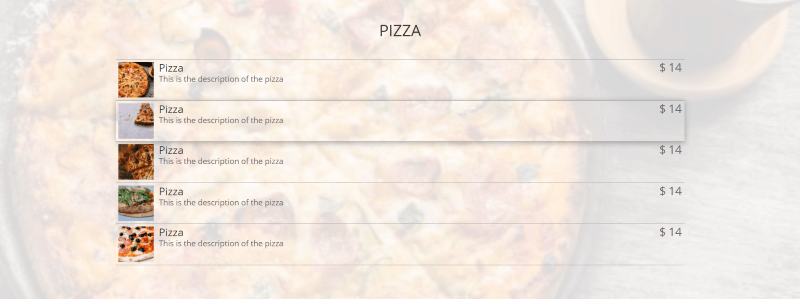
In my first example I’m building a food menu for a pizzeria. I’ve added several fields, each with their own image and generic text. The only thing I’ve changed from the default values is placing the dollar sign in front of the price.
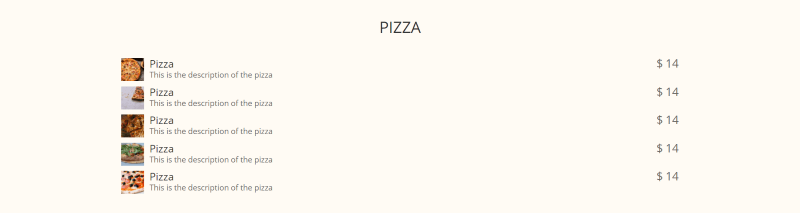
I’ve added a text module to create a title and adjusted the background color of the section to cream. Everything else in this example is the default settings.
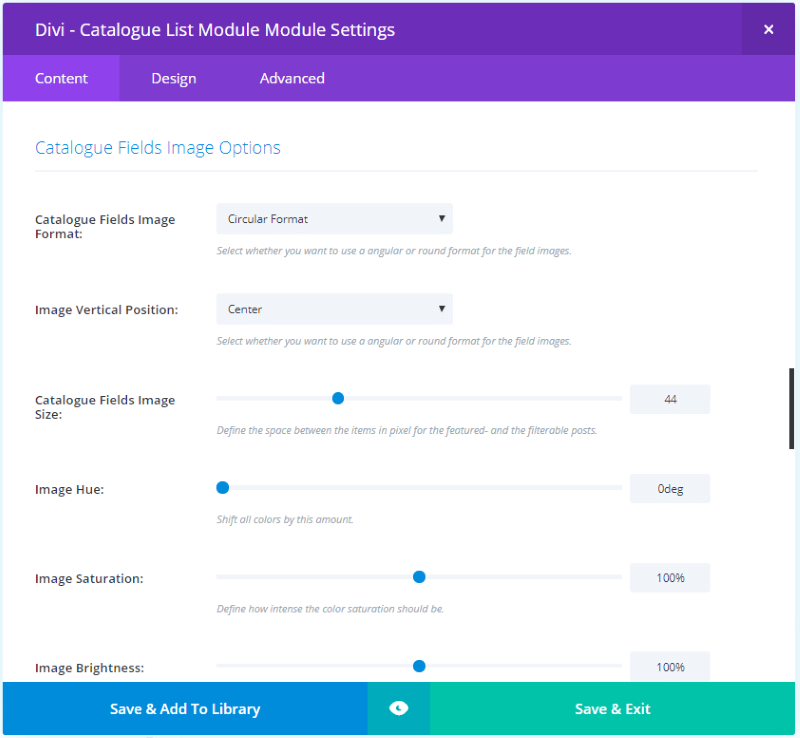
I’ve added a shadow and changed the image format to circular. I set the image vertical position to center, but there isn’t enough text to see the difference in this example. We’ll see it later.
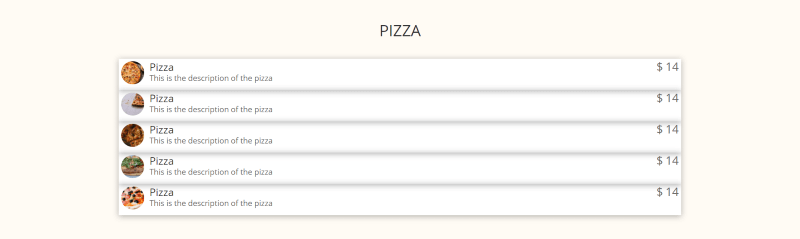
I’ve set the background to white so the menu stands out from the background. Next, I’ll play around with the shadow and border effects and text.
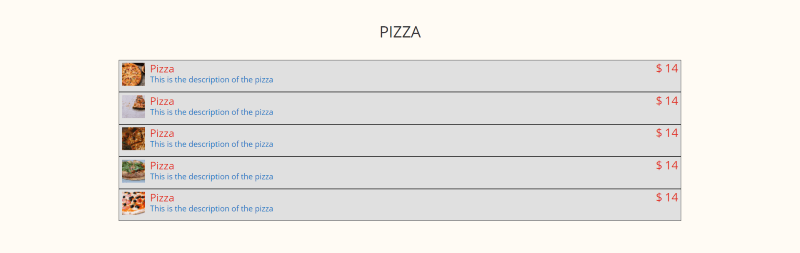
I removed the shadow effect and added a border with 1 pixel. I removed the bottom border so it doesn’t combine with the top border and create a thicker border than I want. I’ve changed the images back to angular. I also changed the font colors and background of the fields.
Here I’ve added a background image with a gradient overlay and made the text and border white so it’s readable over the background image.
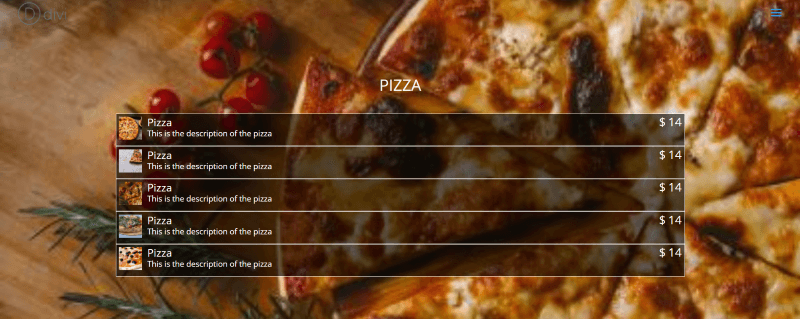
For this one I moved the background image to the section and placed a dark background behind the list with enough opacity to allow the image to come through.
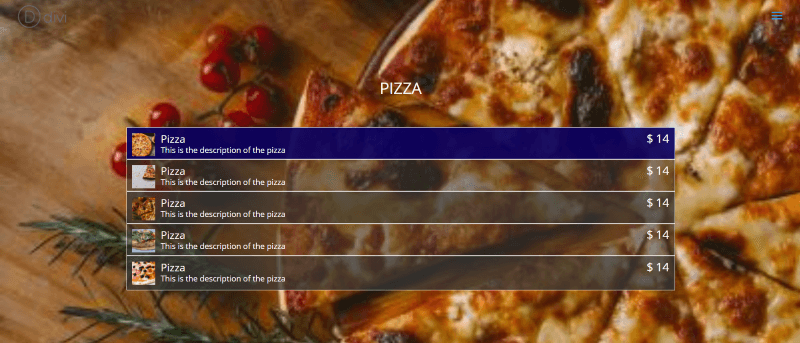
In this one I’ve added a different background to each field. The even numbered fields have more opacity, creating a lighter background and allowing more of the background image to show through. My mouse is hovering over the top field, which is using a hover background.
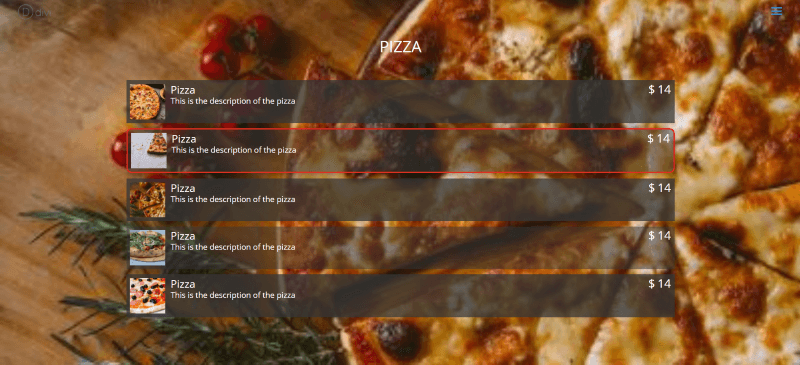
For this one I’ve increased the field’s margin, increased the image size, and added a border to one field so it will stand out from the rest. I’ve rounded the border’s corners just a little.
In this one I’ve lightened the background overlay and changed the text to dark. I’ve added a shadow to the one I wanted to stand apart from the others and added a border to the bottom of each field. The top field also includes a top border.
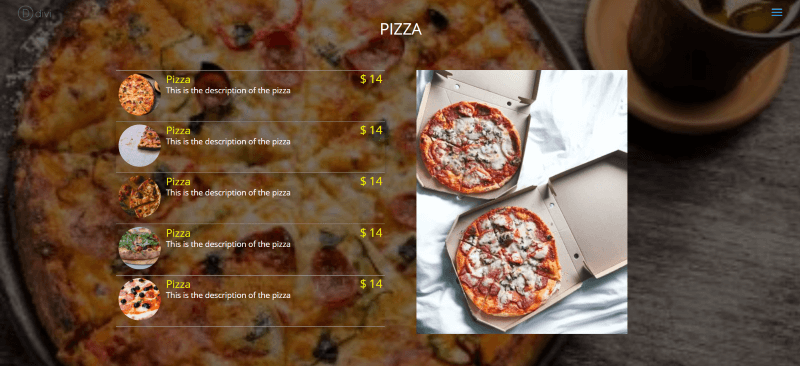
In this example I’ve changed the background back to dark, made the title and price text yellow, the description text white, increased the size of the images, and added an image to one side- creating a two-column layout.
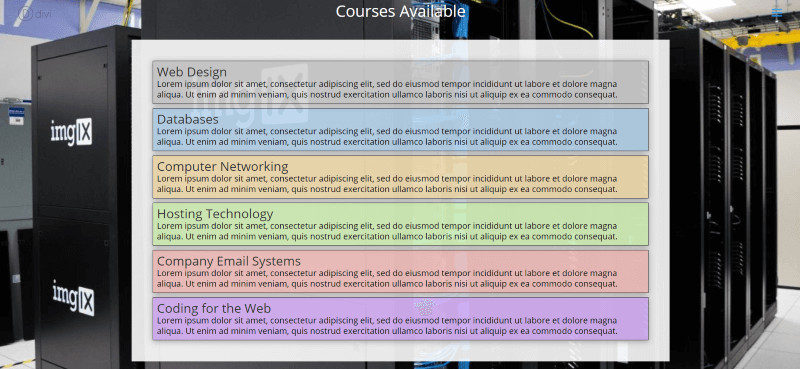
Of course you don’t have even use images. In this example I’ve created a set of course descriptions for a school. I’ve increased font size for all of the text, made the text black, and added a different background color to each field. I’ve added padding, increased the margin so each field stands apart from the others, and added a shadow effect. It has a background color to create a transparent background overlay over the section’s background.
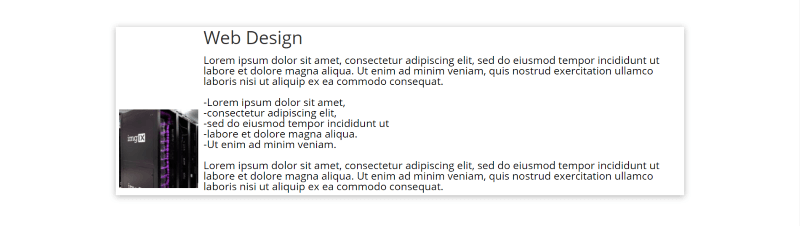
This one uses a single field to create a card design. I’ve increased the image to the maximum amount, placed the image at the bottom, added saturation, and shifted the hue to the purple (the original image was blue).
Using Divi Catalogue List Modules within Tabs and Text Modules
You can use the lists within other modules using a shortcode. Create your lists as layouts and save them to the library. A category called CatalogueList is automatically installed when you install the plugin. When you create your layouts, select the CatalogueList category.
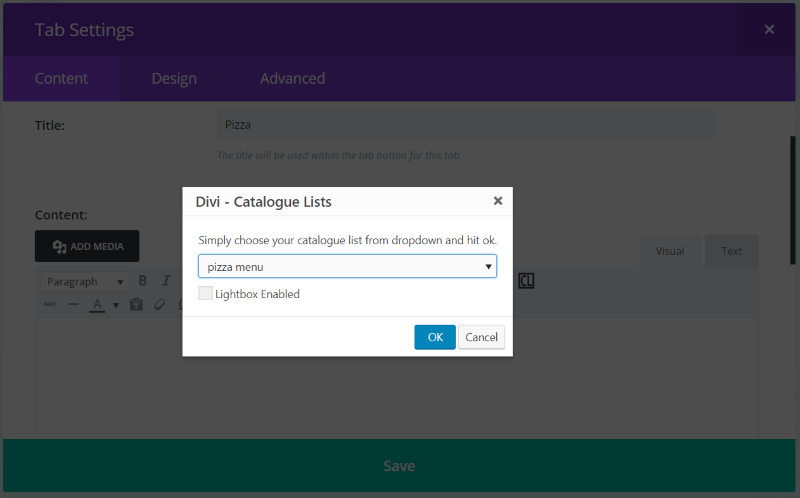
I’m going to add all of the food menu items to a tab module with each food category having its own tab. Within a Tab module, click to create a tab. Within the content editor you’ll find a symbol to indicate a Catalogue List dropdown box. Select this box and choose your layout from the list. The shortcode for that list is added to the content area. The tab will now display the layout that you created with the CatalogueList category. You can add as many shortcodes as you want to the content area.
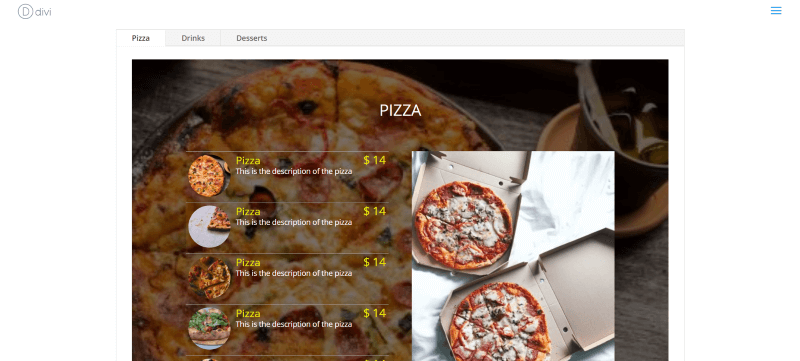
My layout now appears in the tab. Now, visitors to the website can tab through the menu items and see only the items they’re interested in.
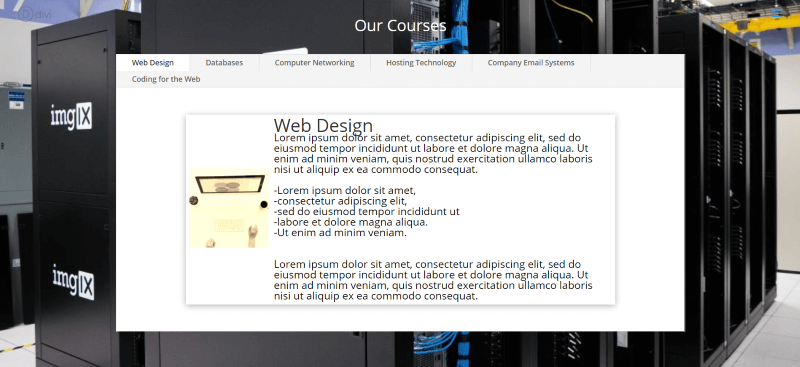
Here’s the course description that I created earlier. I’ve placed each course description within its own tab and added a background behind the tab module. I’m using a sepia filter over the image. The image is displaying at the maximum (150) and is centered. I’ve increased all the font sizes and removed the border for the field itself. Each tab is now displaying an individual module. Each module has a border effect. It didn’t keep my text formatting but I fixed it (mostly) with HTML.
Using Divi Catalogue List Module with Extra

Divi Catalogue List Module works great with Extra as well as Divi. My design needs a few tweaks, but that’s to be expected when you go to a different type of layout. I haven’t made any adjustments in this example.
Divi Catalogue List Module License, Documentation, and Purchase Info
The license is unlimited, meaning you can install this plugin on unlimited websites that you build for yourself and for your clients.
Documentation is provided at the developer’s website. It includes a tutorial in both text and video, and a demo.
- Divi Catalogue List Module is available in the EMP store.
Ending Thoughts
Divi Catalogue List Module is simple and intuitive. Even though there are a lot of settings, I had no problems working my way through them. It doesn’t take long to get a design that works well within your layout. I like that you can tweak each field independently.
It’s great for building food menus, portfolio links, lists for services or products, and for placing listed items within other modules. If you’re interested in creating lists with a module, Divi Catalogue List Module is worth a look.
We want to hear from you. Have you tried Divi Catalogue List Module? Let us know about your experience in the comments below.


Well that’s a nice copy of the new Elementor price list widget that was released last week.
Thank you for your detailed review Randy. Glad you like it 🙂
Thanks Bruno!