
Easiest Guide on Backing Up A WordPress Website
Step-by-Step Guide on Backing Up A WordPress Website
When you run a business, there are hundreds of things to do – managing your WordPress site is just one of them. Mastering WordPress backups is of the utmost importance, but for many, it tends to take a backseat. Unfortunately, websites get hacked, servers may crash, or worse, your host may lose all your data. In such unforeseen situations, you can rely on your backup to get your website up and running within minutes.
There is more than one way of taking backups. You can do it manually, use a plugin or web host services.
Taking manual backups involves exporting files and database to your local system (i.e. computer) and then uploading them to cloud services like Dropbox and GDrive. Imagine having to do this for a dozen of websites. It’s a tedious process and not the best way to spend your time.
Web hosts offer backup services and they seem like a convenient option but the quality of backups are not up to mark. Some web hosts have size limits, others store only a single copy of backup overwriting the previous backup. Customers can’t go back and select a backup of their choice. On top of all this, hosting companies store backups on the website server. This is not ideal because when something goes wrong with the server, chances are you’ll lose the backup too.
As for WordPress backup plugins, the market is swarming with them which makes choosing one a prolonged process. It’s no wonder why many website owners end up without any backups or with bad backup services. Lucky for you, we have a list of things you should consider when choosing a backup plugin.
How to choose a good backup plugin?
- Complete website backup
- Incremental backups
- Off-site off-host backup storage
- Multiple encrypted backups
- Completely independent dashboard
- Real-time backups
- Reliable backup recovery
- Responsive customer support
- Complete website backup
A WordPress website comprises files and a database. Your backup should include both these elements. Ensure that the plugin you choose is capable of taking a full backup that copies the files and database.
- Off-host backup storage
The storage location of backups plays an important role. The whole point of taking backups is so that you have a copy of your website and can use it when needed. But if the backups are stored on your host’s server, if the server goes down, then you won’t be able to access your website nor your backup. So you need to store your backups independent of your hosting server.
- Completely independent dashboard
Your backups should be stored on the backup plugin’s own server independent of the main site. Users should be able to access them via an independent dashboard. If you are locked out of your website, you’ll still have access to the backups.
- Multiple encrypted backups
If you store your backups in place what’ll happen when you can’t access your storage system? Having multiple backups stored in various places ensures that you can access your backups even when one storage system fails.
- Incremental backups
Taking incremental backups is a process of breaking up an entire website into small chunks and then backing them. It helps in backing up the site faster. And it’s also an efficient way of backing large websites.
- Real-time backups
Real-time backups are important for online stores where every second an order is being placed. Frequent backups make sure that you don’t lose a single order.
- Reliable backup recovery
The main reason to take backup is to be able to restore it when the need arises. But you’d be surprised to learn that many backup plugins don’t have a good restoration process in place. The plugin that you choose should have a reliable recovery process.
- Responsive customer support
One of the main benefits of using a commercial plugin is to have an agile support system to help you out whenever you face any issue.
We are hoping that choosing a backup plugin is less daunting now. An alternative is you seek out backup plugin comparisons available online. Here’s a good one.
Having decided which plugin you want to use, go ahead and start taking backups.
In this article, we’ll show you how to take backups using a very popular WordPress backup plugin called BlogVault. Apart from the popularity, the plugins meet all the criteria listed above for a good backup plugin.
How to backup a website using BlogVault?
Step 1: Create an account with BlogVault.
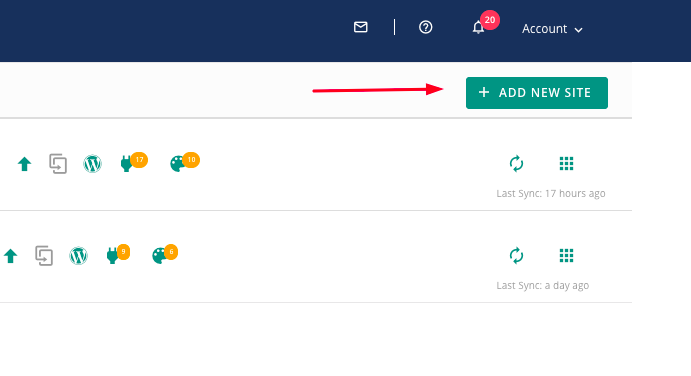
Step 2: Add your website to the dashboard by selecting the Add New Site option.
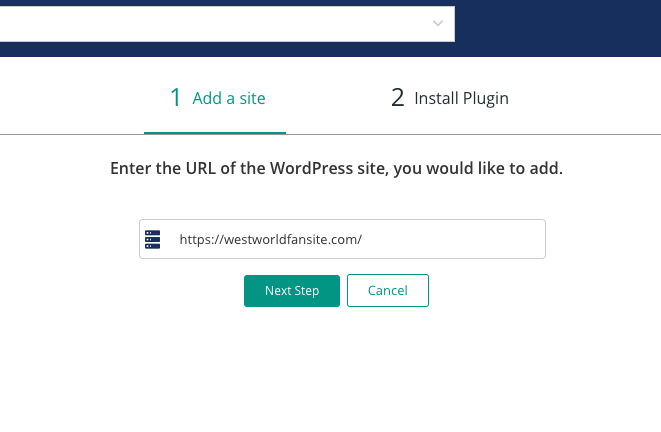
Step 3: Then insert the URL of your website and click on Next Step.
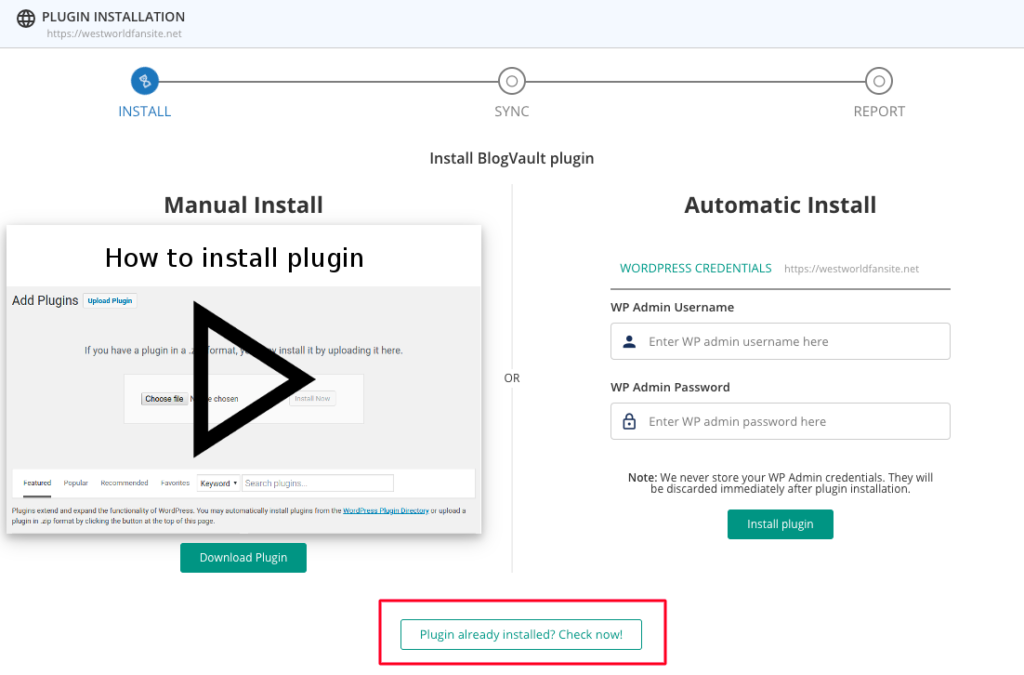
Step 4: In the following step, you’ll need to add the BlogVault Plugin to your website. You can do it manually or automate the process.
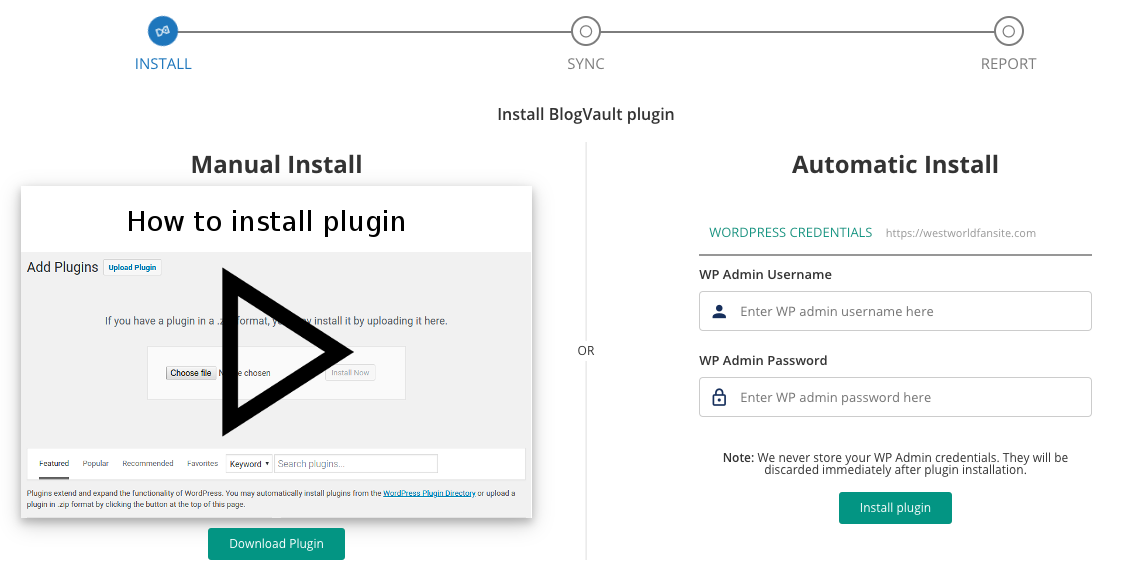
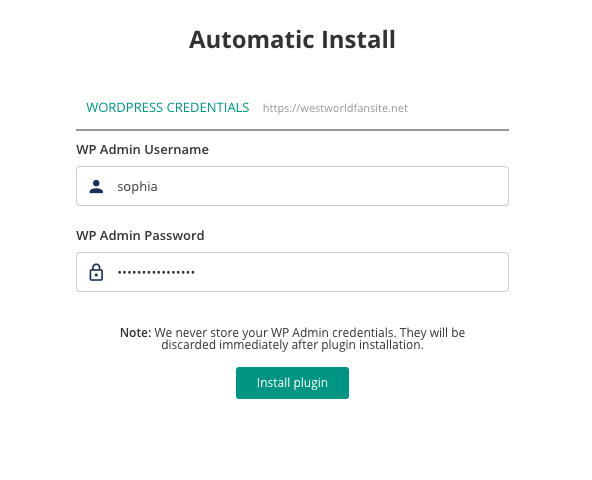
Auto install
Enter your site credentials and select Install plugin. The BlogVault plugin will be installed on your site automatically and the backup process will begin.
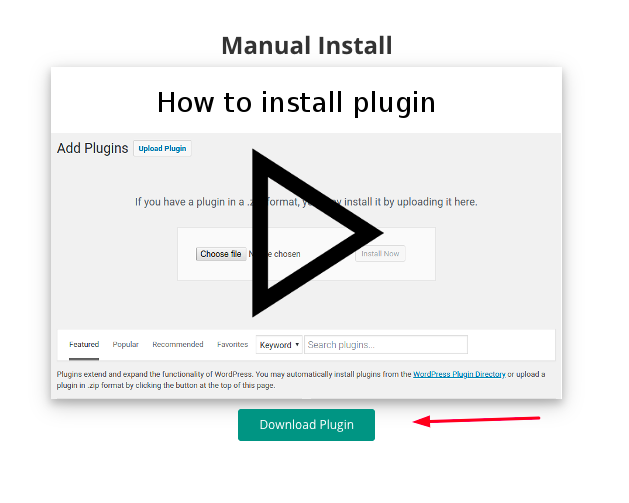
Manual install
To install it manually, you need to take the following steps:
i) Download the BlogVault plugin from the dashboard.
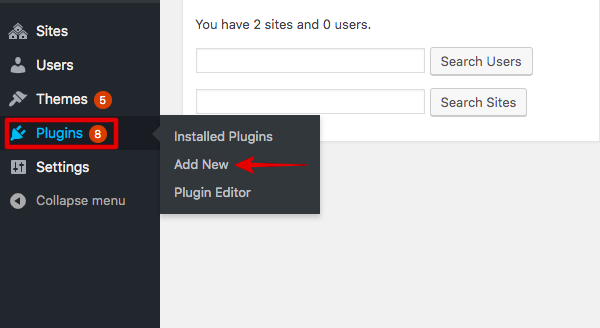
ii) Log into your website and navigate to Plugins > Add New.
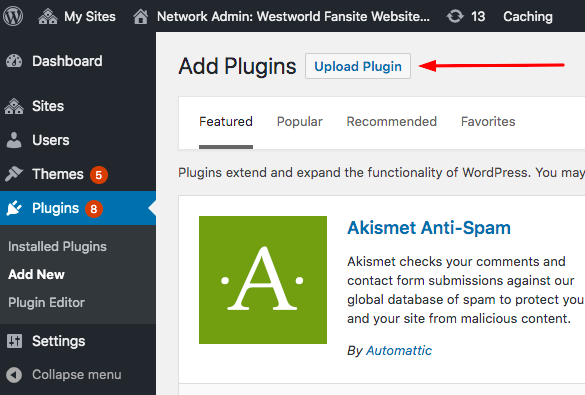
Step 4: Upload the plugin by selecting Upload Plugin and then choose Install Now and then activate. The BlogVault plugin will be installed on your site.
Step 5: Now return to the BlogVault dashboard and select Plugin Already Installed? Check Now! BlogVault detects the plugin on the site and proceeds to take the first backup.
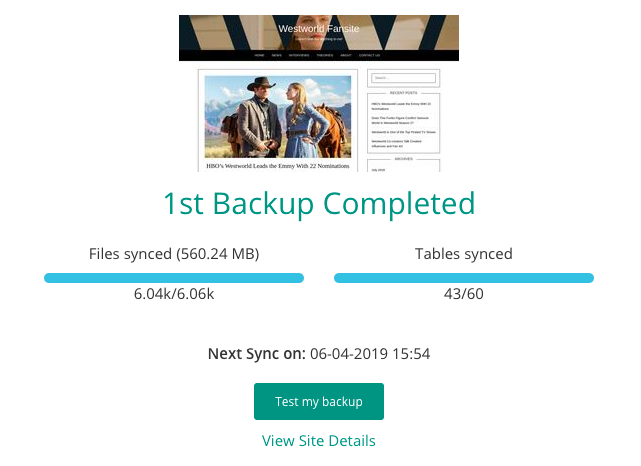
BlogVault will backup all your files and the database and store them on its own server. The first backup takes a while. Once complete, you’ll be notified on the dashboard.
Conclusion
Backing up a website should never be an after-thought. Since there are so many things that can go wrong with a website, it’s a safe practice to keep a backup stored safely! You never know when you’ll need it. More often than not, it always comes in handy!


