
Page Builder Cloud is a tool for designers to save time. Create your layouts and save them to the cloud to use over and over again on any website you want. Place them in categories that make sense to you. Even your team from across the globe can have access to all of the layouts. It’s compatible with all of the major builders and plugins for forms, grids, and custom fields. Let’s take a look at Page Builder Cloud and see what it can do.
Page Builder Cloud Settings
Here’s a look at the settings screen. It’s in the dashboard menu under P. Builder Cloud > Settings.
API Key
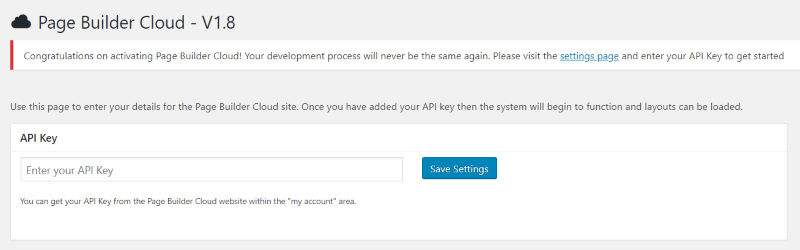
As soon as you upload and activate the plugin, you’ll need to go here to input the key. Your plugin will not work without the API key, so you’ll need to do this first.
Active Builders
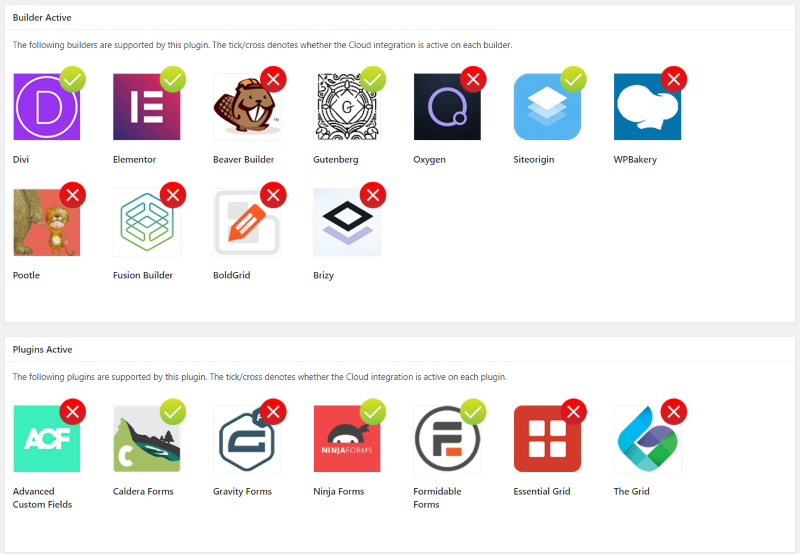
The Settings page lists the builders and plugins that are compatible with Page Builder Cloud. Those you have installed are marked with a green check while those that are not installed have a red X. Some require the pro edition in order to access layouts. This provides a quick visual reference to what you have installed that’s compatible with Page Builder Cloud. You can store and access layouts for all of them.
White Labeling
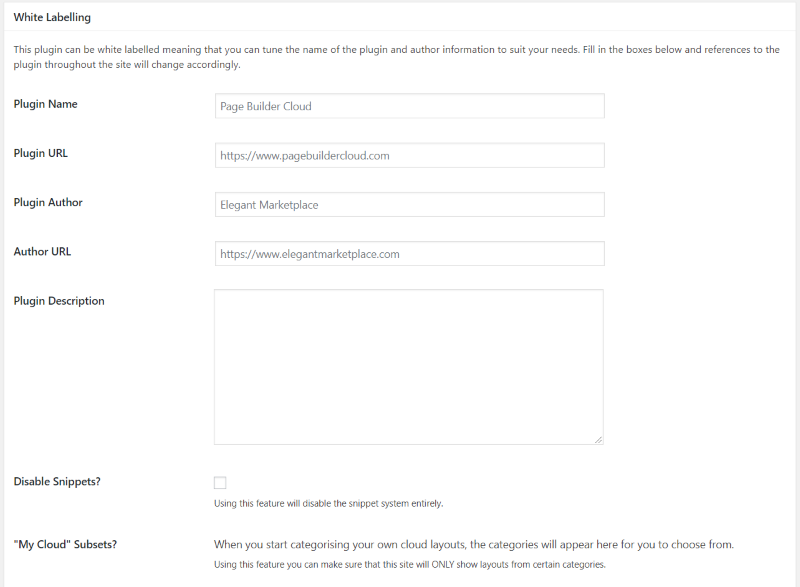
The Settings page includes a white labeling feature. Here, you can add your own branding for the name, URLs, author, and description. You can disable the snippet subset. If you categorize your own subsets they’ll appear here.
Adding Layouts to the Cloud
Page Builder Cloud does not come with layouts. You have to add them yourself. You can get them from any source including those built into the builders (which is great for saving your own modifications of them), from other packages, or you can create your own. They just need to be saved into the library or within pages or posts. Here’s a look at how layouts are saved to the Page Builder Cloud using the various builders and plugins.
Layout Library
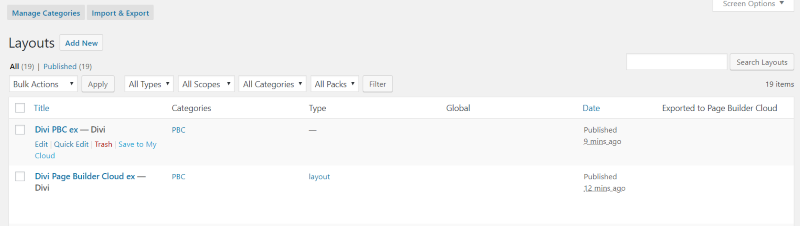
Create a layout and save to your library. In this case, I’ve created a few layouts in Divi. Go to the library and highlight the title of the layout. It will show the list of options. Select Save To My Cloud. It will tell you that it’s uploading. Wait for it to finish.
Here’s an example of the Elementor library. It works the same as Divi – highlight the layout, and click Save To My Cloud. Once it completes it will show that it’s saved in your cloud.
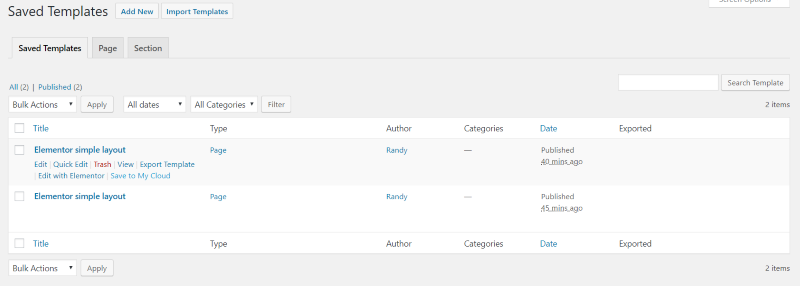
Pages and Posts
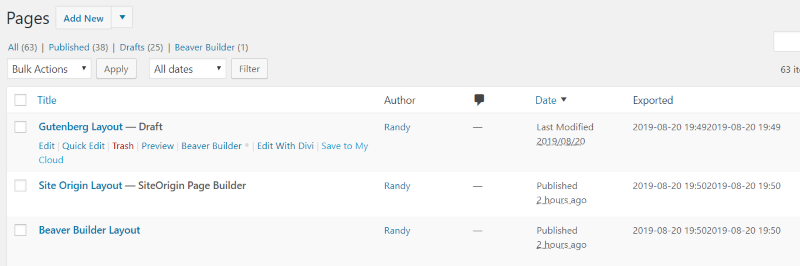
Several page builders don’t include their own library. These builders have a new option added in the page and post lists. When you highlight over the title you’ll see Save To My Cloud. Click this and wait for it to finish. It will show that it’s exported. This feature works for Site Origin, Gutenberg, and several others. It also works for Beaver Builder which does have a library, but it requires the pro edition to access the library.
PBC Import Export
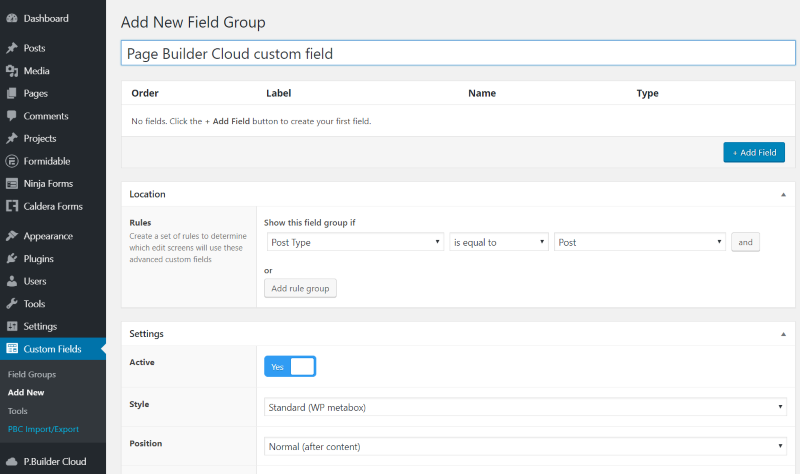
Several forms and other plugins have a new feature added to their dashboard menus called PBC Import/Export. This is an example from Advanced Custom Fields. Form plugins such as Caldera Forms, Ninja Forms, and Formidable Forms have the same feature and work in the same way.
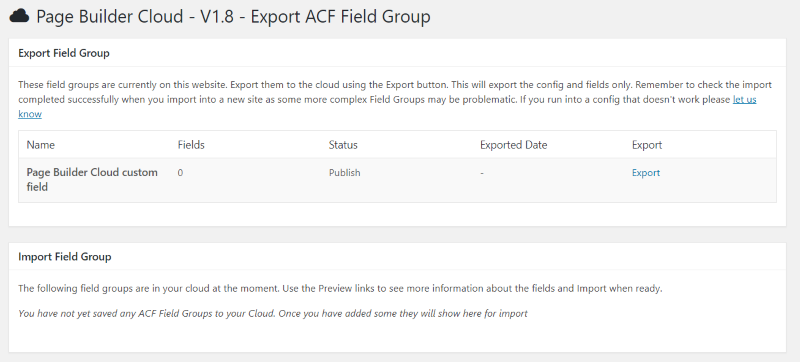
Once you click on the Import/Export link you’ll see the list of elements you can work with. Click the Export link for the element you want to export and wait for it to finish.
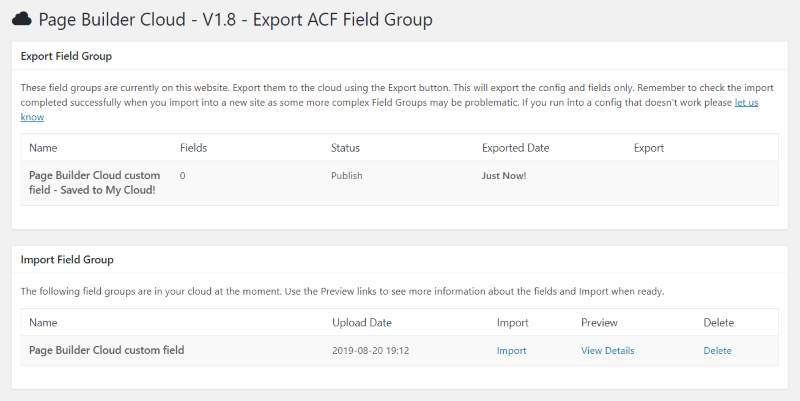
When the export is finished you’ll see an option to import into your custom field editor. Each plugin has its own PBC Import/Export library, so you’ll only see layouts or elements for that specific plugin.
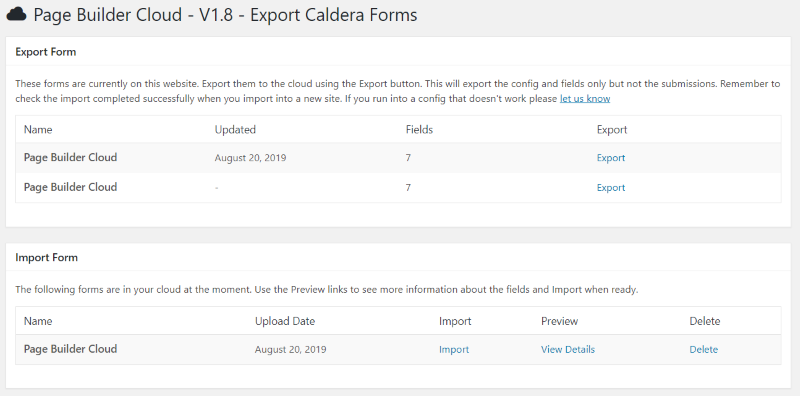
Here’s the library for Caldera Forms.

This one is Ninja Forms.
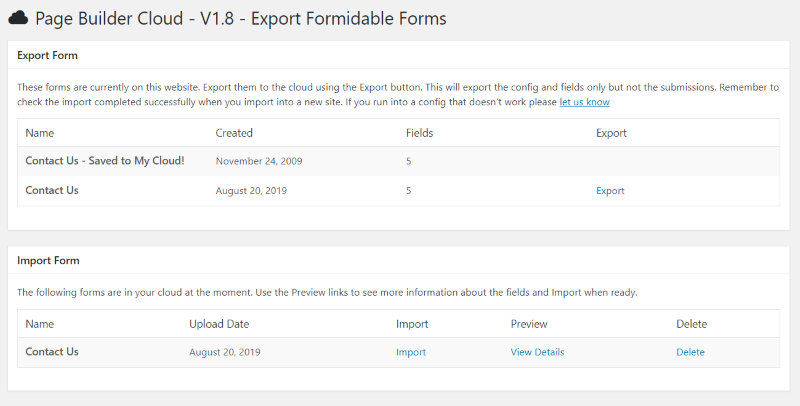
This one is Formidable Forms. It shows which layout is saved to the cloud. They’re now available to use with any website that you have Page Builder Cloud and the forms plugin installed to.
Page Builder Cloud Library

The cloud library is found in the dashboard menu. Go to P. Builder Cloud > P. Builder Cloud. This opens a screen where you can add categories for your layouts. Only the layouts for the builders you have installed will show from your cloud. You can see them in a list or in a grid. This is the grid view, which is the default view.
The layouts include the name of the layout, a tag showing which builder it’s for, the layout itself that’s scrollable, and buttons at the bottom. The buttons let you preview, import, see the categories, and delete the layout. The layout scrolls within the window as you hover over it so you can see the complete layout.
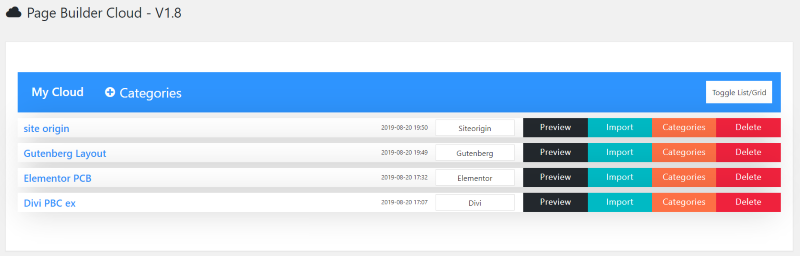
Click Toggle List/Grid to see the other view. This is the list view. The same information is here but it doesn’t show the layout itself. The list view adds the date the layout was saved to the cloud.
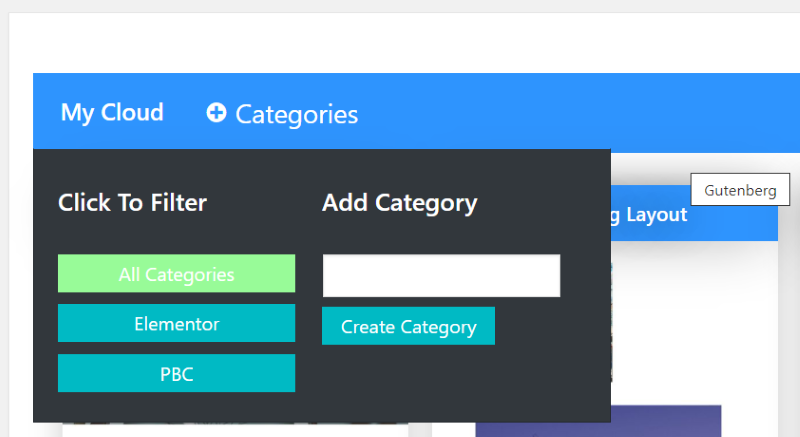
Select Categories to see and filter each of the categories for the layouts. You can also create a category here. This is a great way to narrow down the choices.
Using the Layouts in Your Builders
Here’s a look at how the layouts can be accessed with the builders.
Divi
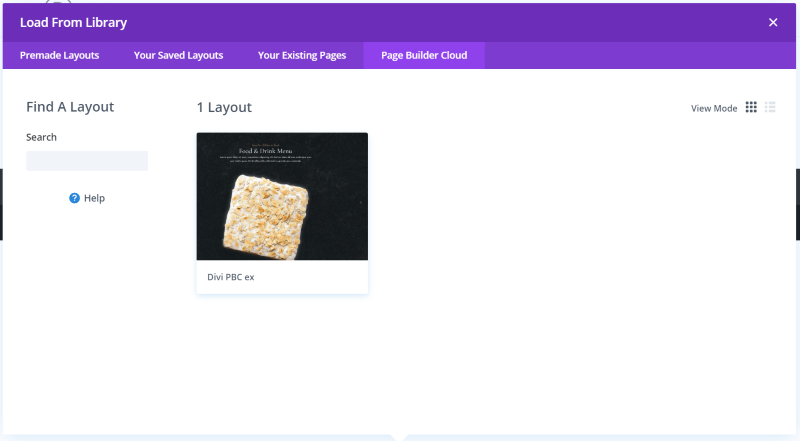
When you select to load from the library you’ll see a new tab added to the options called Page Builder Cloud. This tab shows every layout you’ve saved to the cloud no matter what website you created it on. Since this is the standard Divi modal, you can also search your layouts. It does not include the hover feature or the buttons to preview, apply, see the categories, or delete the layout.
Elementor
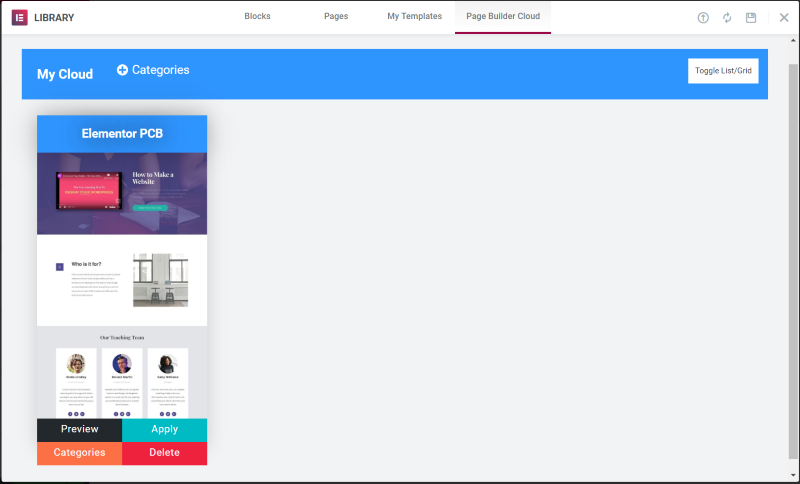
Selecting to add a layout in Elementor opens the library where you’ll see the Page Builder Cloud tab. Clicking the tab shows all of the Elementor layouts in your cloud. This one displays them with the same features as the Page Builder Cloud dashboard menu, complete with the category filter, hover feature, and preview, apply, categories, and delete buttons.
Snippets
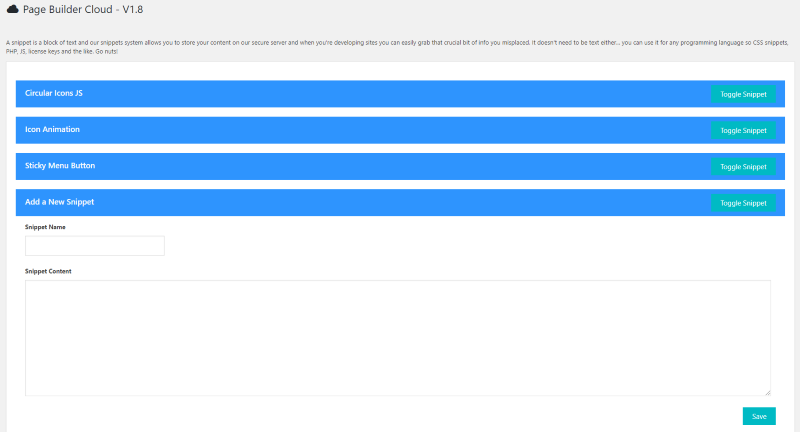
The Page Builder Cloud dashboard menu also includes a menu item called Snippets. Snippets lets you save text and code to the cloud. Give it a name that makes sense to you, paste the text or code into the content area, and hit Save. This can be any type of text content or programming language such as HTML, CSS, JS, license keys, etc. Anything that can be saved as text can be saved as a snippet.
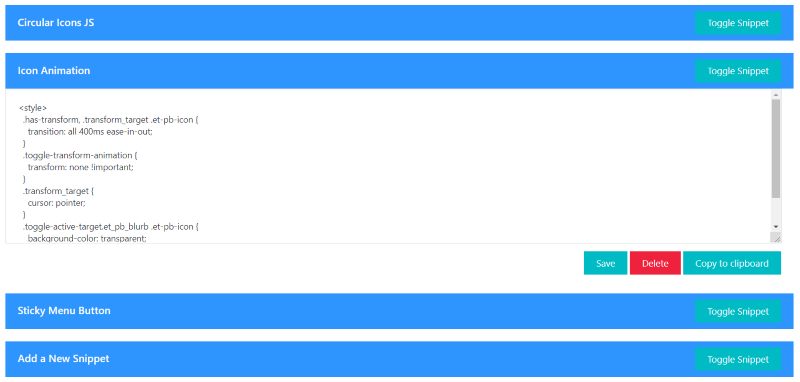
Click Toggle Content to see the snippet. You can edit, save, delete, and copy it to the clipboard.
Documentation
Documentation is provided in the form of individual videos for each of the builders at the Page Builder Cloud website. The videos are short and step you through how to save to the library for Divi, Elementor, Beaver Builder, and Gutenberg, and how to use them. The other 7 builders and 7 plugins work the same with either adding to the cloud from the page or post list or from their own libraries. The plugins all have the import/export option in their menus.
Support

Support is handled by an FAQ to answer the most common questions and a ticket system.
Price

There are two pricing options:
- Yearly – annual payment of $99
- Monthly – $15
Both include unlimited sites and support. The yearly option includes a free 7-day trial. This is a great way to try it out.
You can purchase Page Builder Cloud at PageBuilderCloud.com.
Ending Thoughts
It doesn’t take long to see how easy it is to save time with Page Builder Cloud. I did need to watch a 2-minute video to get the hang of using the plugin, but once I saw how it worked it made sense and I had no trouble saving and using my layouts. It really is easy to use.
It currently integrates with 18 builders and plugins and more are added on a regular basis. This makes it a great tool no matter what you preferred builder is. If you want easy access to all of your layouts on multiple websites, Page Builder Cloud is the plugin you need.
We want to hear from you. Have you tried Page Builder Cloud? Let us know how you like it in the comments below.


