
There are two factors you want to consider when you build a directory website. Does it look good? And does it have everything a user will need?
There is a danger these two simple questions could become complex very quickly if you decide to download a host of heavy, complicated plugins which will cause more trouble than they’re worth.
Luckily we have the solution for you. All you need is Divi and Toolset Directory.
Divi will help make your website look beautiful while Toolset Directory has all the tools (hence the name) you will need to turn it into a successful directory website.
What you will need
- A WordPress site with the Divi theme installed
- Toolset Directory
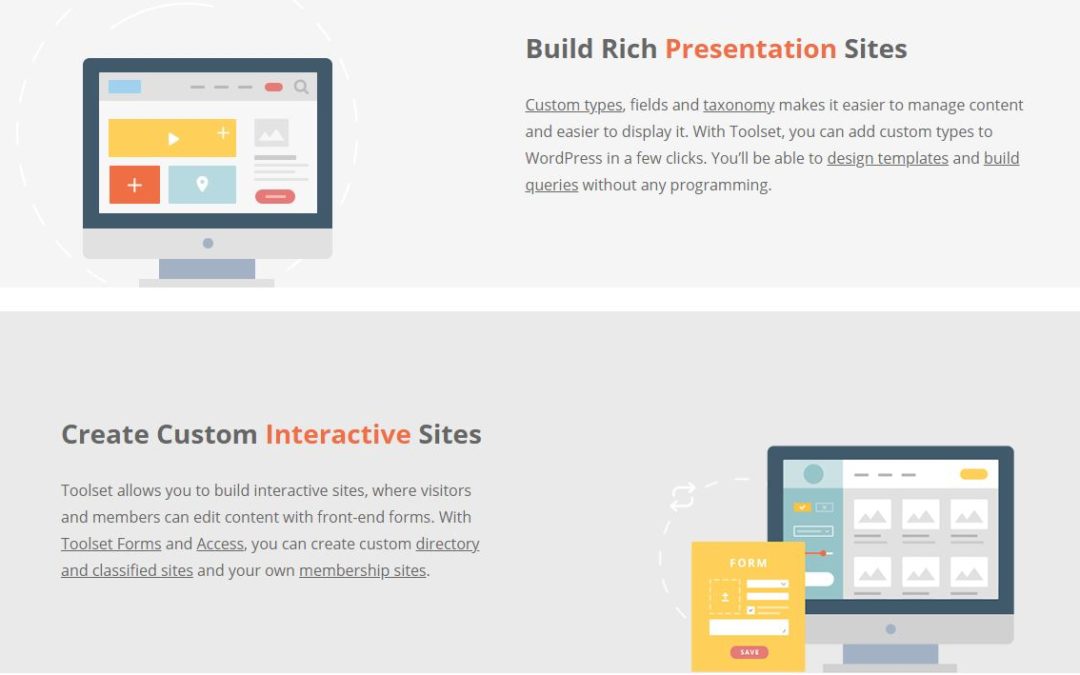
What you’ll learn to create
- Custom post types, fields and taxonomies
- Templates to display your posts using the Divi Builder
- A search
- Forms for front-end editing
- Access controls to create a membership system and charge for listings
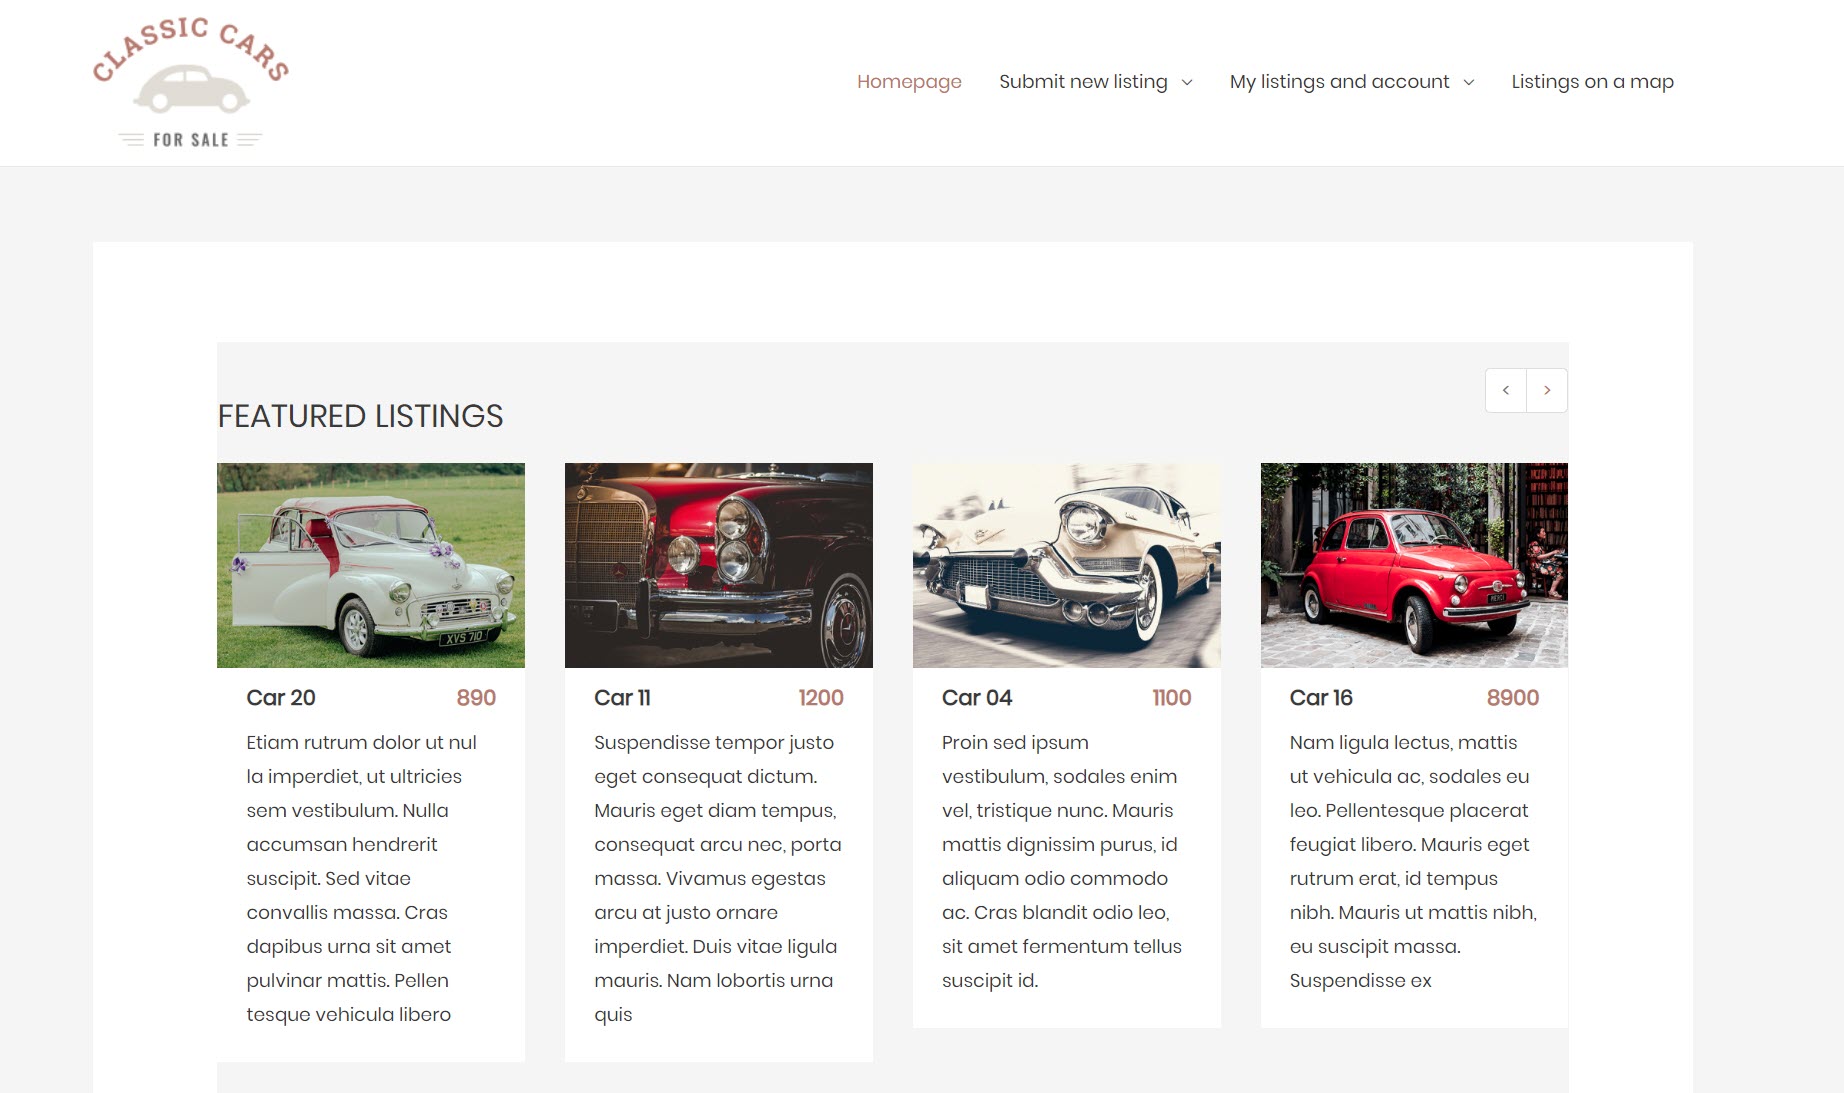
Below we will create a directory website that sells classic cars. Don’t forget that if you want to test Toolset Directory yourself and try out the steps below you can download your own free test directory site.
Let’s get started!
1. How to create your custom post types, fields and taxonomies
Creating custom post types
You need Custom post types to create different sections on your website. WordPress only has post types for “Pages” and “Posts.” But what if, for example, we want a section for “Listings?”
This is why we need Toolset Directory. We can use it to create our custom post types without any coding.
Here’s how we created our “Listings” custom post type.
- Go to Toolset Dashboard in the WordPress admin and click Add new post type
- Enter the following in the search box:
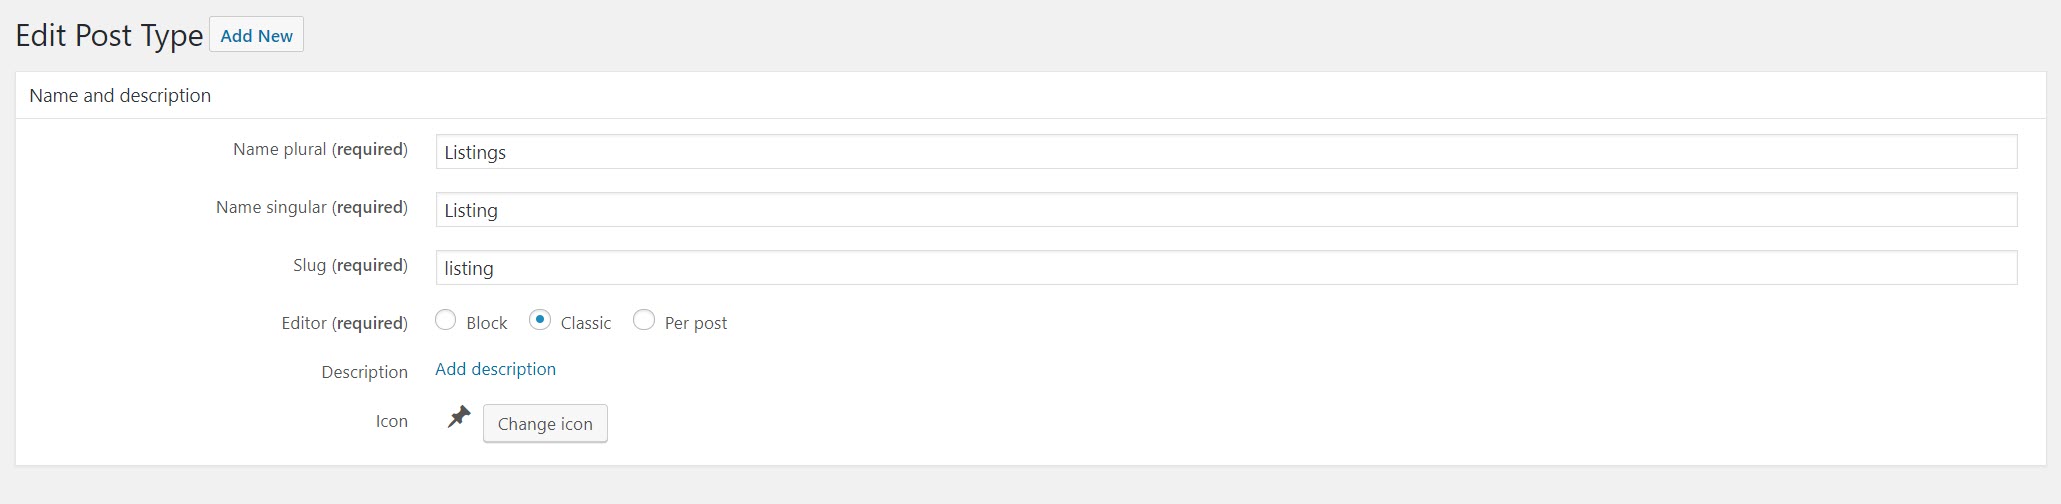
- Click Save post type and your “Listings” post type is ready.
Creating custom fields
Custom fields will help us display the information about each of the classic cars we’re listing.
As each car will require the same set of information (price, production year, advertiser website, etc.) we can use custom fields to create a template in which we can simply fill in the information for each car.
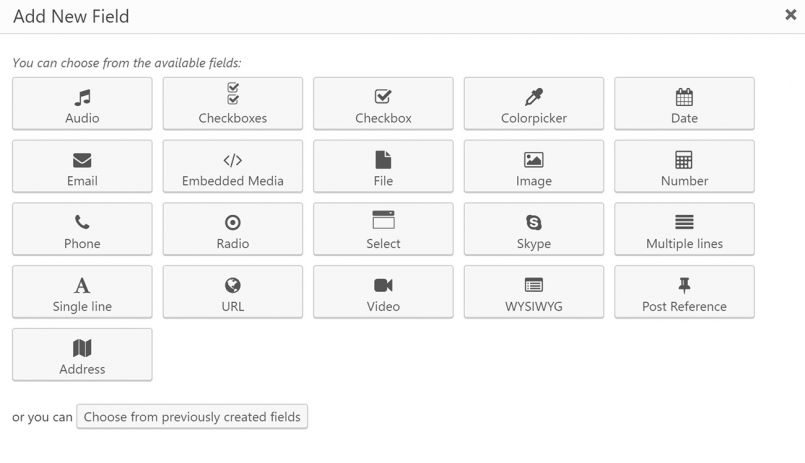
- On the Toolset Dashboard click Create field group next to the “Listings” post type.
- Click on Create field group and then Add New Field.
- Here we can choose the type of field we want. For example, the price will be a number so we select the “Numbers” option.
- Set your op
-
- Set your options for the field. These include the name of the field, the number of values and whether it’s a required field.
- Click Save Field Group and the custom field will now appear whenever you edit any “Listings” posts.
Creating custom taxonomies
Custom taxonomies are a great way of organizing your listings based on features. For example, you can create one for all of the Ferrari cars you might be lucky enough to have for sale.
On our classic cars directory website, we’ll create a set of taxonomies to separate our cars.
- On the Toolset Dashboard, click on Add custom taxonomy next to the Listings post type.
- Enter the following in the boxes:
- Name plural: Listing categories
- Name singular: Listing category
- Slug: listing-category
- Choose whether you want a hierarchical or flat taxonomy. We want ours to be hierarchical as we will have parent and child relationships (Sports Cars -> Ferraris, for example).
- Now we can head back to the WordPress menu to add our taxonomy terms. On the right-hand side, we can click Add New Listing category and we can start creating our taxonomies.
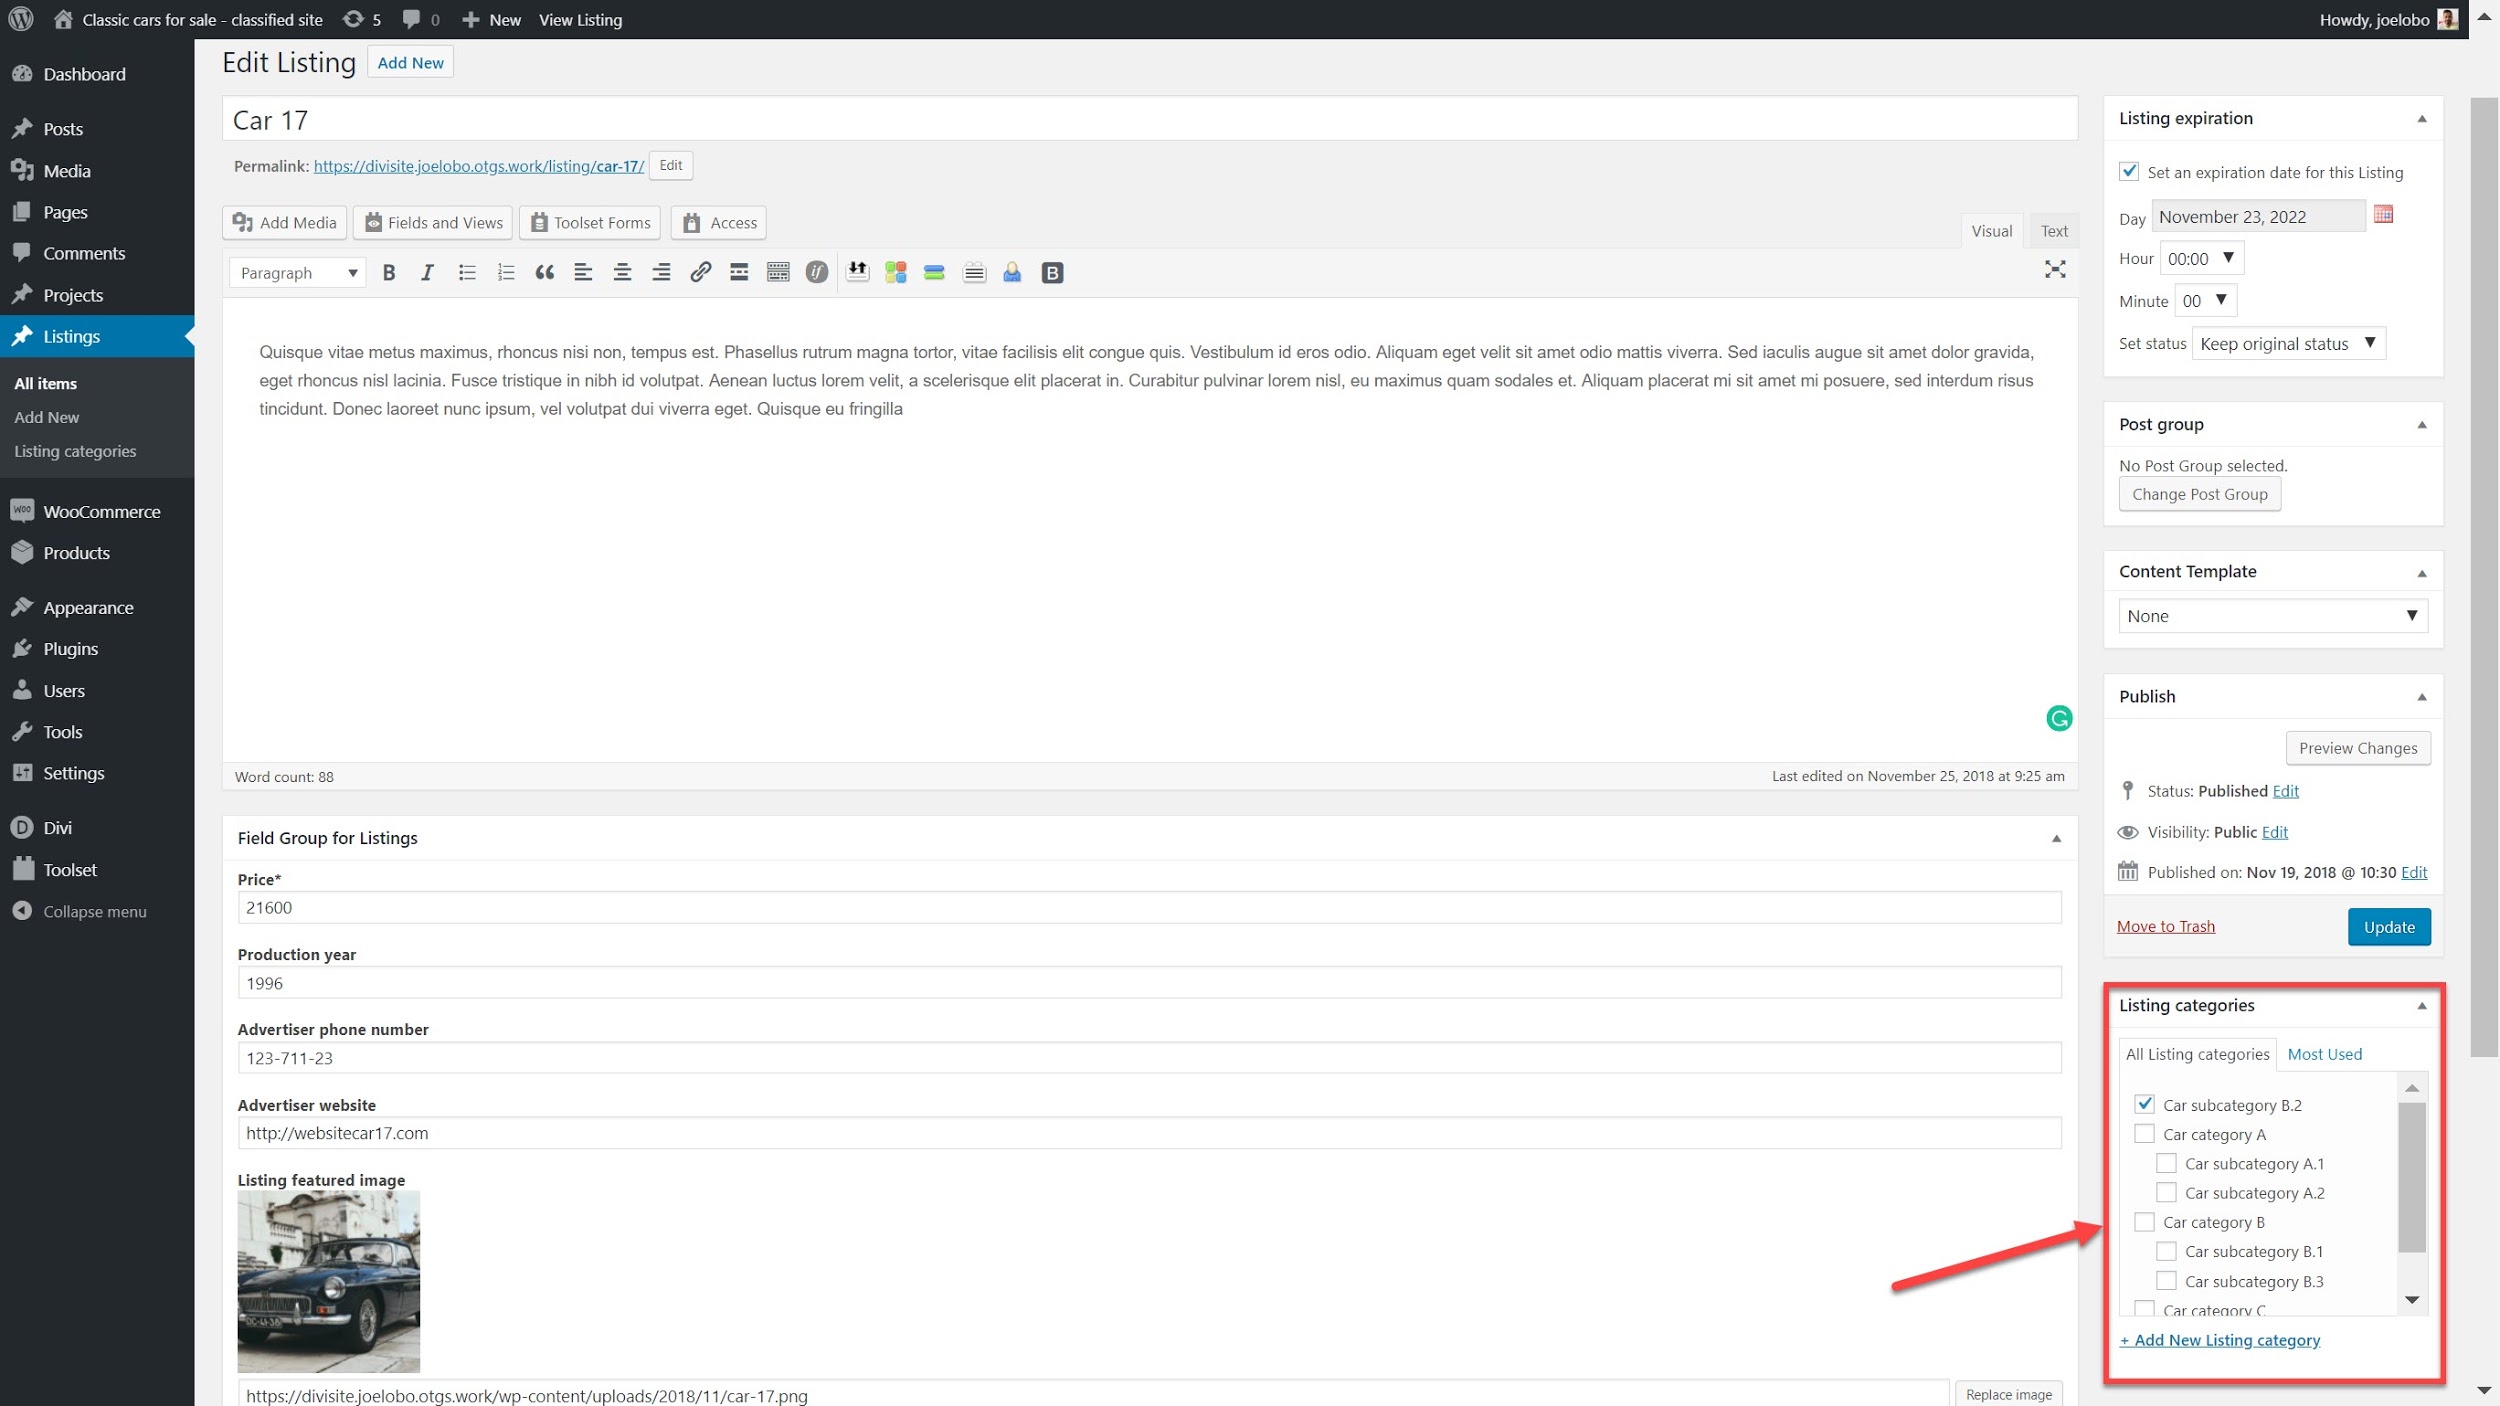
Now that we have created our custom post types, fields and taxonomies we need to actually display them on the front-end.
2. Create a template to display your posts using the Divi Builder
To display our listings for our classic cars we can create a template so that each of our posts follows the same structure on the front-end end.
- Go to Toolset Dashboard
- Find the Listings custom post type and click on Create Content Template.
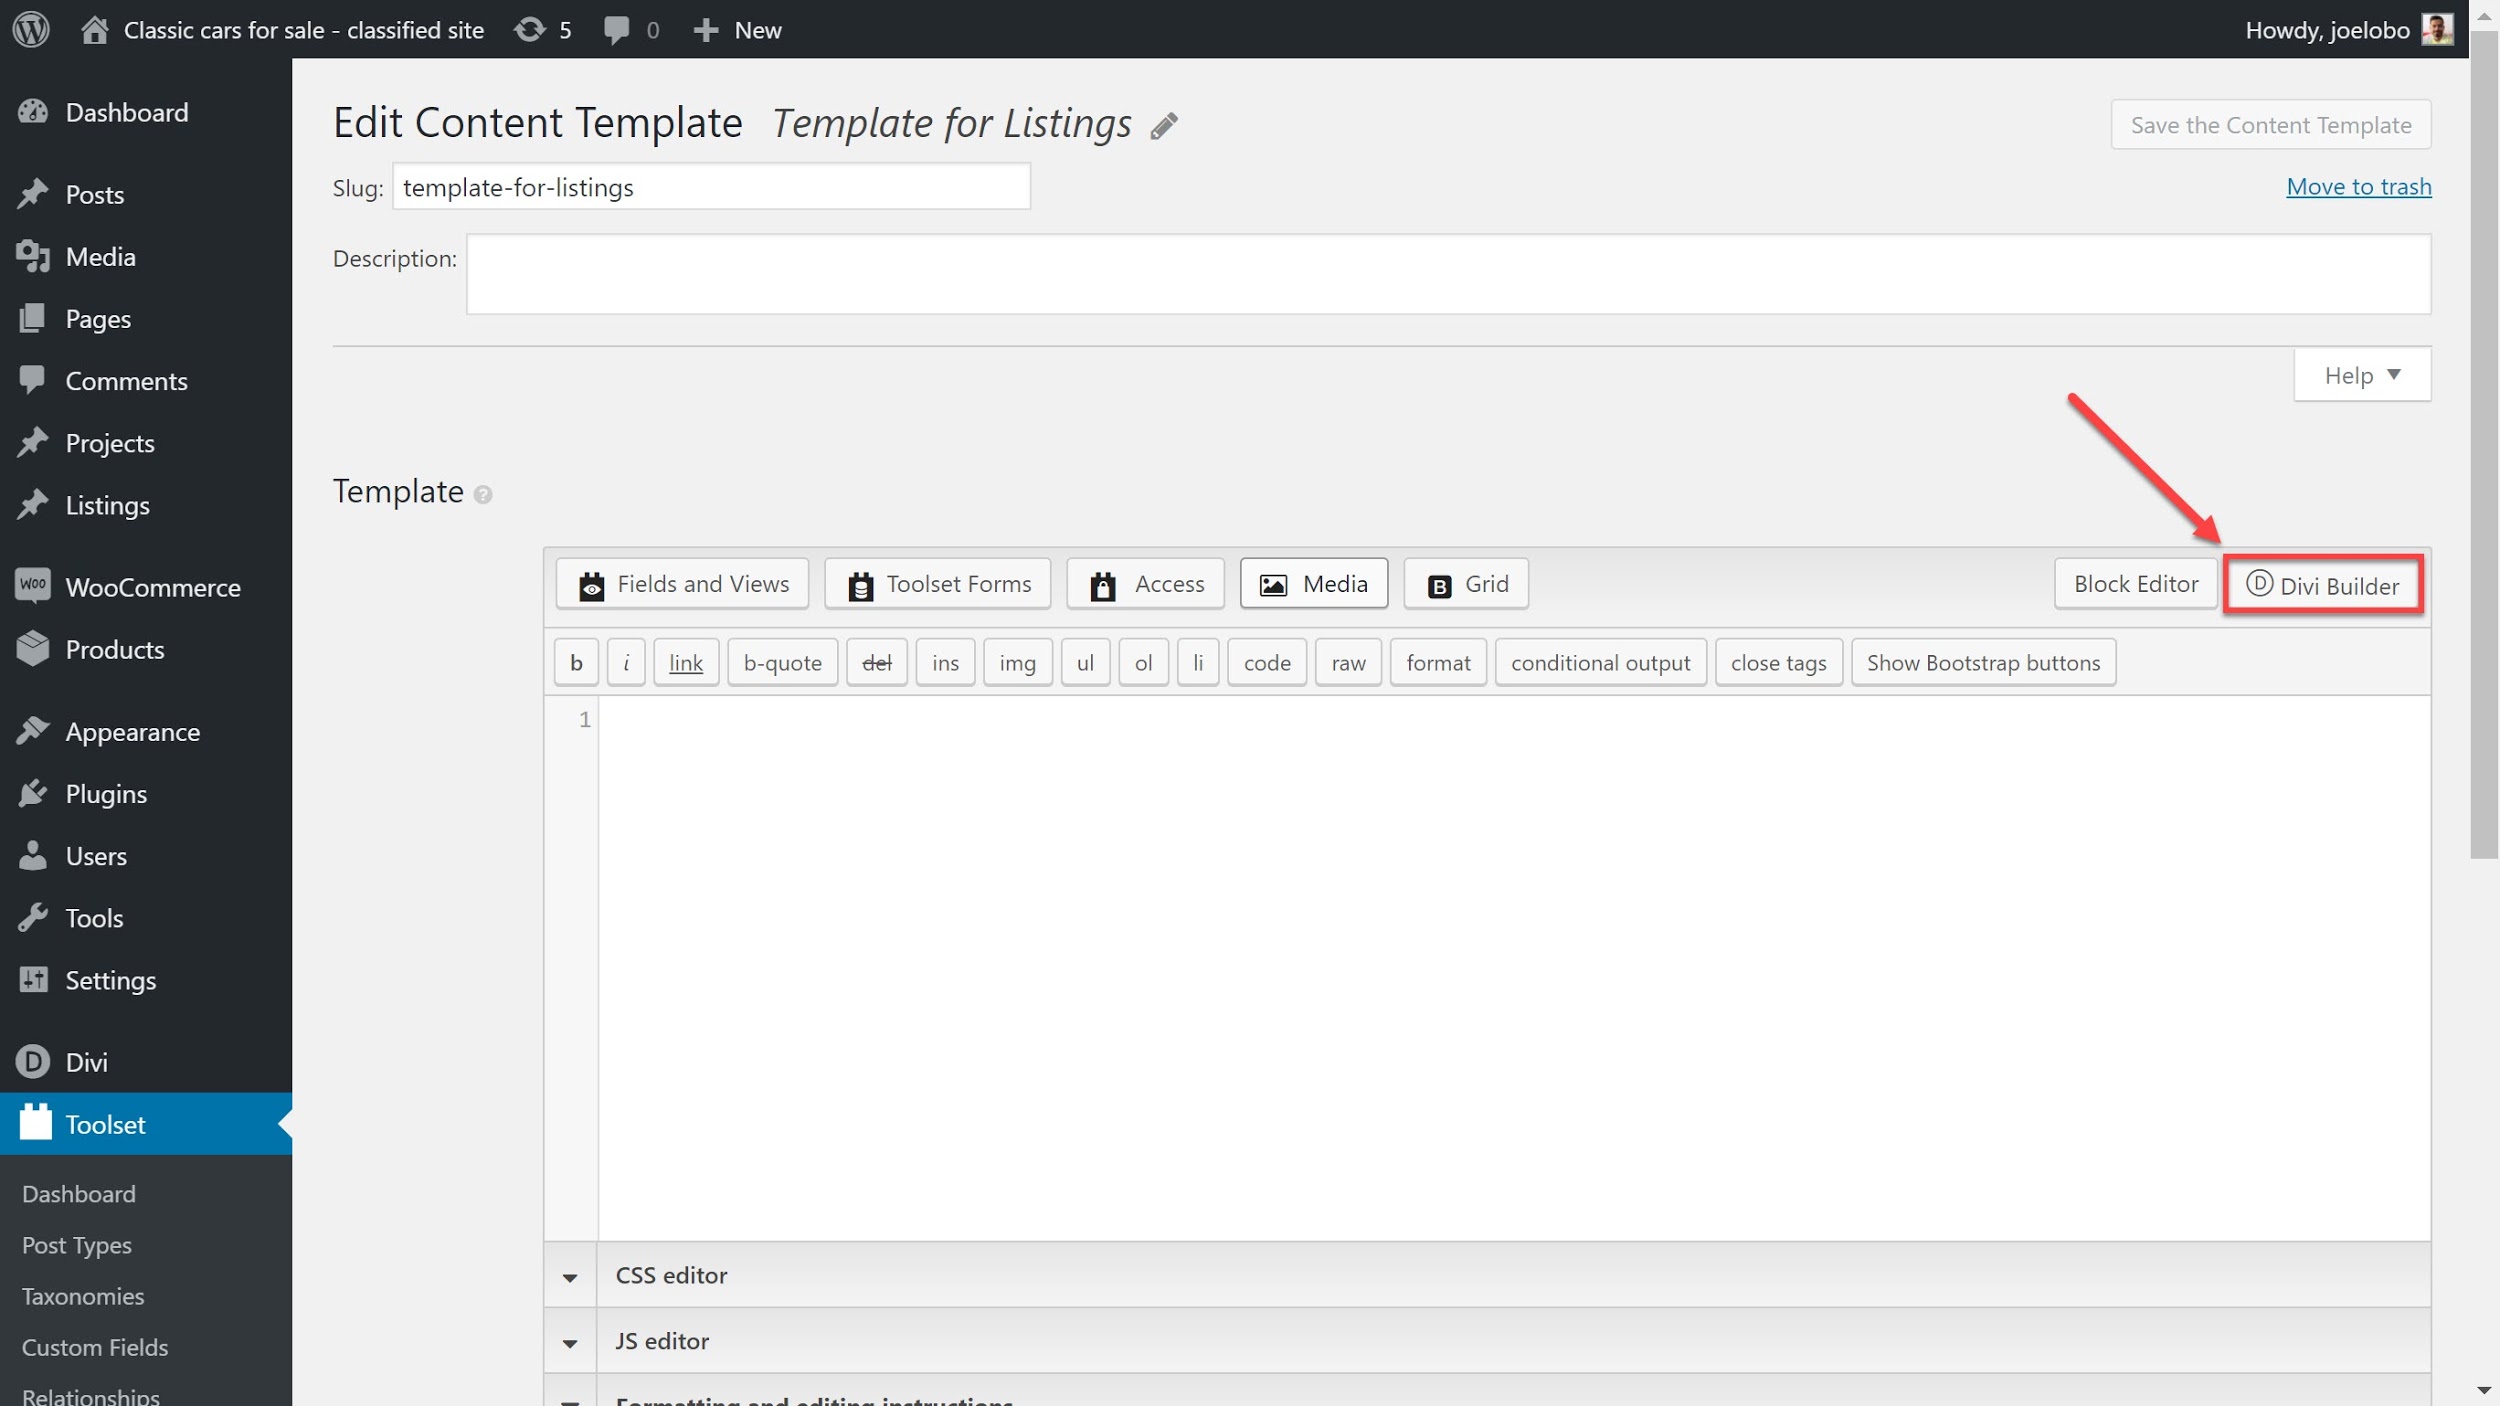
- On the next page, under the Template section click on Divi Builder to edit your template using Divi.
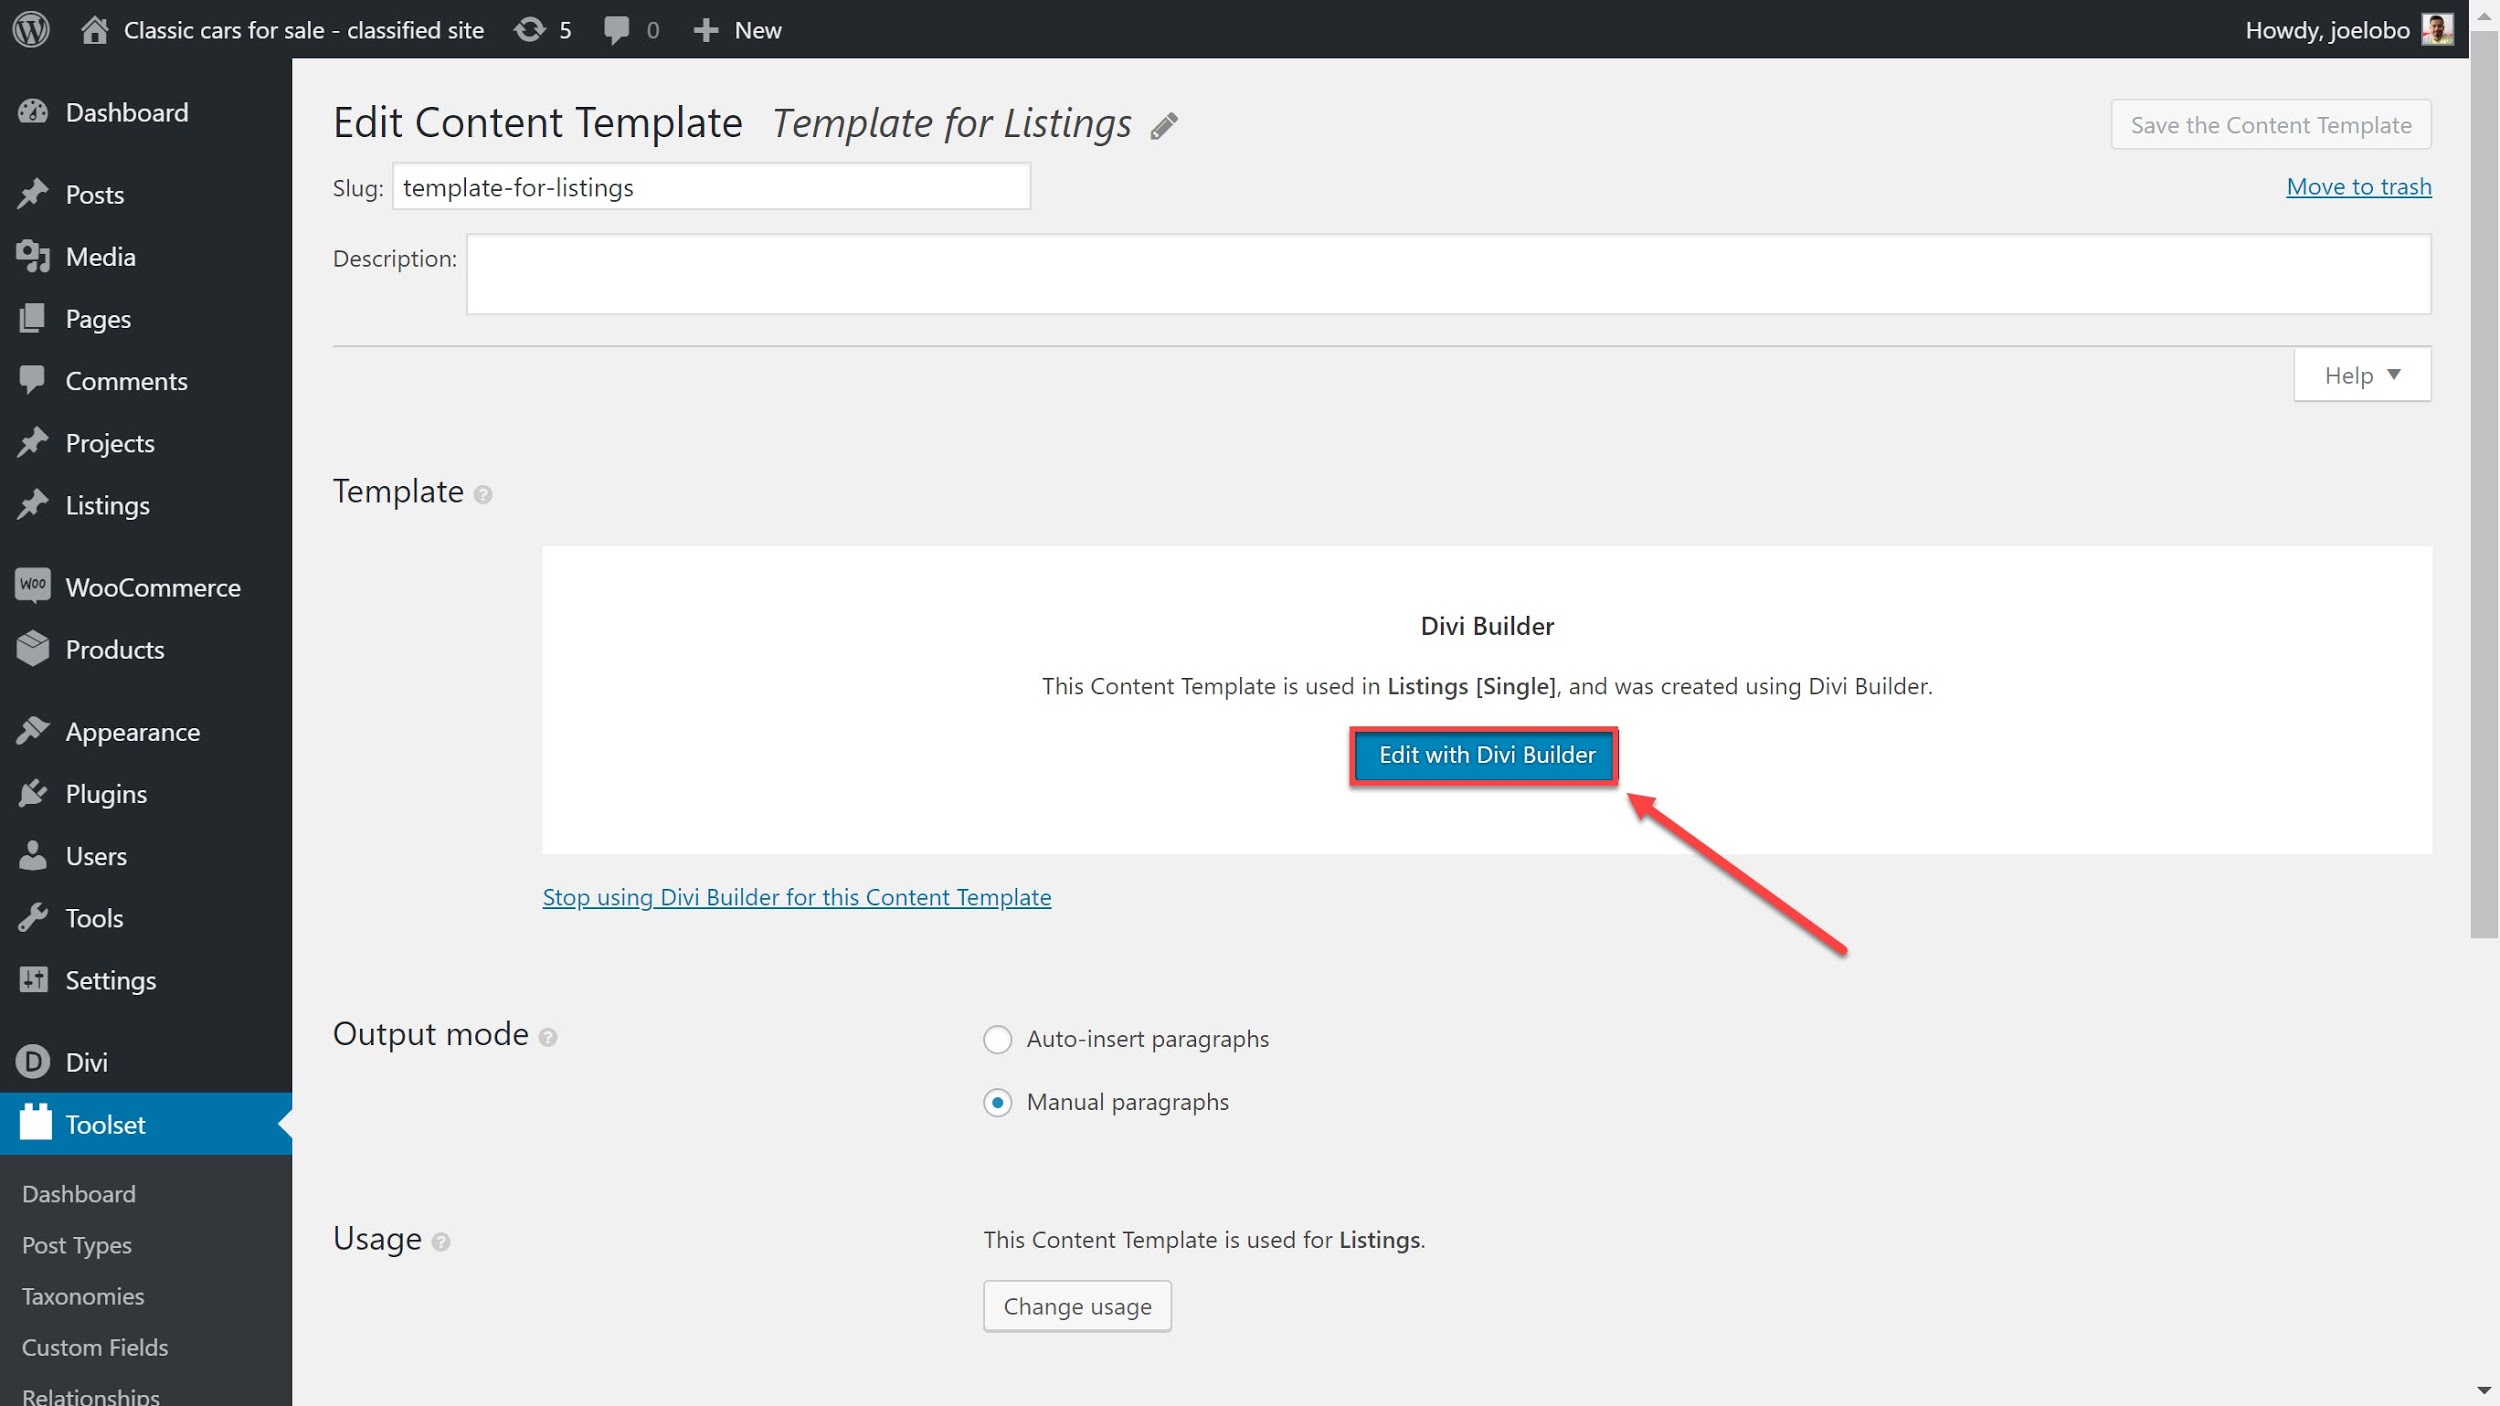
- On the next page click on Edit with Divi Builder to start editing your page.
- You can now use the Sections, Rows and Modules which are the building blocks of Divi to build the structure of your page. For example, you can add multiple columns or split the page into clear sections.
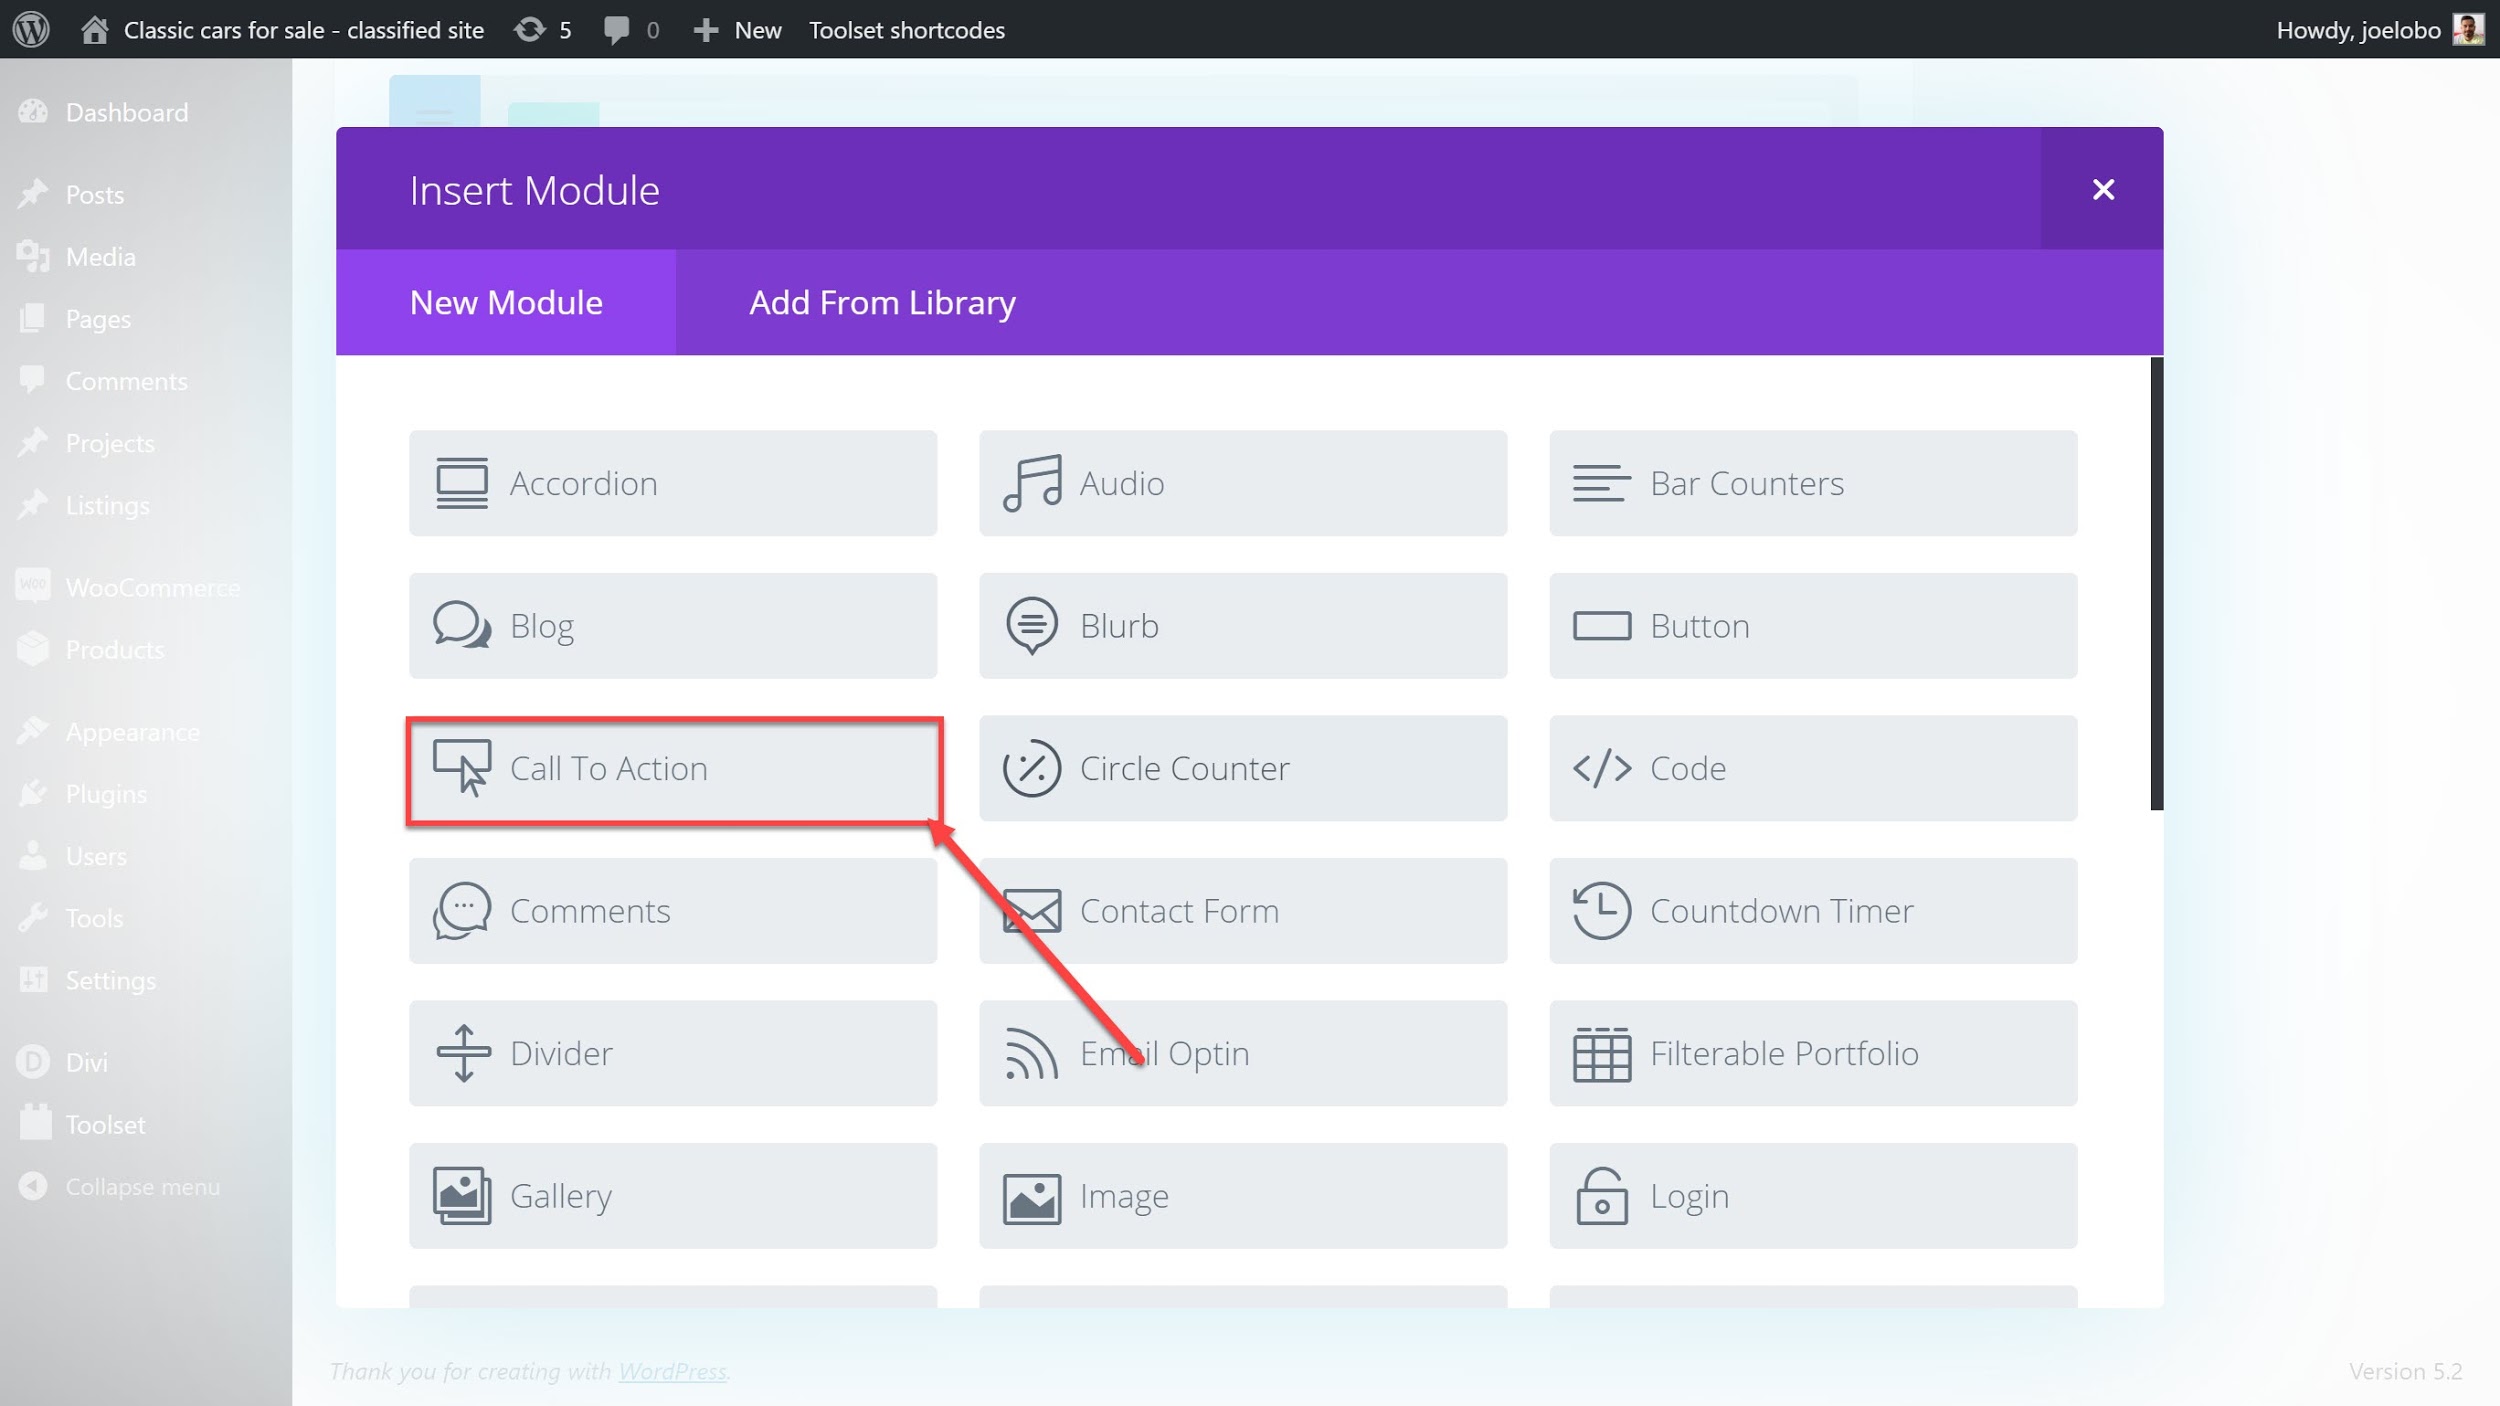
- To add our Toolset custom fields, we will use the Divi Text module to display them. Select Insert Module, find the Text module from the list and click from the Fields and Views depending on what you want to display.

- You can also use Divi’s own modules if you want to display other features, such as a Call To Action.
- Once you add in all of your modules, click Update.
Here is how our template looks on the back-end.
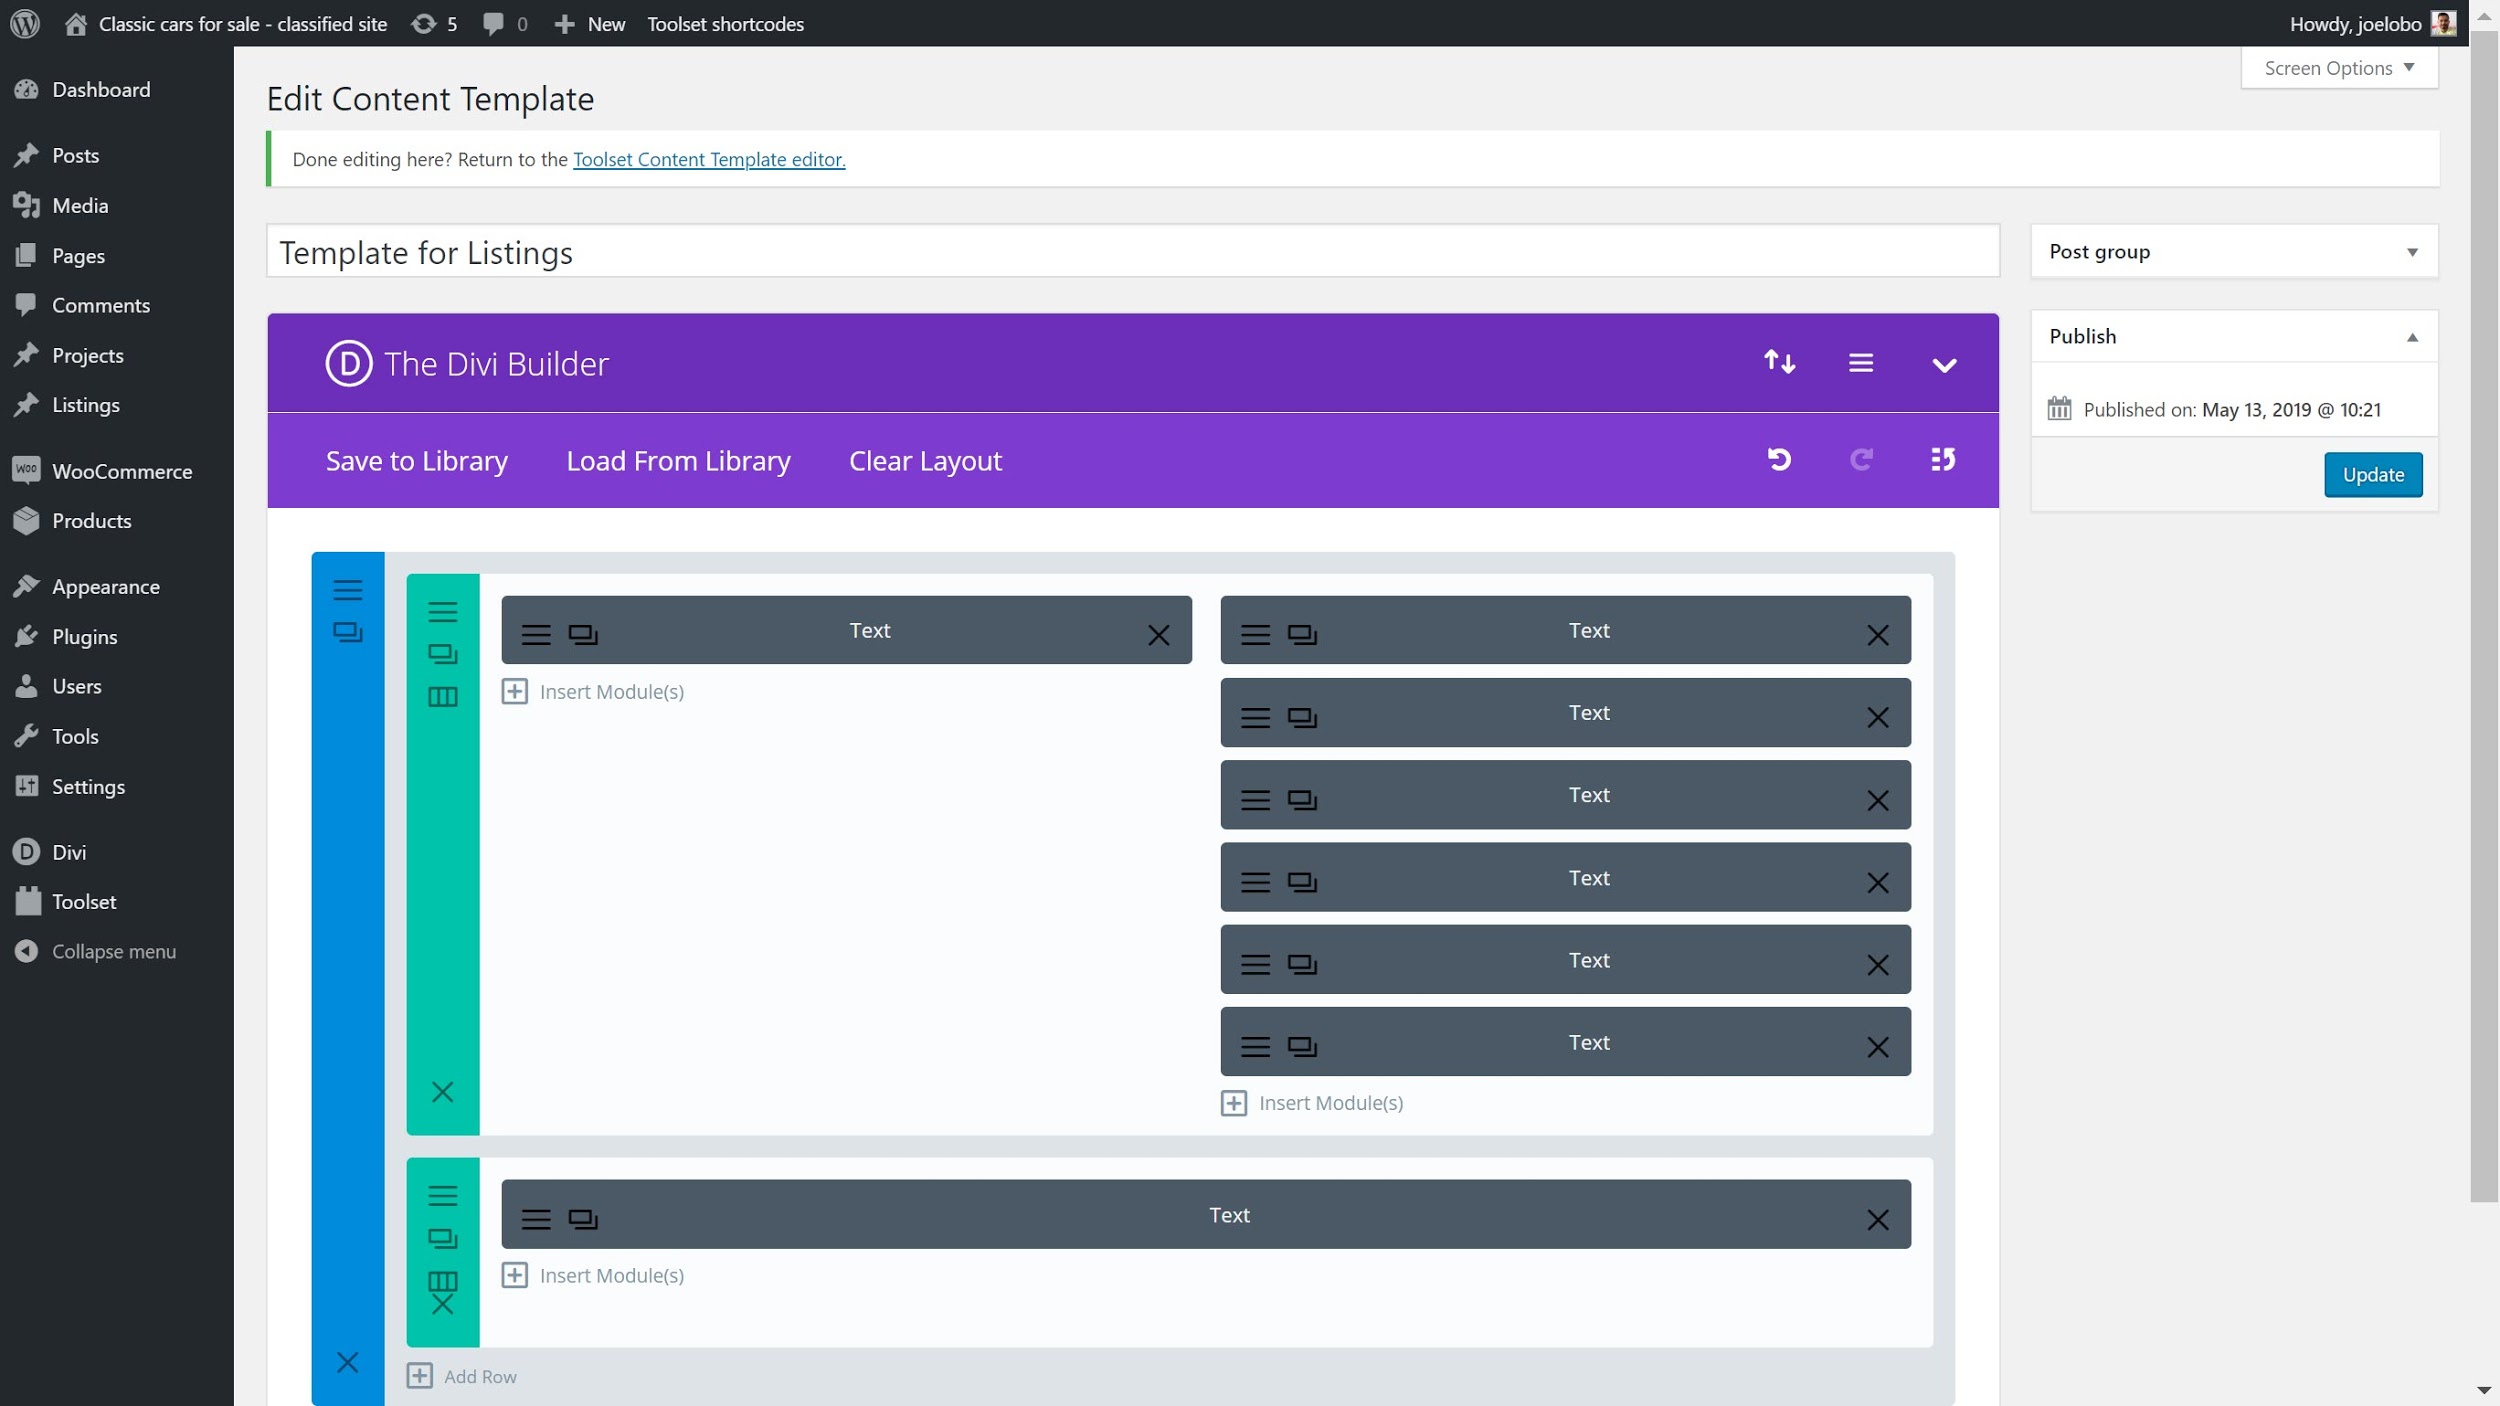
And here it is on the front-end.
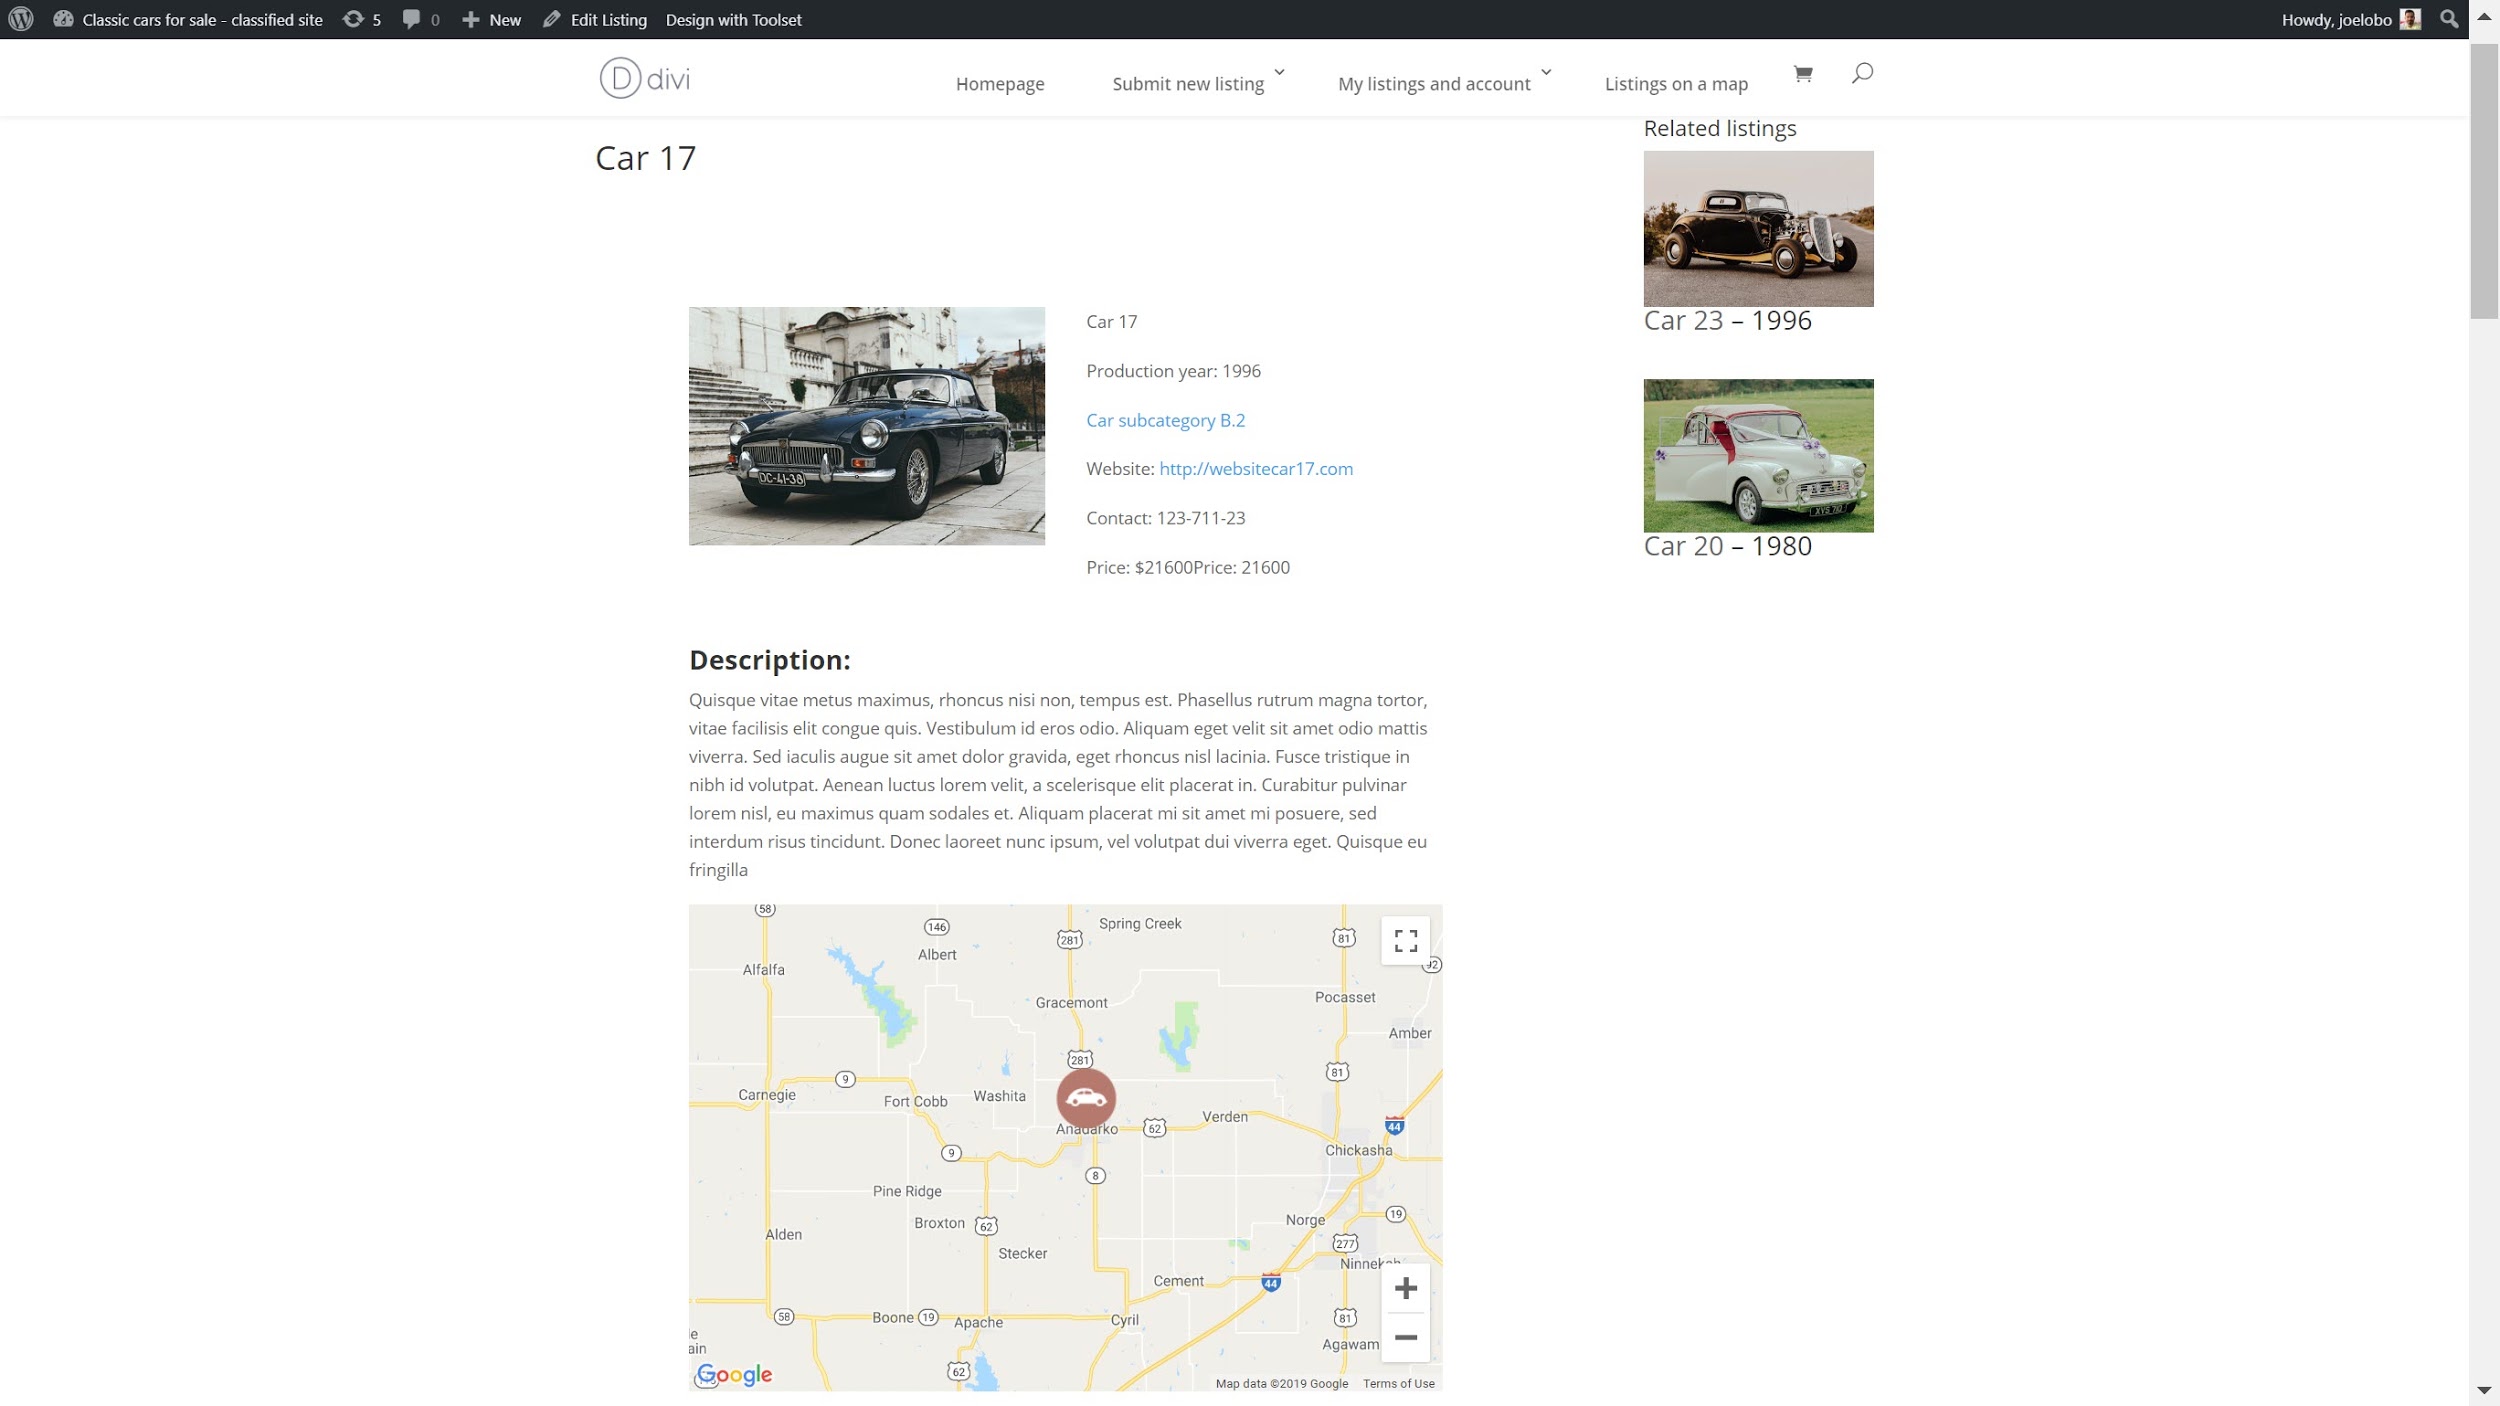
Our users will now be able to see all of our listings, complete with custom fields and taxonomies on the front-end. Note how we did not need to use any coding to style the page, just Toolset Directory and Divi.
Of course, our directory website is still lacking a number of other features.
3. Create a custom search for your directory website
We can create a custom search with multiple filters to help our users find exactly what they’re looking for on our directory website.
One of the best ways to create a great-looking and responsive custom search is by using Toolset Directory and Divi.

Check out our previous guide to creating a search using Toolset and Divi for the full steps.
4. Create a form for front-end editing
Rather than adding listings as we have done previously on the back-end, we can create front-end forms to make it easier to create content.
Front-end forms mean all you need to do is fill in the sections and your listing will appear with your template on the front-end. And users can also fill out the forms to submit their own listings.
The best part is that building your front-end forms is actually very easy with Toolset Directory thanks to its drag and drop editor.
Below we’ll show you how to create a front-end form to submit new listings.
Create our front-end form
- Go to Toolset -> Post Forms and click Add New.
- You will now see the Toolset Wizard. Click Continue.
- Fill out your Form Name and click Continue.
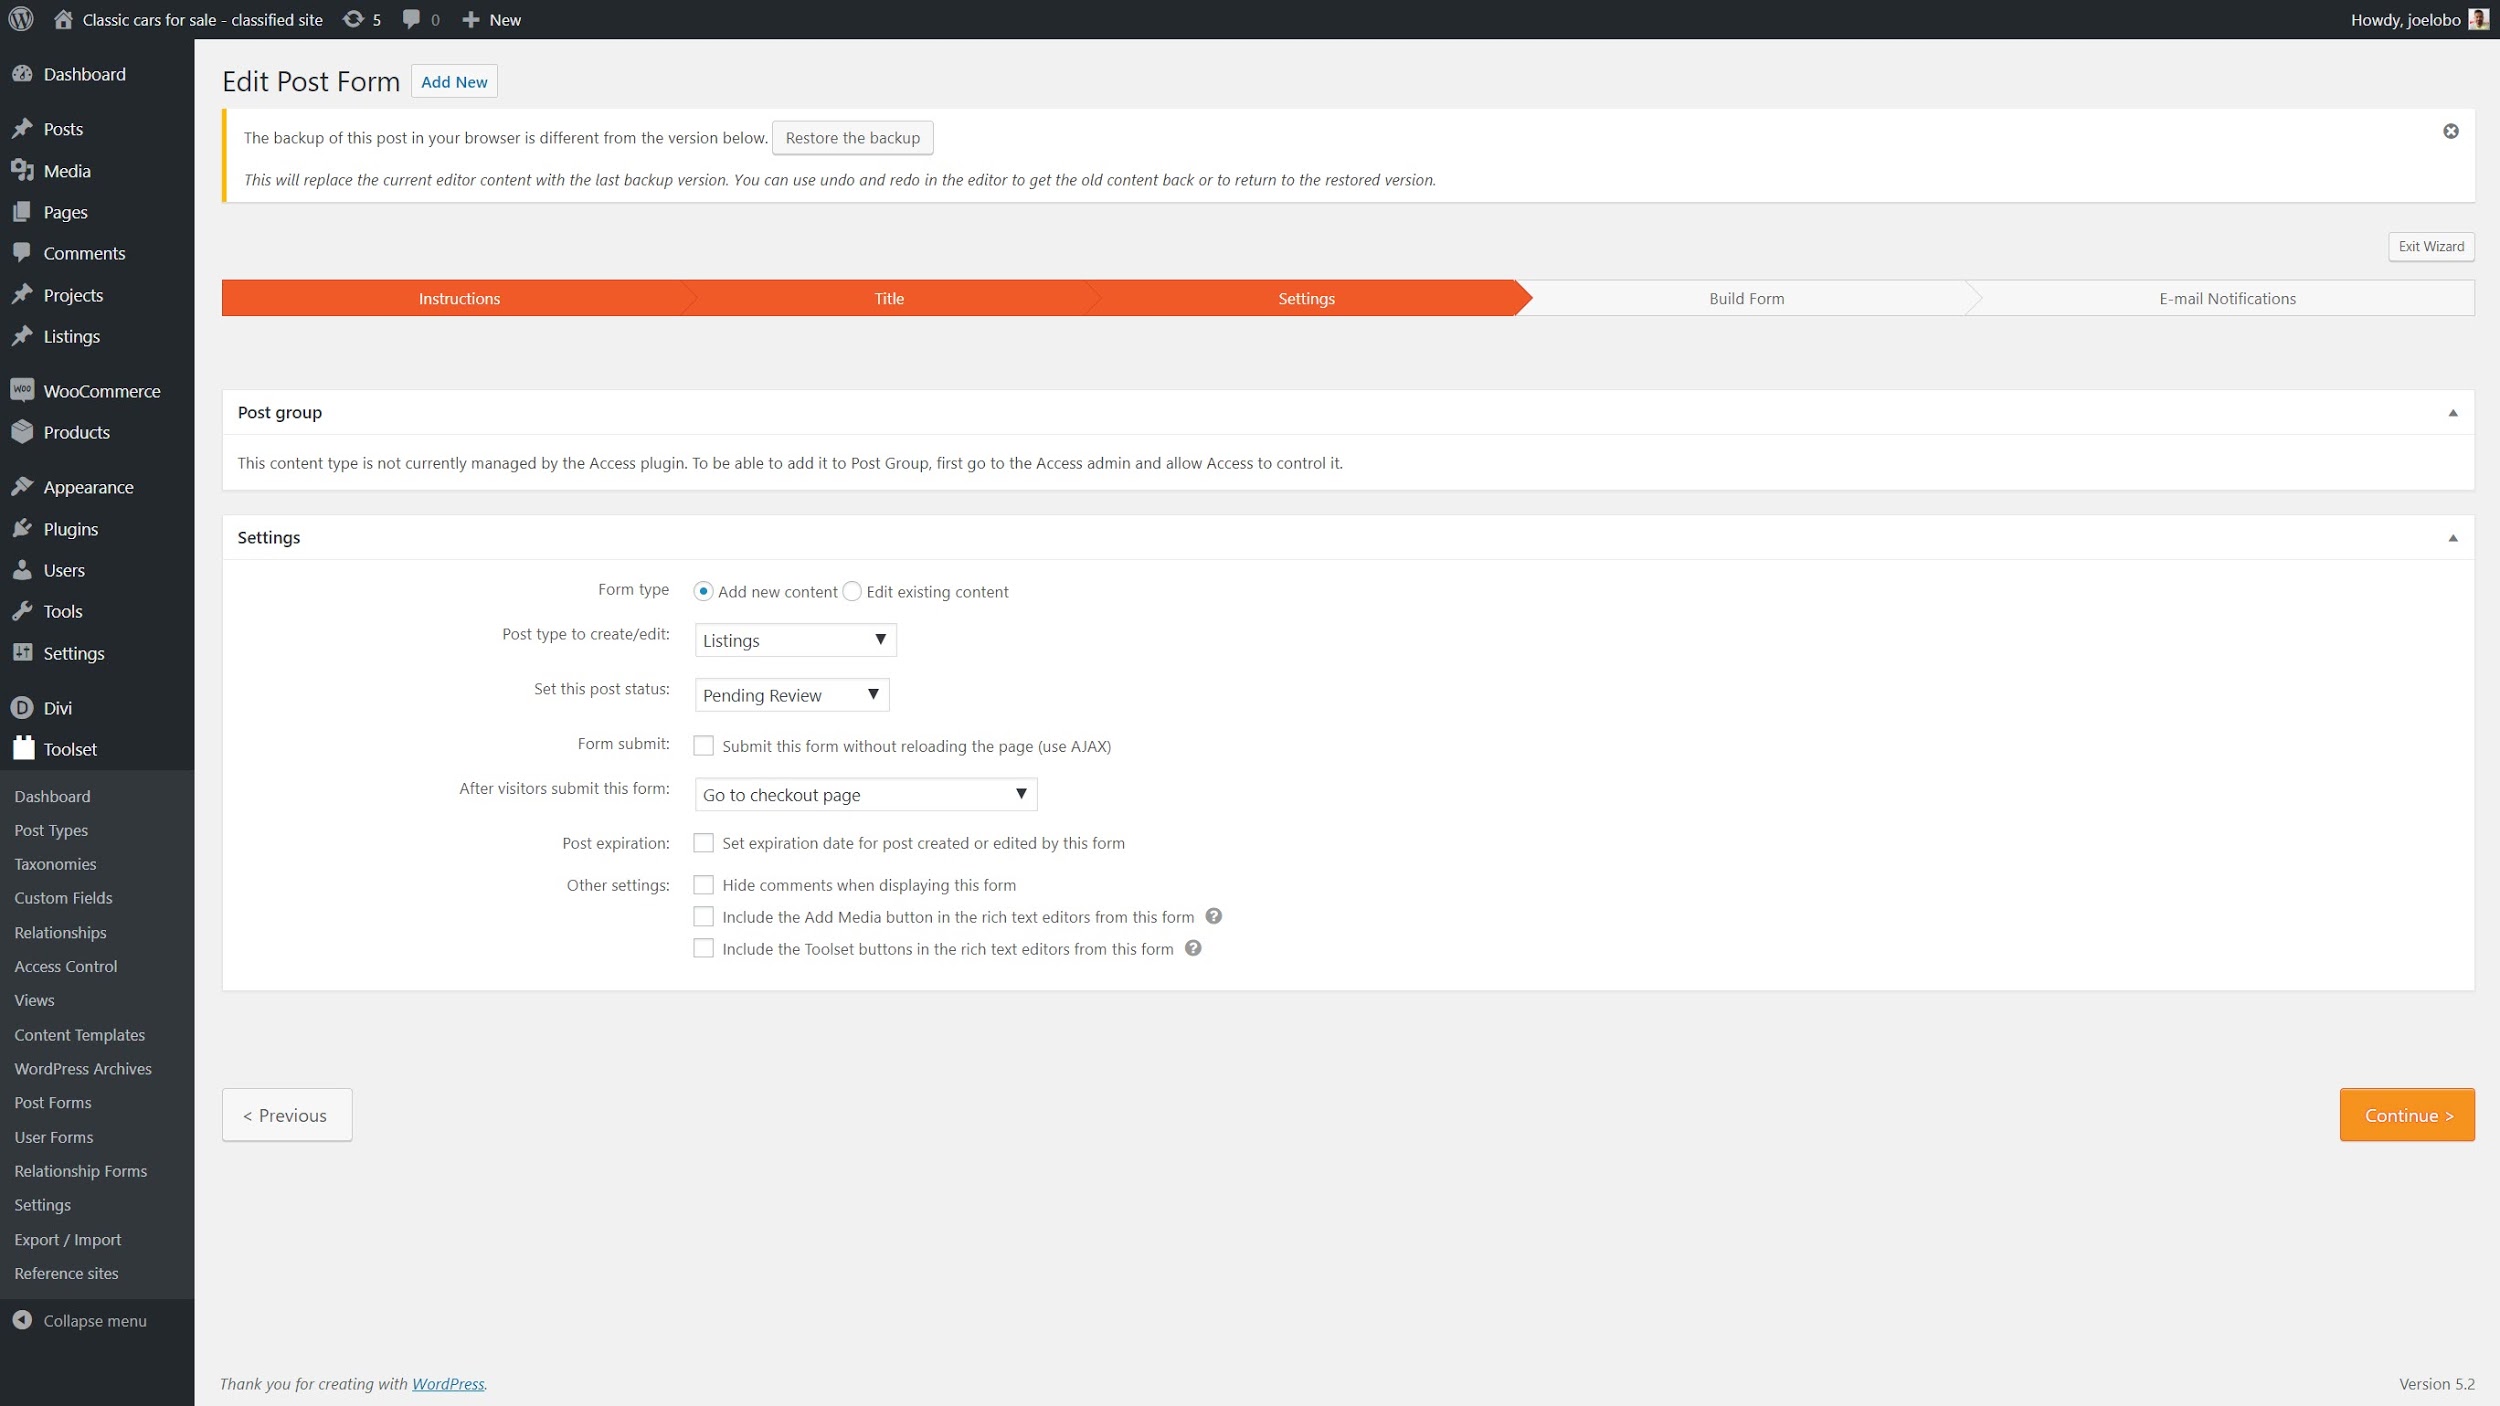
- In the Settings section, you can decide on the specific features of your form. For example, what page users see when they submit it, the status of the submission, its expiry date and much more.
- Now we can use Toolset Directory’s drag and drop editor. Decide which fields you want and where they should go. You can also style your form using CSS here if needed. Click Continue when you are ready.

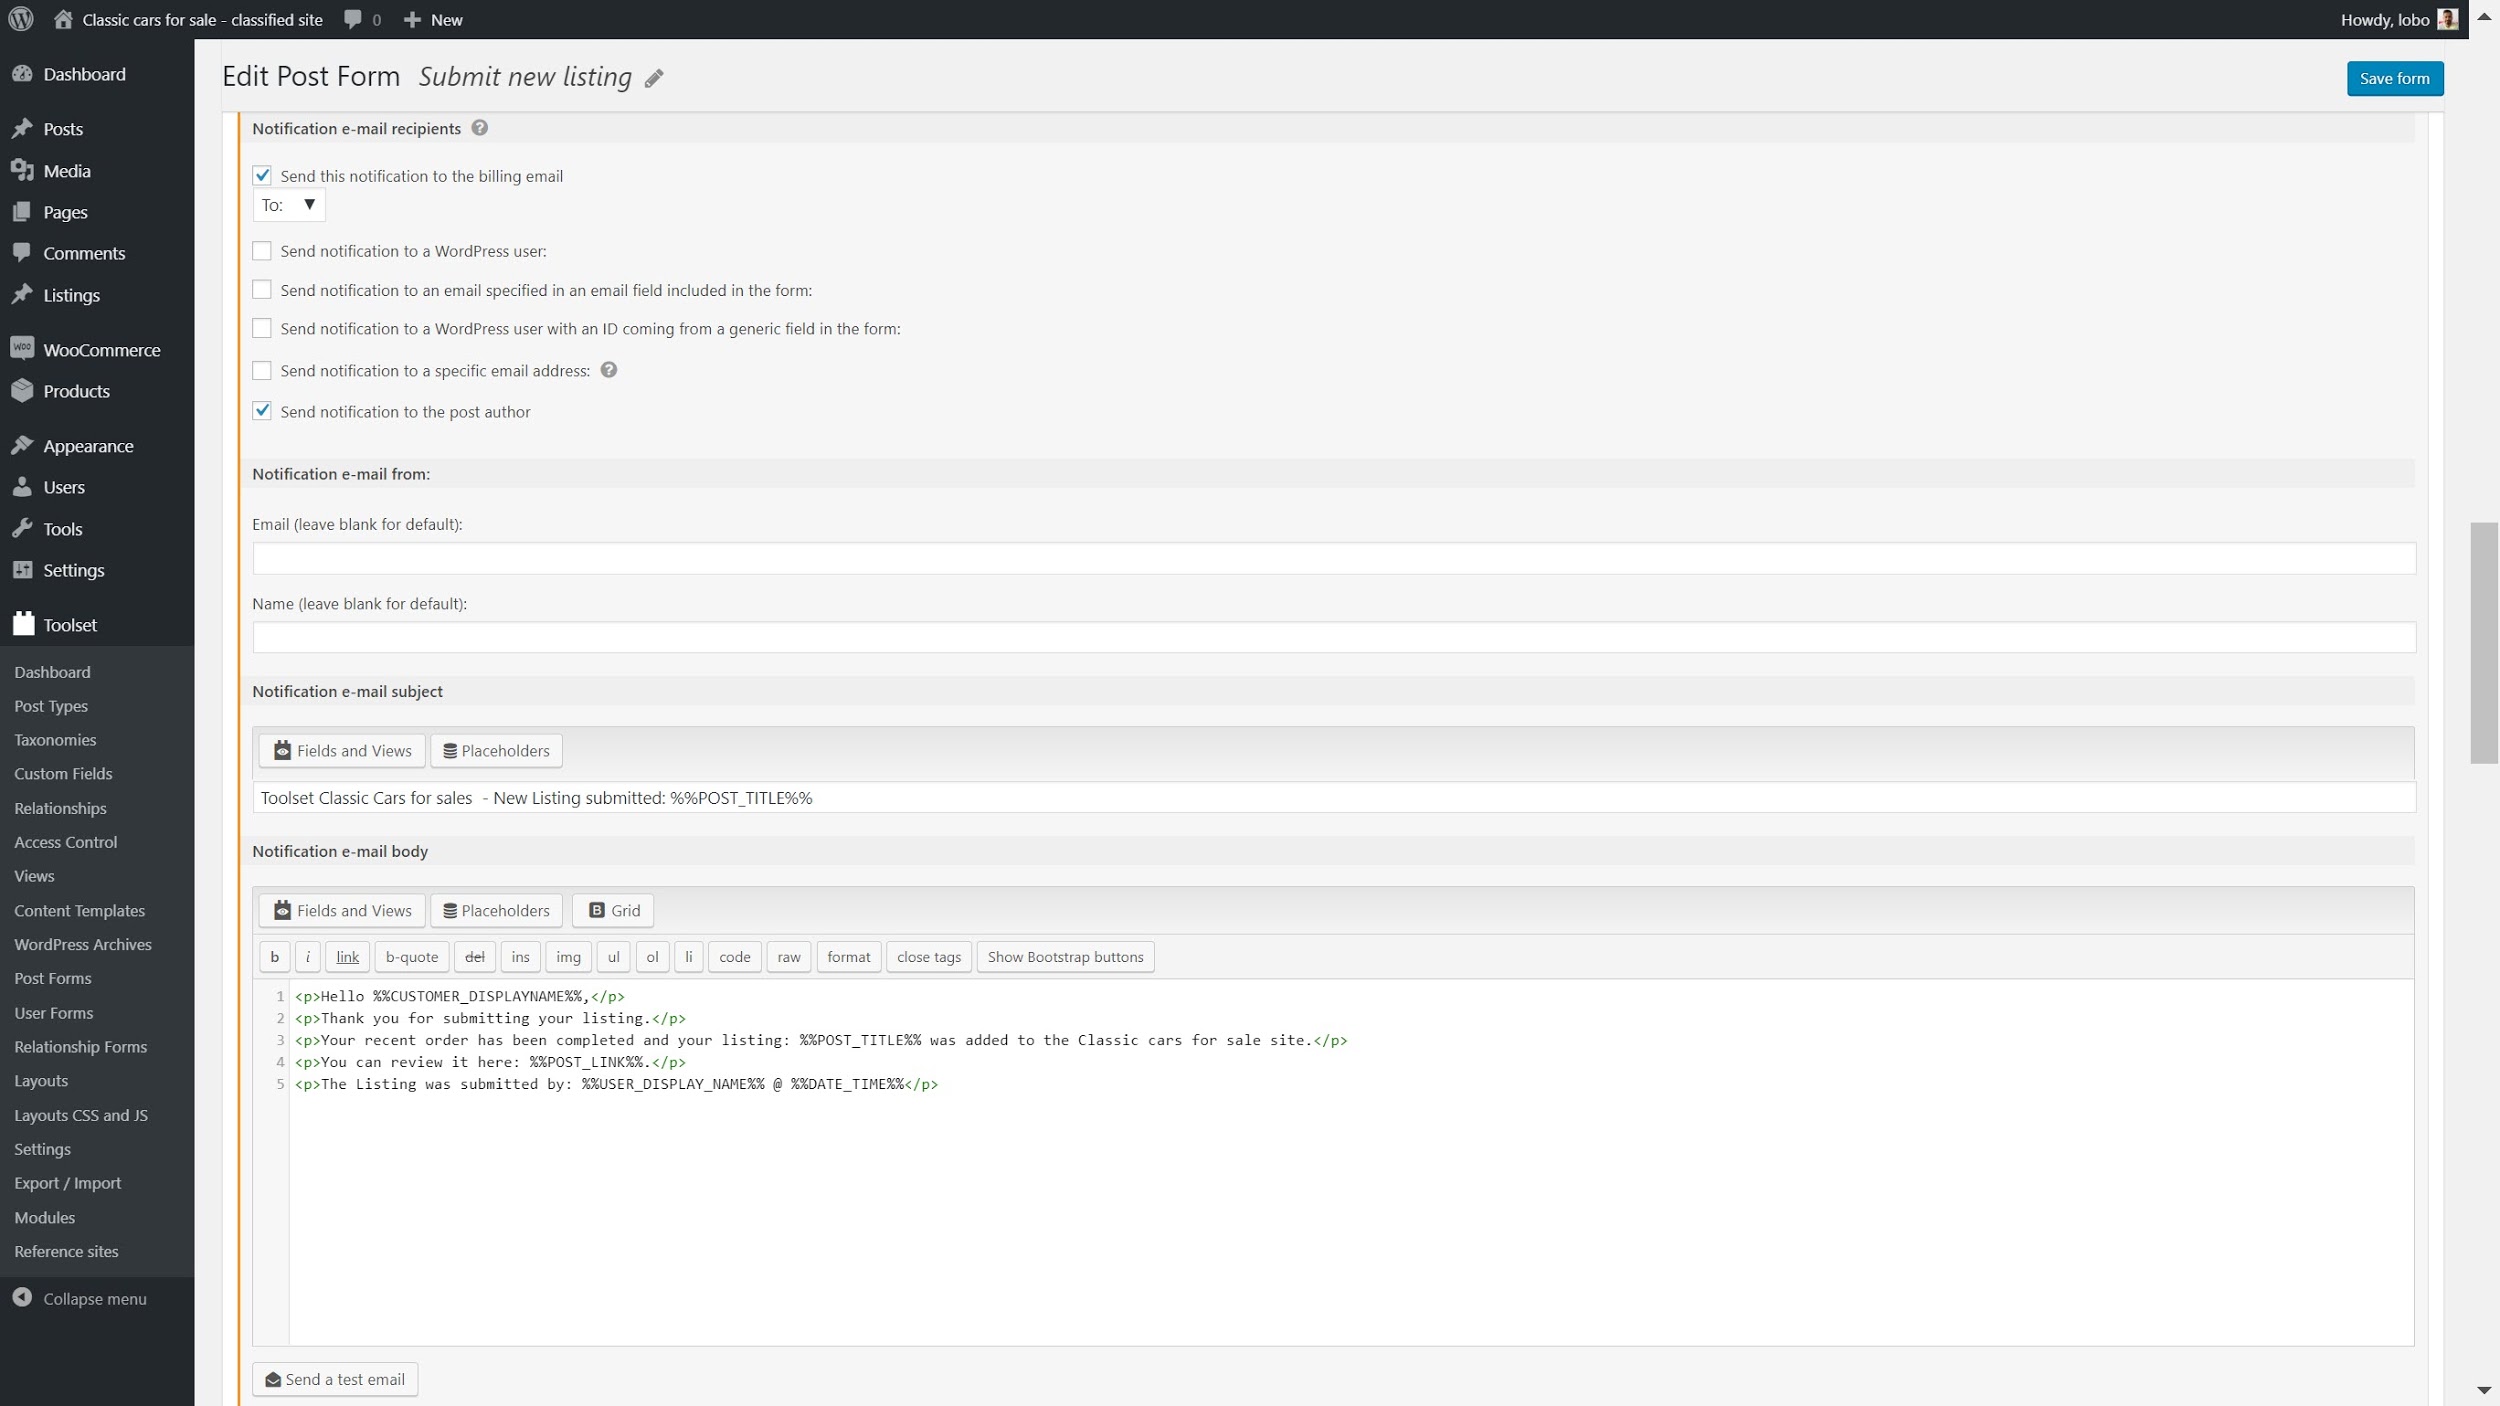
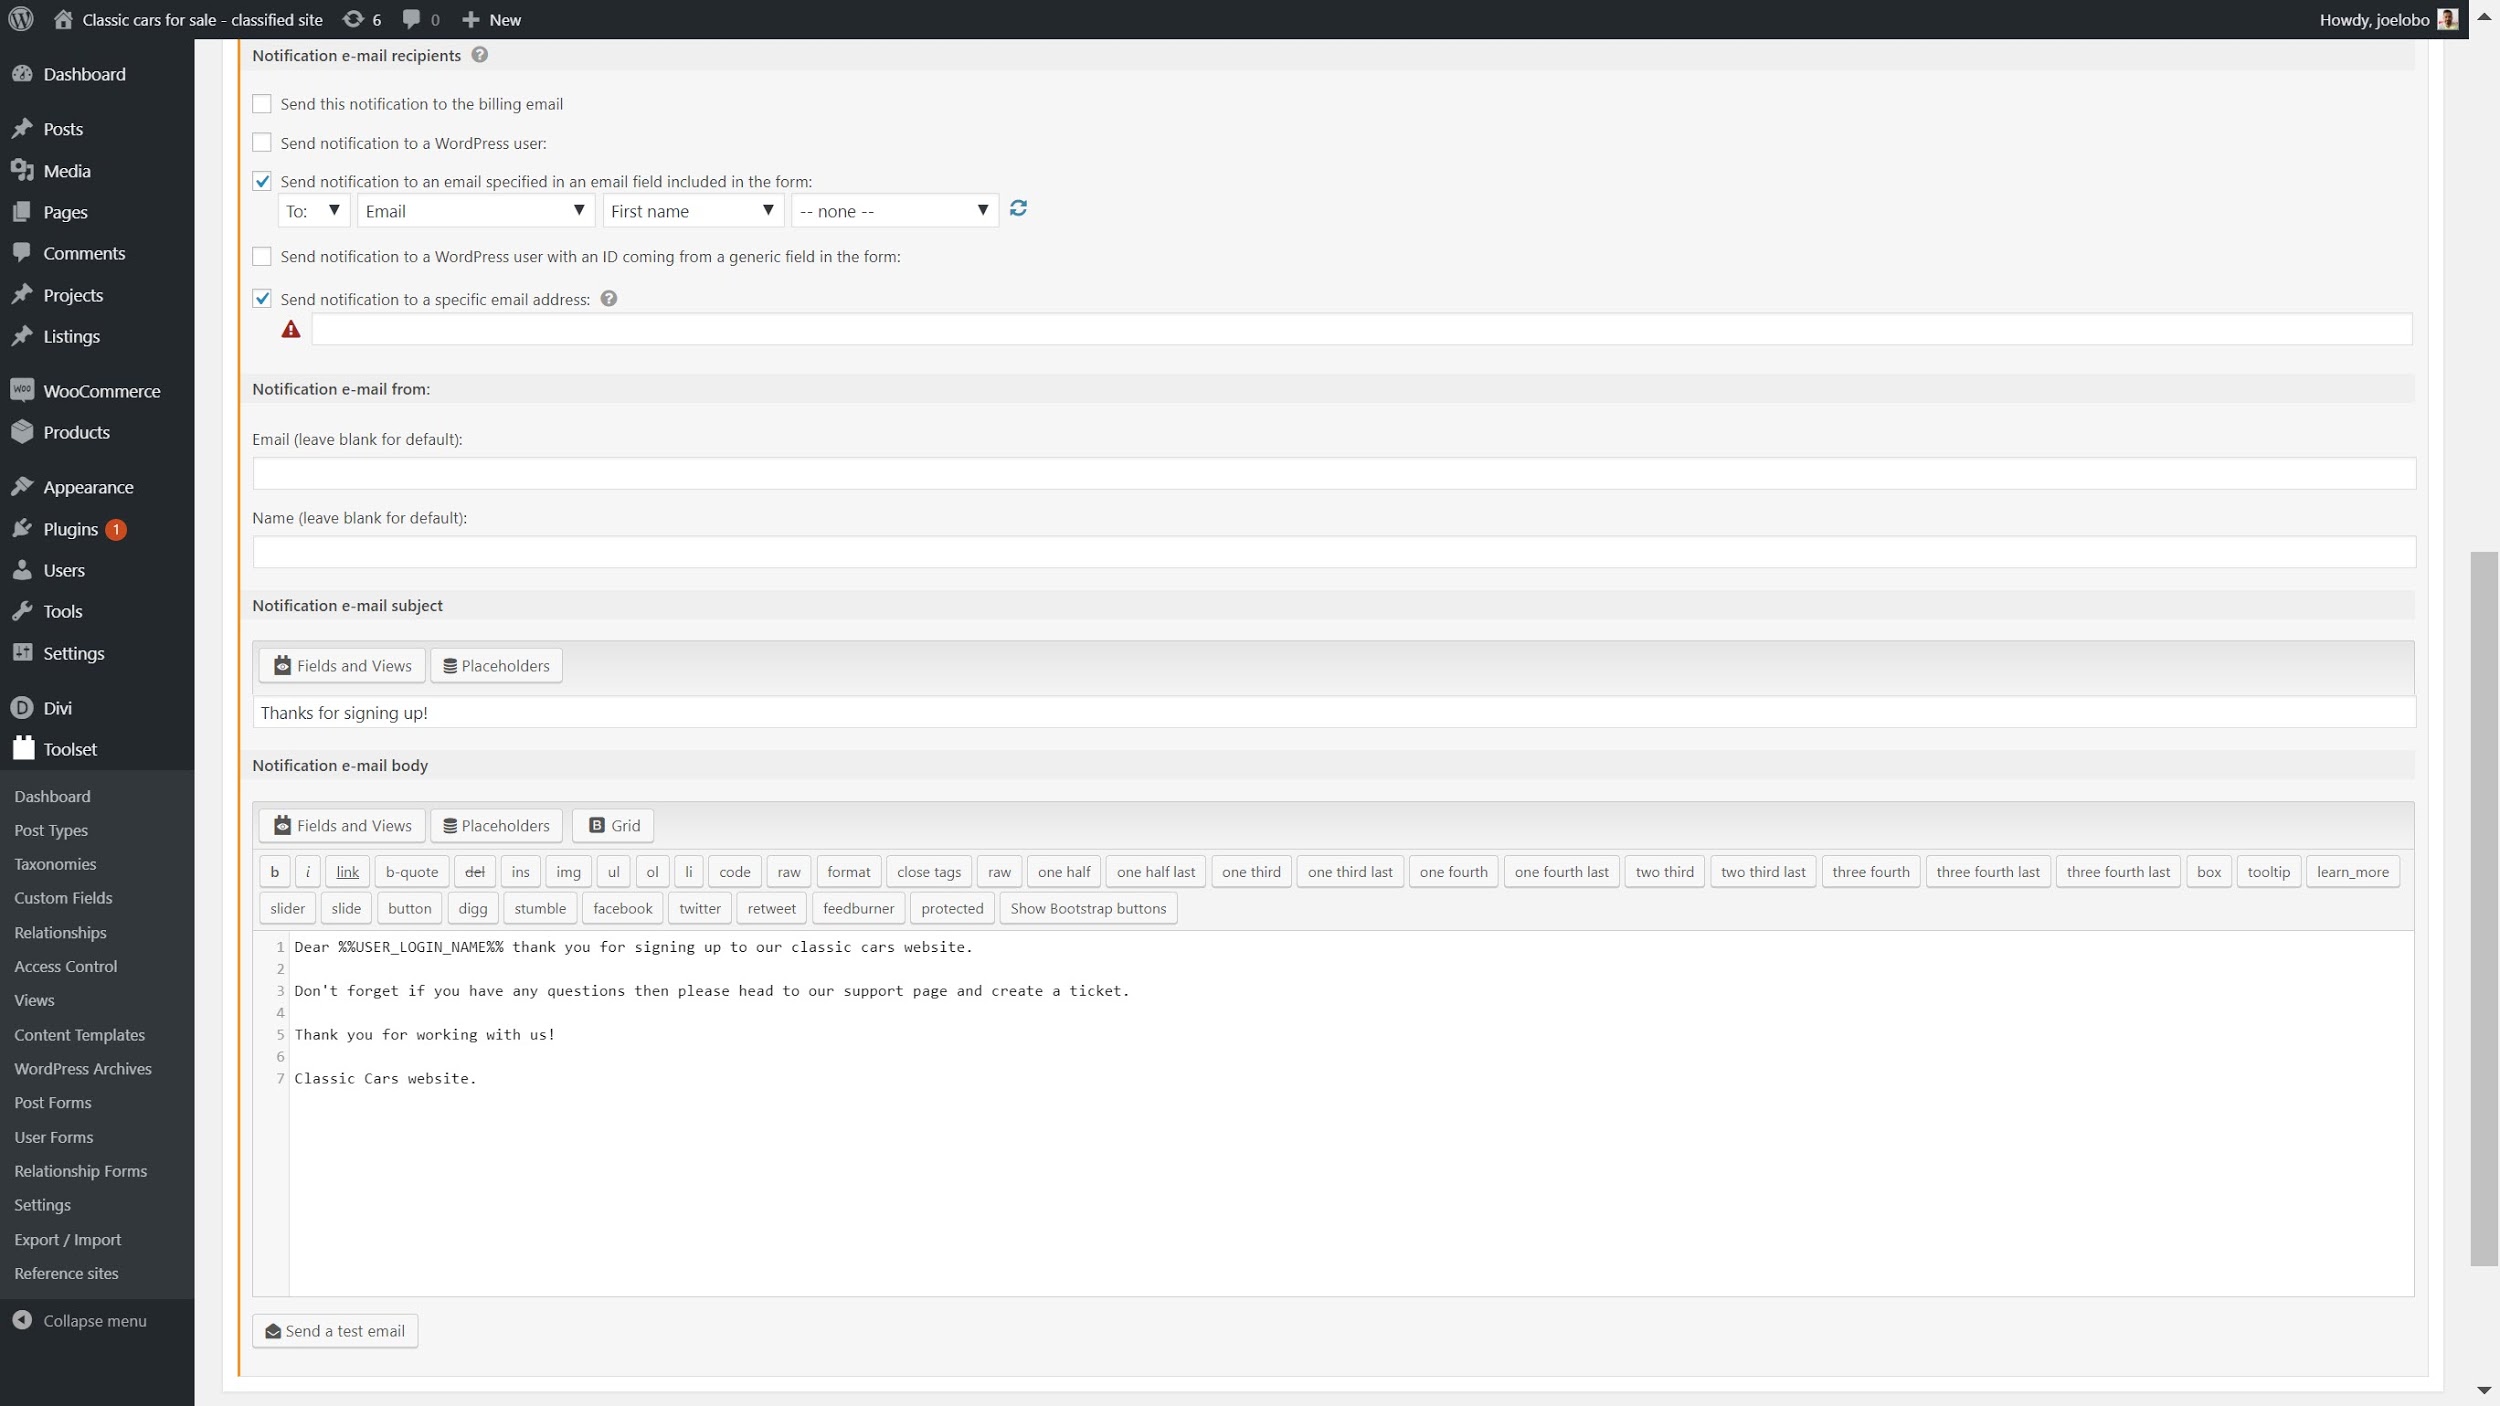
- Finally, you can decide what email notifications you want users and editors to receive once a user submits a form.
In the example below, the user will receive a notification once their submission has been reviewed and is live.
Once you have added any email notifications you want click Finish.
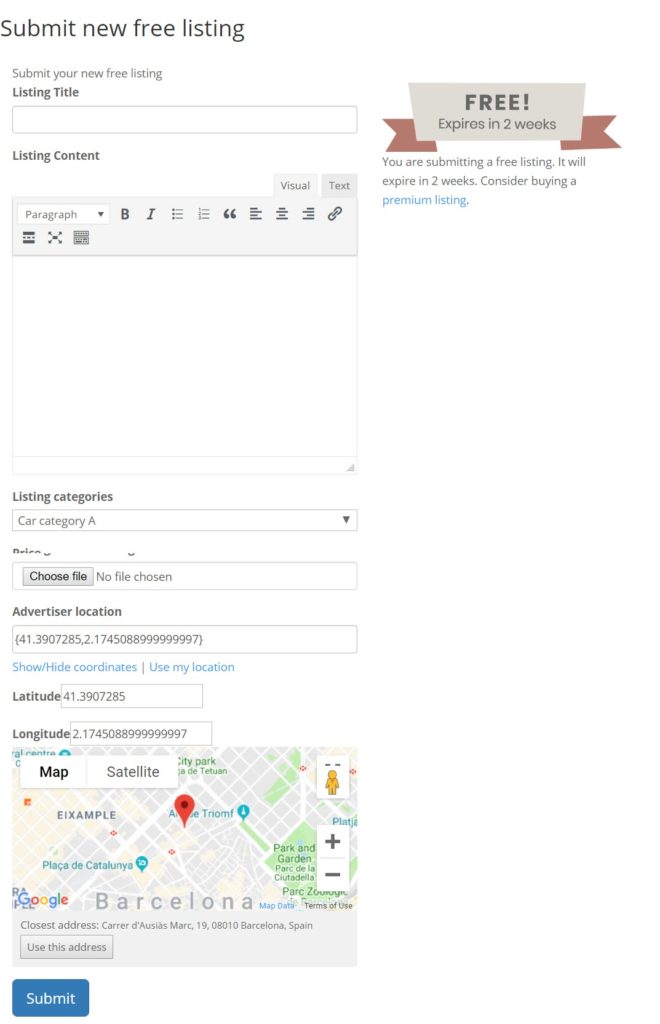
Display our form on the front-end
Now that we have created our form we still need to display it on the front-end using Divi.
- On a Divi Builder template, click Insert Module as we did for our custom fields before.
- Click on the Text module and on the next page click on Toolset Forms.

- Select the form you want to display, for this purpose I will choose my Submit new listing form.
- Click Update and head to the front-end to see how the page looks.
5. How to control access to certain sections
Now that users can submit their own listings we now want to be able to create a login section. With this section, only members who have registered will be able to list their items.
Once we have registered members, we can also set privileges to ensure that only users/editors with rights can perform certain tasks. For instance, guests will not be able to edit any listings.
Finally, perhaps the most important part for a directory website, is that you can monetize your membership by charging those who sign up. In exchange, they will be able to post listings without expirations, for example.
Set the permissions for different types of users
First, we can set the correct privileges for each type of user so we know who can access and edit certain content.
We created our front-end forms for adding listings in the previous section of this article so let’s now add the restrictions so that guests who have not signed up cannot access it.
- Head to Toolset -> Access Control.
- Click on the Toolset Forms tab and open up the Toolset Post Forms Frontend Access.
- Uncheck all of the boxes under Guest so that guests cannot access the form.

- Click Save and your privileges are now set.
This is a very simple example of what you can do with setting permissions. Check out our guide to providing other custom access permissions(such as allowing only logged-in users to edit posts) to see what else you can achieve.
Create a form for users to sign up
We now need a form on the front-end so users can sign up to our classic cars listing website.
- Go to Toolset -> User Forms and click Continue to start the wizard.
- Name your form and click Continue.
- Now you can edit the settings for your form. For example, you can choose what type of member the person who fills out the form becomes, what page they see once they submit the form and whether it redirects. Here’s what I did for mine:

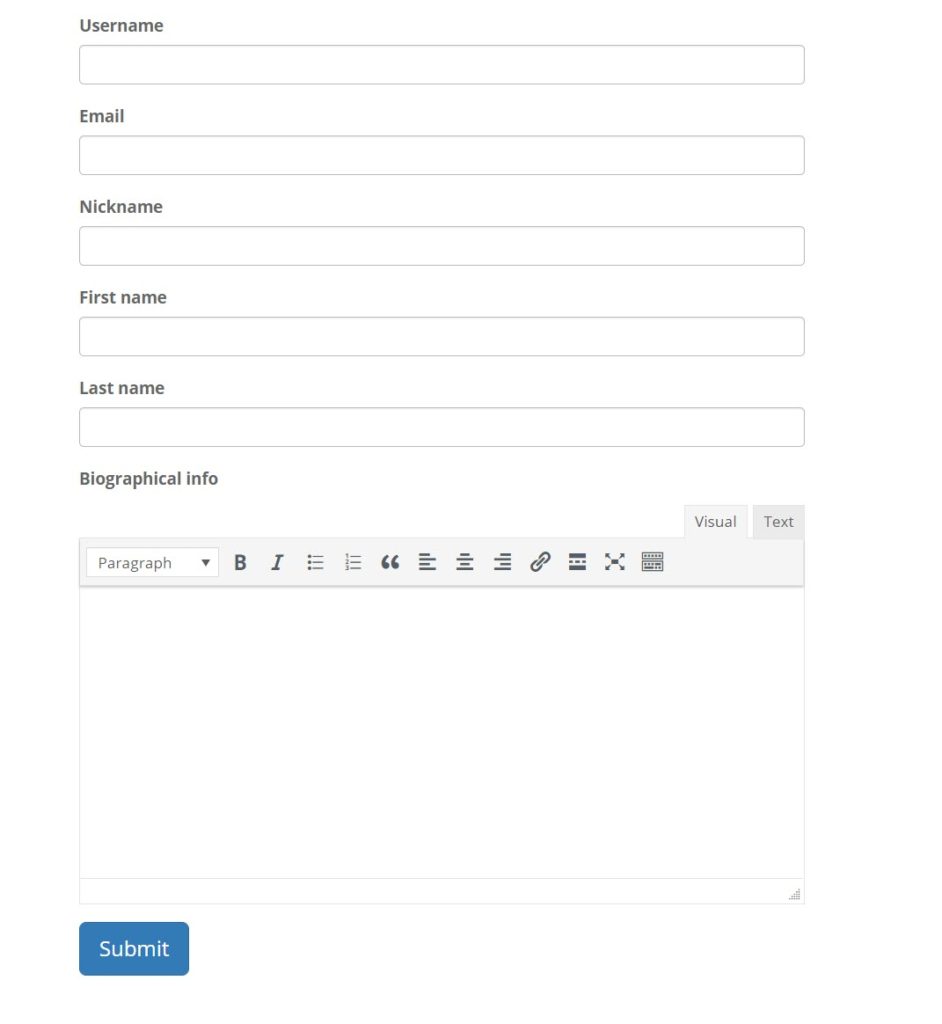
- Now we can decide what fields our form needs using the drag and drop editor. Here are the fields I added to mine:

Note how you can also add CSS and JS here to style your form. For now, I’ll leave it blank.
- Similar to the previous form we created we can add an email notification once an individual submits the form. For my form, I want to send an automated email each time someone signs up. I can automatically add the first name they provide for a personal touch, choose which email address it goes to and write the message they receive.
- Click Finish and our sign up form is now ready to be displayed on the front end.
We can follow the same steps we used to display our previous form to see how it looks. Note how we didn’t use any coding at all but I can always go back later to style it.
Add payments for users who submit content
Finally, we can monetize our directory website by charging our members to submit their own listings.
- Download and install WooCommerce.
- Create the store pages for WooCommerce.
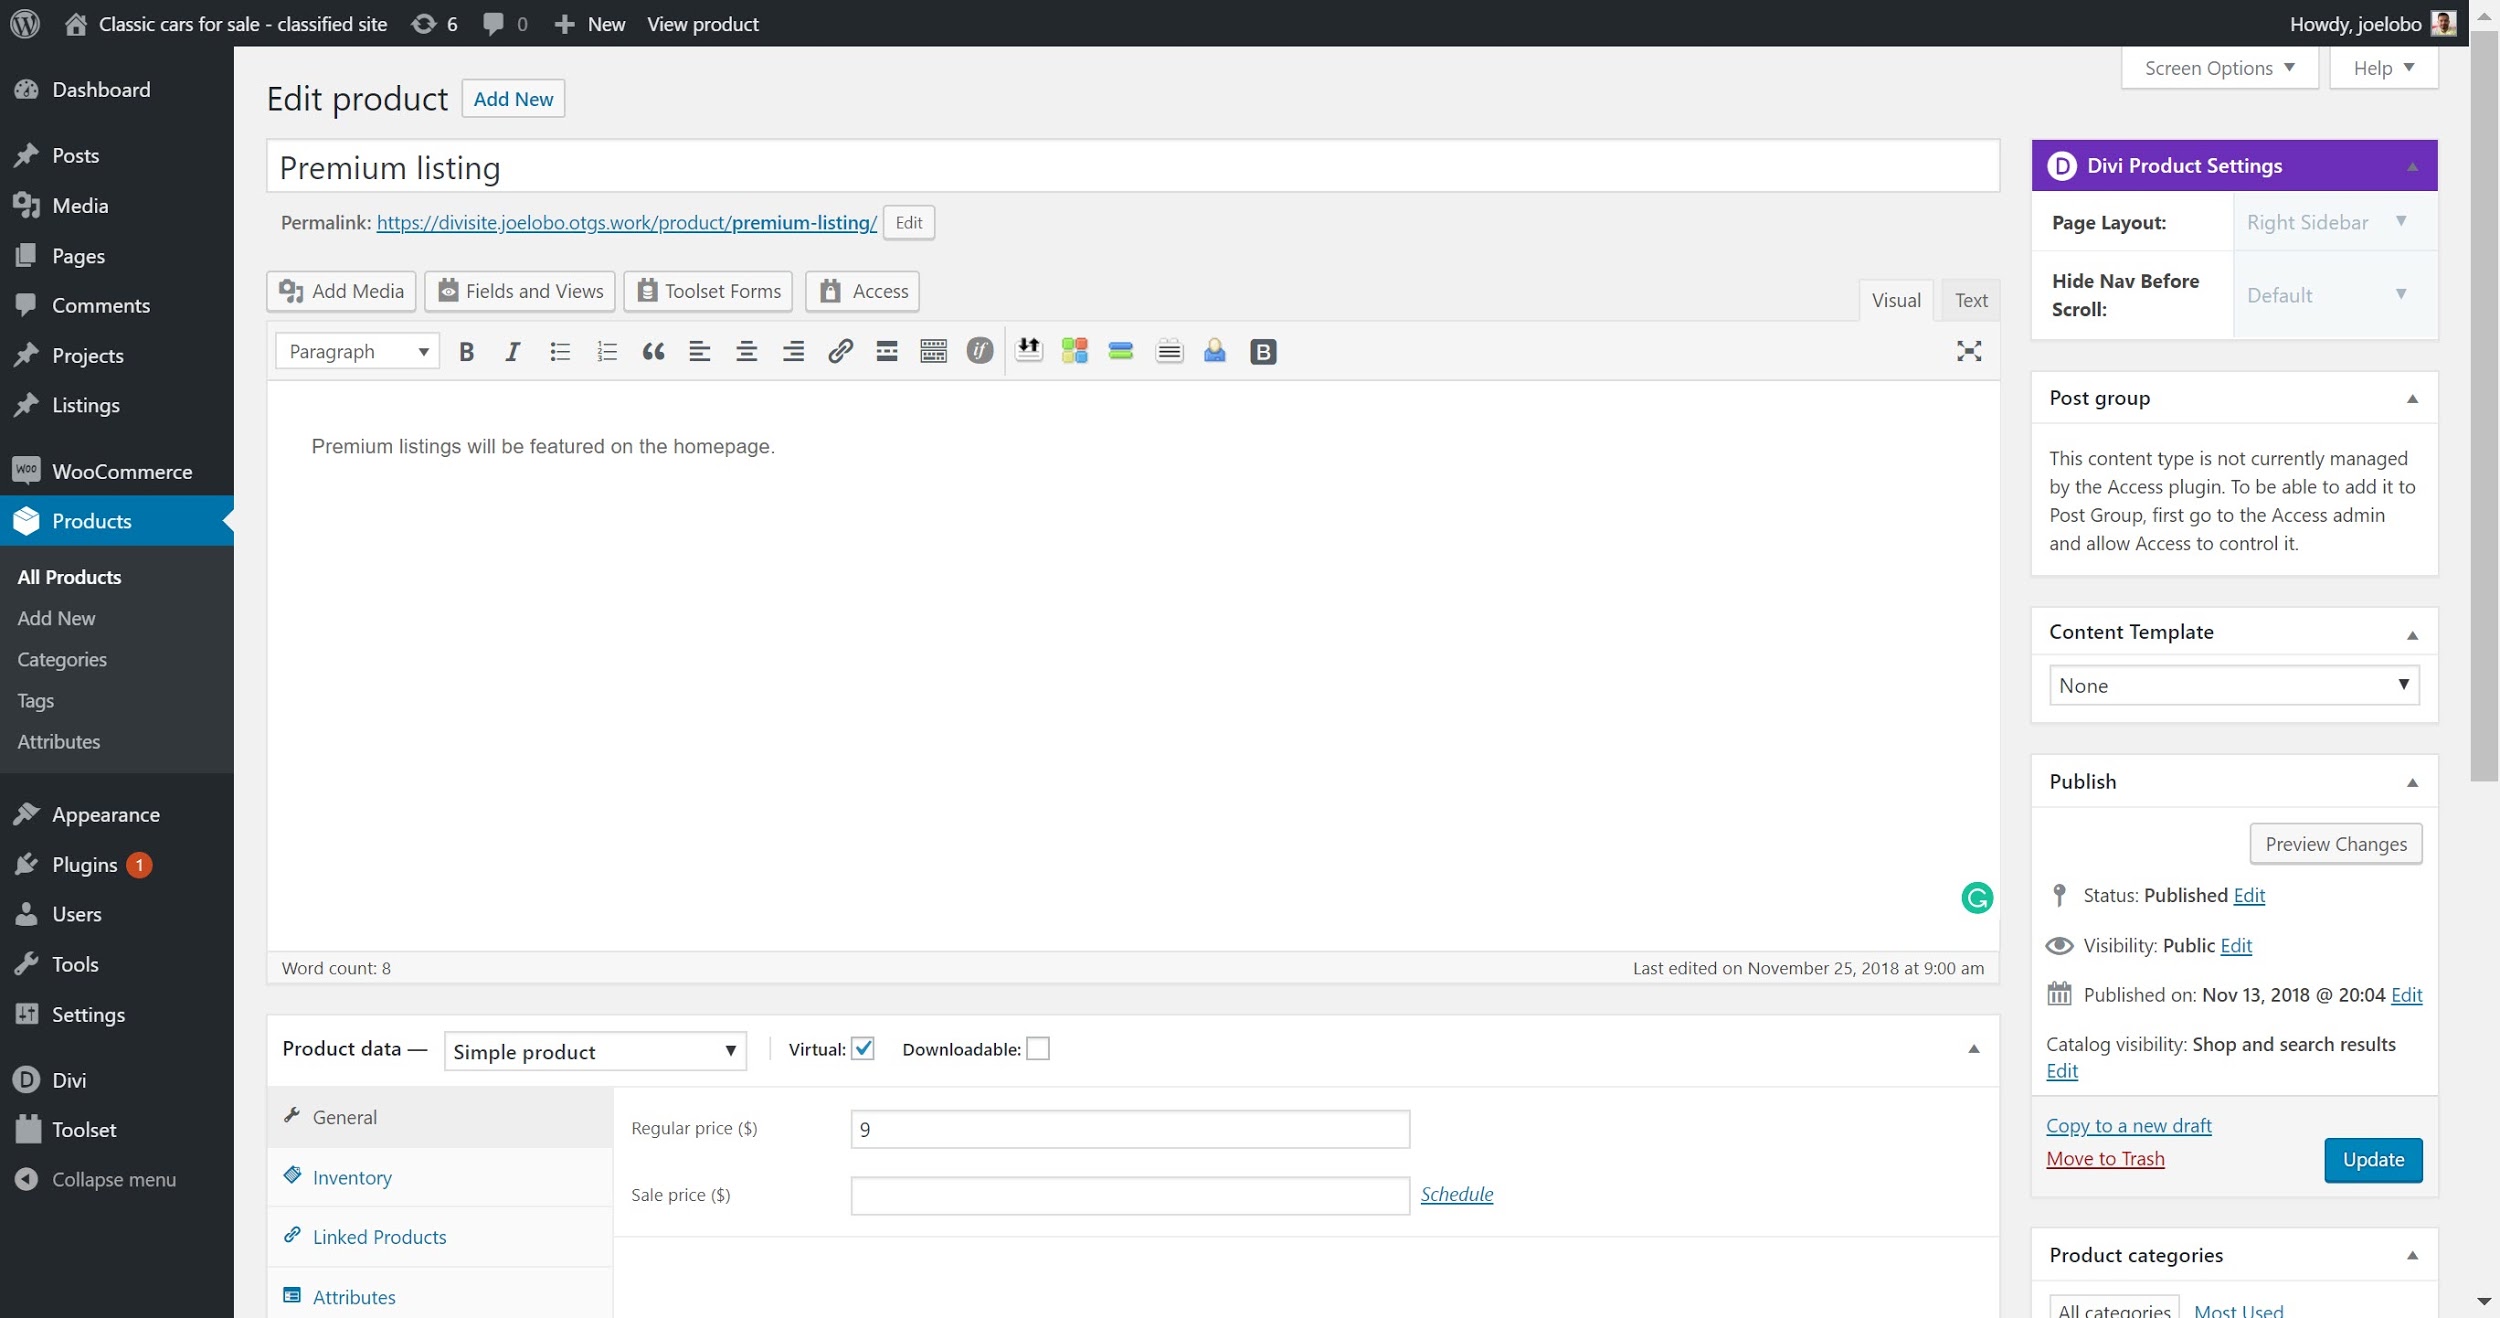
- Go to Products -> Add New
- Enter the name, a quick description and the price. In my case, I’ve called it “Premium Listing” as I want users to purchase a listing that does not expire.
- Head to Toolset -> Post Forms and edit your sign up form.
- Click on charge payment with this form under the Toolset Forms Commerce section.
- Under the Product to buy when submitting the form section which has now appeared, select the product you want users to buy. You can also edit the checkout process here and include any optional messages as part of it.
- Click Save Form and your user form will now come as a payment option.
Summary
Using Toolset Directory and Divi you can create a directory website for any products or services you wish to list quickly and with using a minimal amount of coding.
Divi’s builder enables you to build websites that are styled beautifully and structured in a coherent way. Meanwhile, Toolset Directory provides you with the features you need to build a robust directory website.
Check out our documentation to learn more about what you can do with Toolset and Divi theme.
You can download Toolset Directory today to start building the perfect directory website.


Hi Andrew,
I love this article and have found other directory plugins to be super bulky. This streamlined solution is exactly what the community has been raving about and I’m happy you wrote this article. The price point is great. Thanks
Nice tutorial. Do you disable Toolset bootstrap css as it tends to conlict with Divi ?
Also how would you generate a category page displaying the listings in a simplified view ? I’m just wondering how to create a grid of listings in that case, as bootstrap css grid system should be disabled.
Thanks
Hi Andrew,
Such a nice tutorial and a great plugin to have. The price tag is a bit high, any chance you will be able to throw in a discount code for your subscribers?
I am sure I can discuss this with Toolset who helped me write this post – MY view is – if you have a use case for it – the price becomes irrelevant as the client pays for it along with a new skill set you can use to build out Divi sites and be the go to for Directory sites using toolset.
True, if the directory service goes well, even $1490 may justify. However, when someone choose Divi as the core to build a directory website, its a small and “may fail” venture, minimising costs is what’s always kept in mind. Plus, ToolSet may help on start ups for a test run, once success, migrating to a more tailored solution would be a need, and WordPress and ToolSet may become useless.
Just my 2cents anyway.