
Divi Cascading Multi Image is a module for the Divi Builder that lets you place multiple images and icons and then control their positioning and effects independently. Place as many images and icons as you want to create galleries, product mockups, icon clouds, and more.
In this Divi plugin spotlight, we’ll take a close look at Divi Cascading Multi Image and see how easy it is to use. It works with both Divi and Extra.
You can purchase this plugin in the Elegant Marketplace shop.
Installing Divi Cascading Multi Image
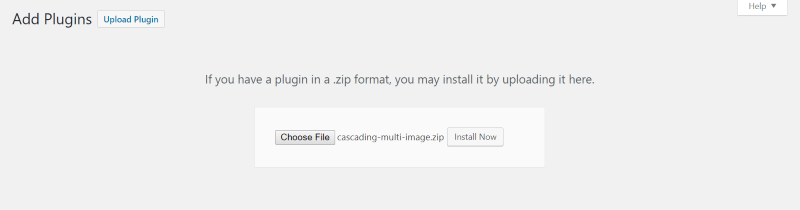
First, upload and activate the plugin as normal.
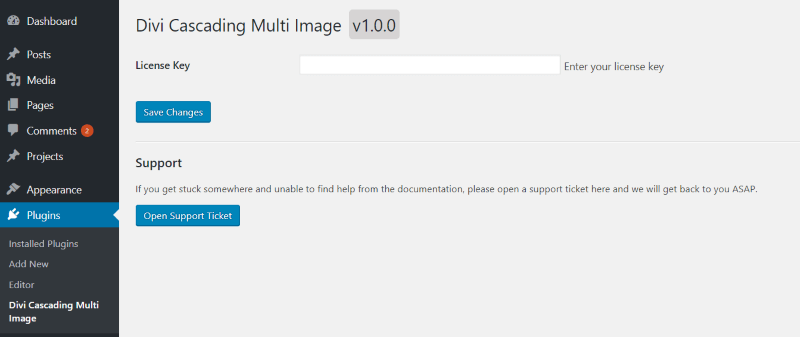
Next, you’ll need to activate your license. A new menu item is added to the dashboard under Plugins called Divi Cascading Multi Image. Here you’ll be able to enter your license key.
Divi Cascading Multi Image Module
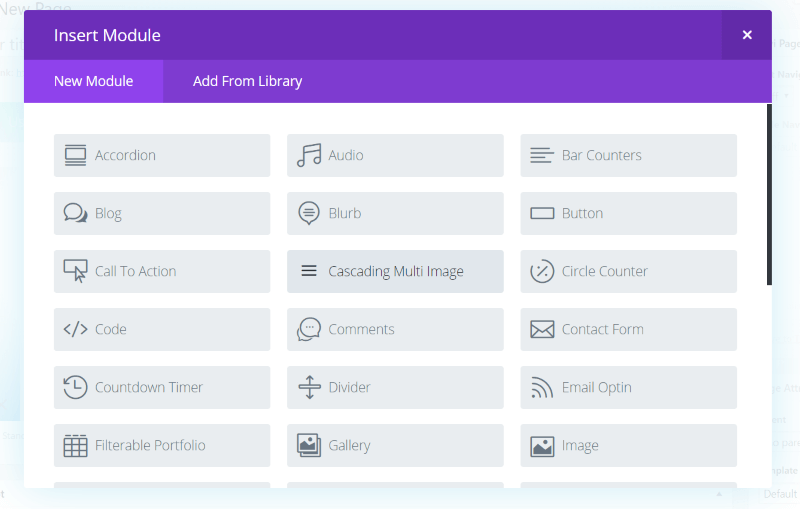
A new module is added to the Divi Builder called Cascading Multi Image.
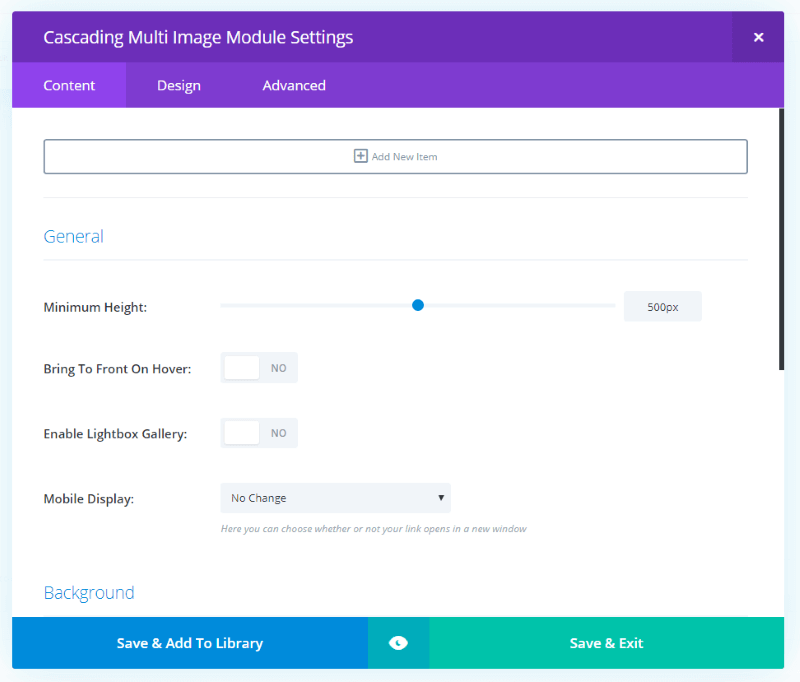
The images are added as individual items. The general content settings include the area to add the images, minimum height, bring to front on hover, enable lightbox, mobile options, and background settings.
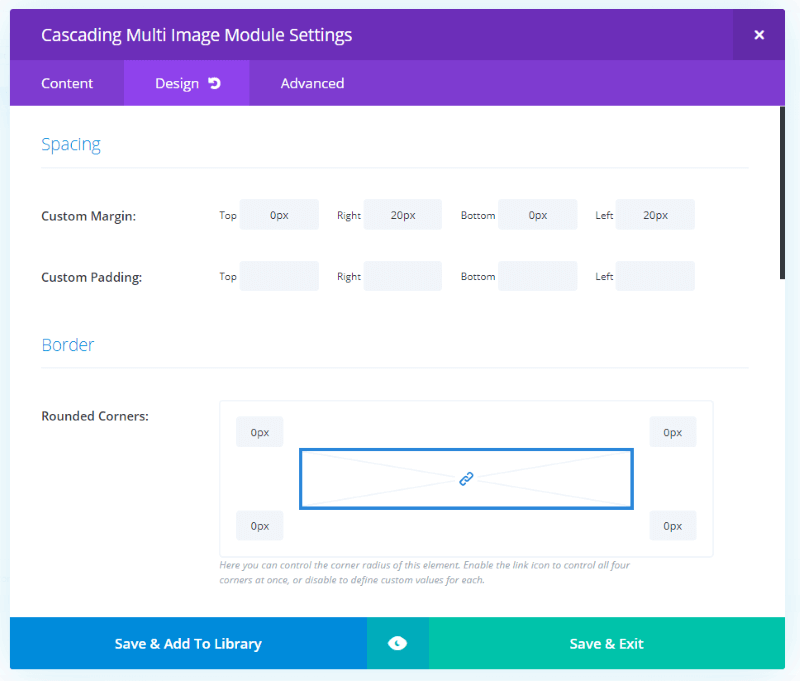
The design tab includes settings for spacing, border, box shadow, and animation. The advanced tab includes the basic features found in all modules.
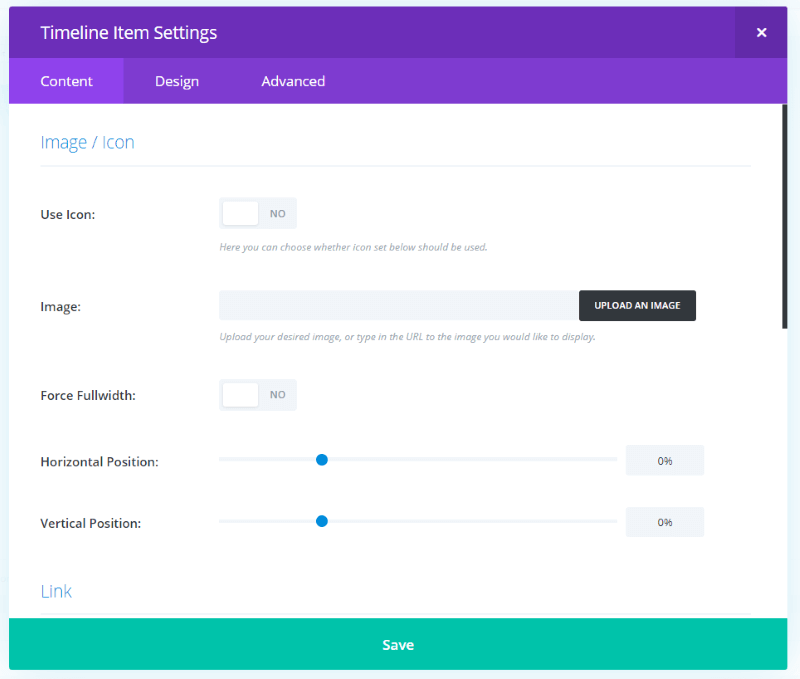
The individual items also include the three common tabs. The content tab settings include the image/icon, link, transform (perspective, rotation, and skew), and background.
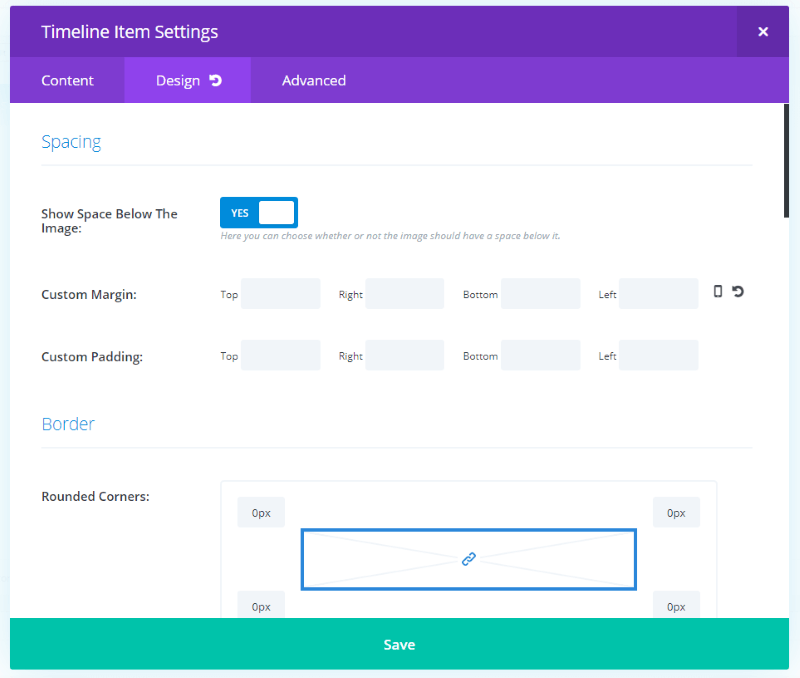
The design tab includes spacing, border, box shadow, and filters.
Divi Cascading Multi Image Examples
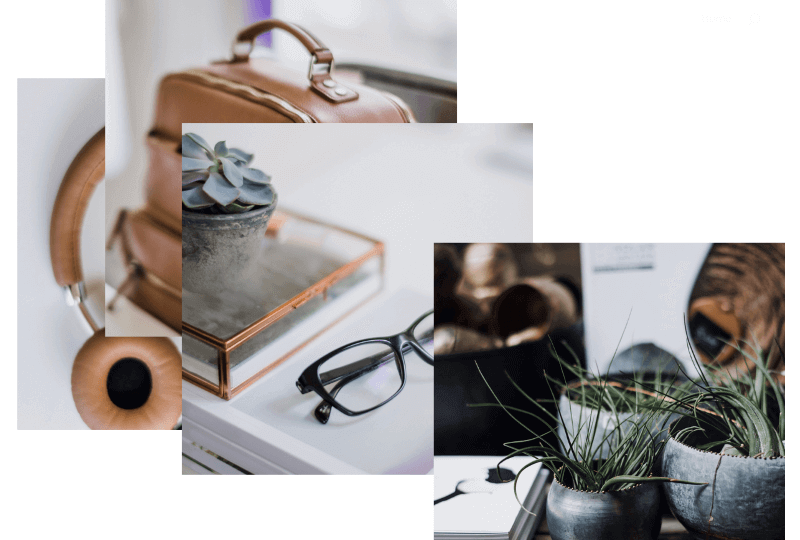
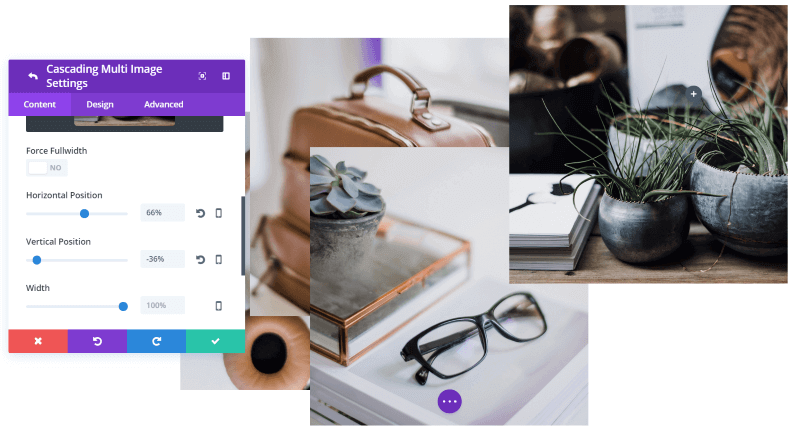
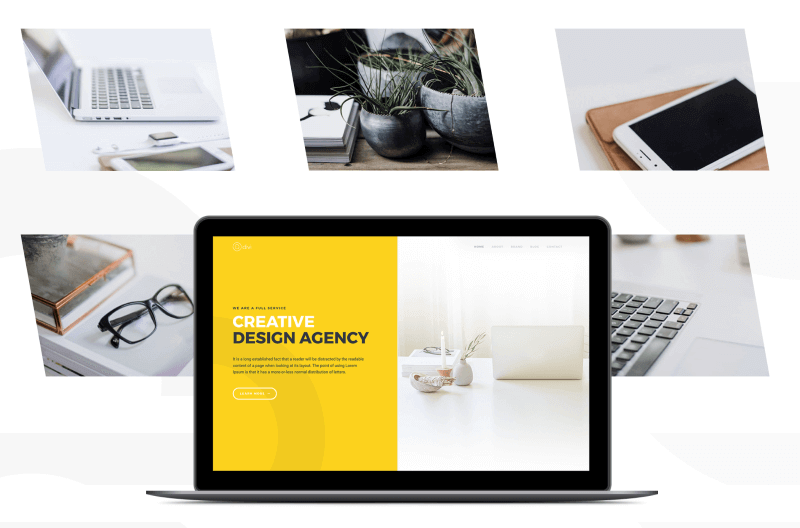
I started using the module by adding images and playing with the settings. For this set of images, I’ve adjusted the horizontal and vertical position. If you don’t, all of the images will appear on top of each other. This is fine if you’re using images of different sizes and shapes.
You can make your adjustments from the frontend and see them in real time. The frontend builder is the best way to adjust the position of the images. Here, I’m adjusting the height of the image on the right side.
This makes it easy to get the exact layout you want.
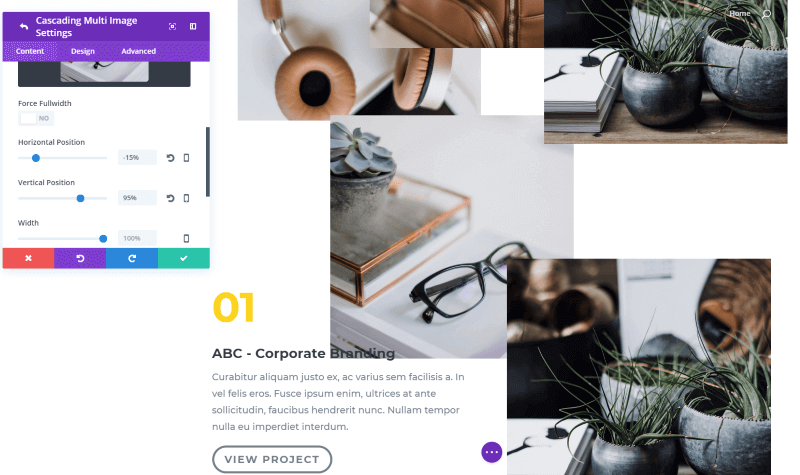
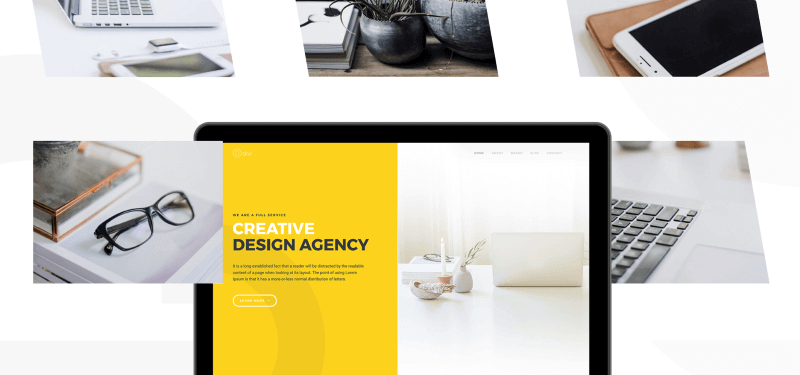
You can also make an image overlap the next section. Here, I’ve brought the image all the way down into the next section to overlap an image and text box.
In this one, I’ve aligned them in a staircase and enabled them to come to the front on hover.
For this one, I’ve set the skew to -20. The image slowly corrects itself as it comes to the front on hover.
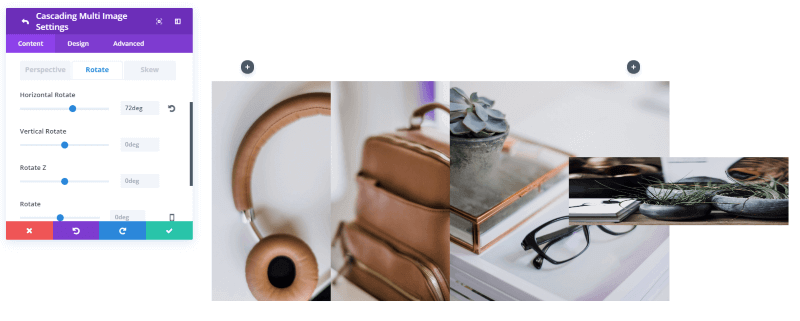
The rotate features are interesting. I’ve set the horizontal rotation of the image on the right to 72 degrees.
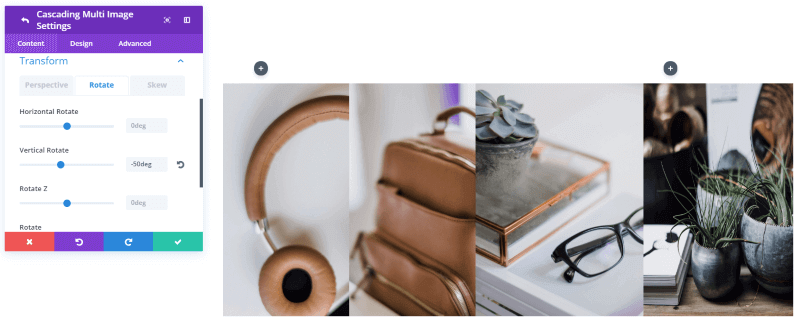
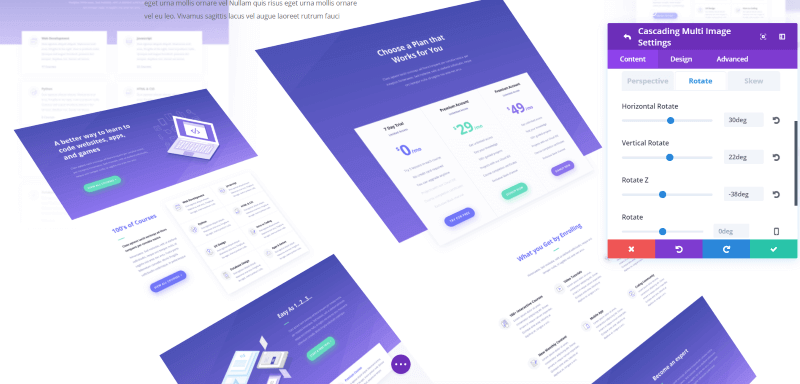
This one uses a vertical rotation of -50 degrees.
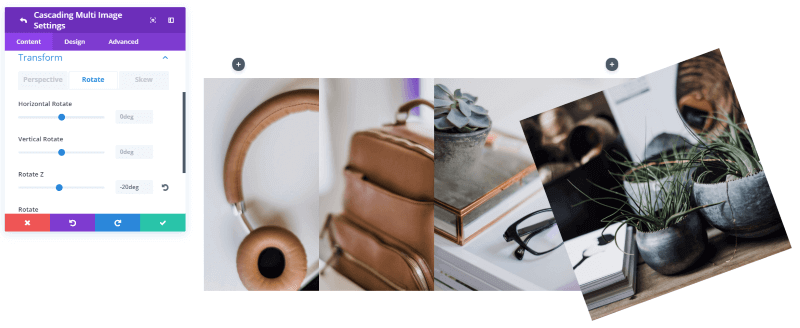
Here, the z rotation is set to -20 degrees. Rotate has a similar effect. They can be used together or independently.
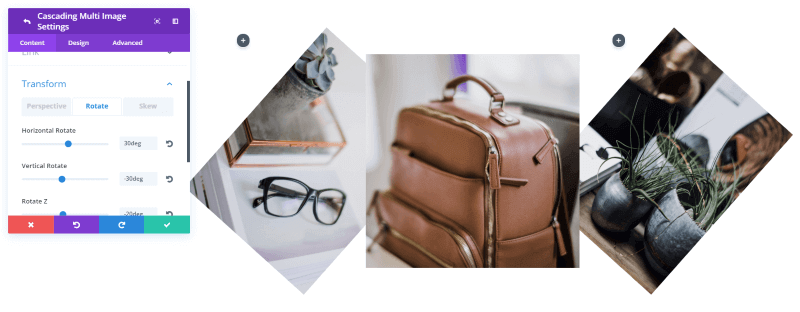
The rotate features create some interesting angles.

Add perspective to the images and they’ll have more depth when you rotate or skew them. I like this feature a lot because it gives a 3D effect. They seem to float on the screen.
I like that you can adjust each image individually.
It allows you to create some interesting layouts to showcase your products.
Easily create different types of gallery designs.
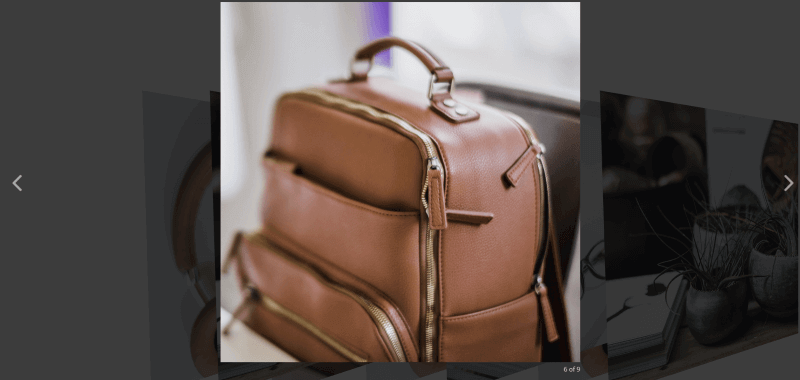
The lightbox opens the image in a larger screen and provides arrows so you can navigate between them.
For this one I wanted to do something a little crazy. I added the module to a section of blurbs, and then added images of various sizes and then spread the images out so they overlap the blurbs. I also added a box shadow effect to each image. This is using a ¼, ½, ¼ row setting. This could create some interesting designs if used correctly.
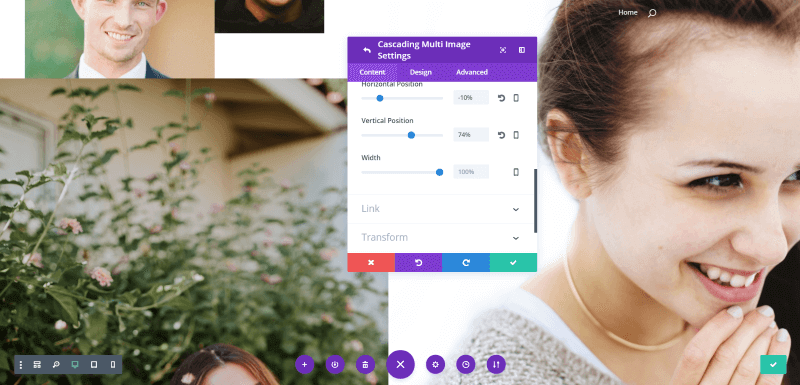
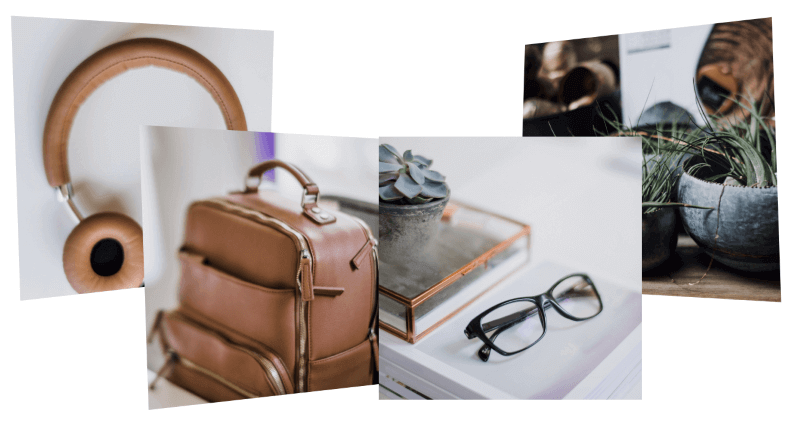
I wanted to remove the blurbs and use a single column row. One problem I ran into though was a couple of the images were too large to fit into the space I wanted to use for them. This is where width adjustment comes in handy.
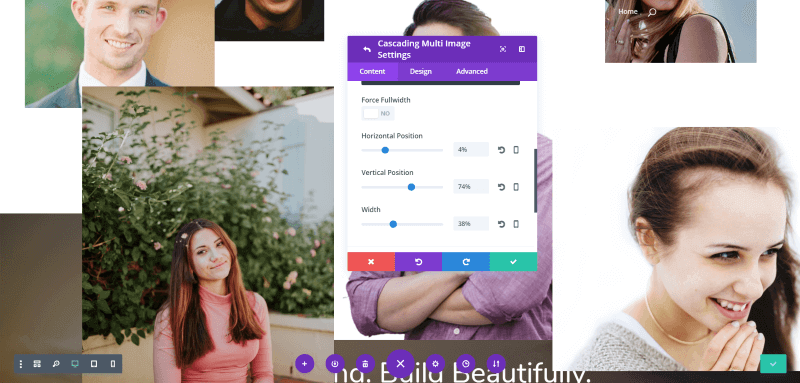
Now I’ve adjusted the width of the larger images, which brings down the overall size of the images.
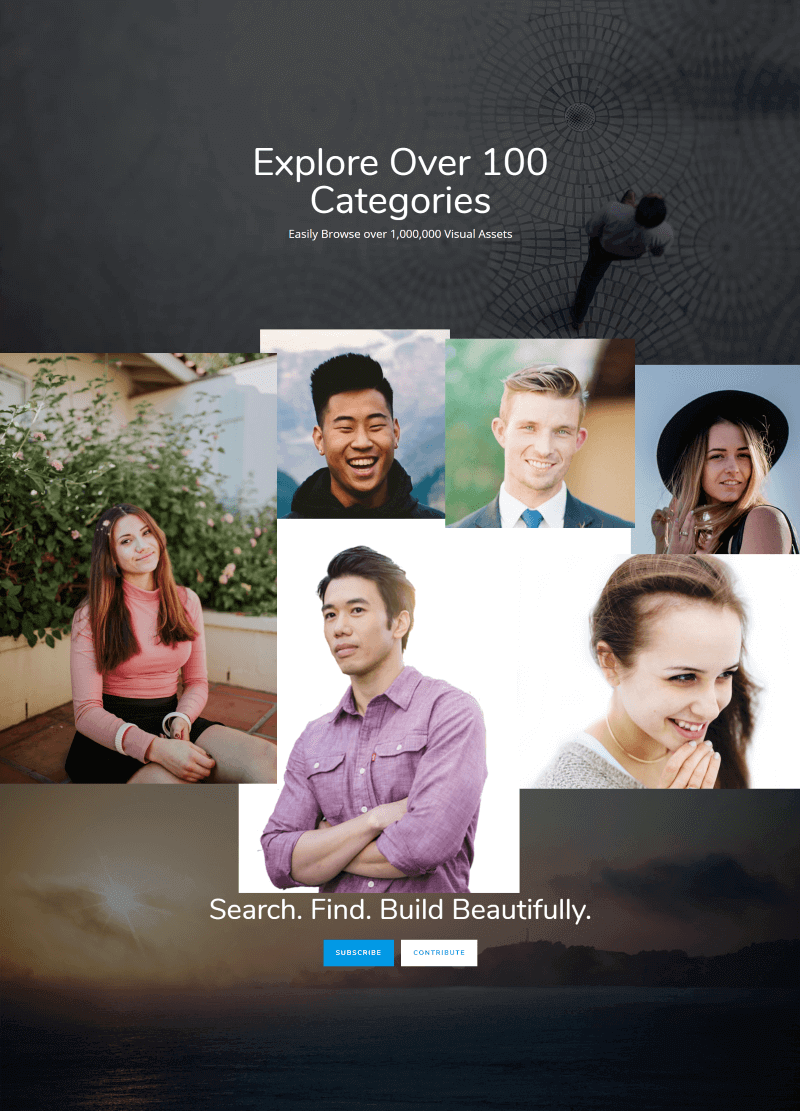
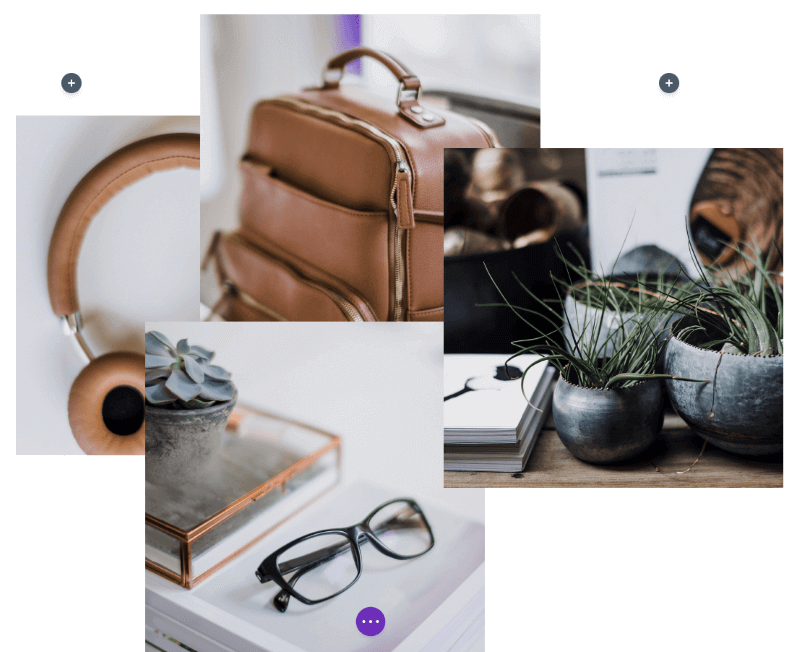
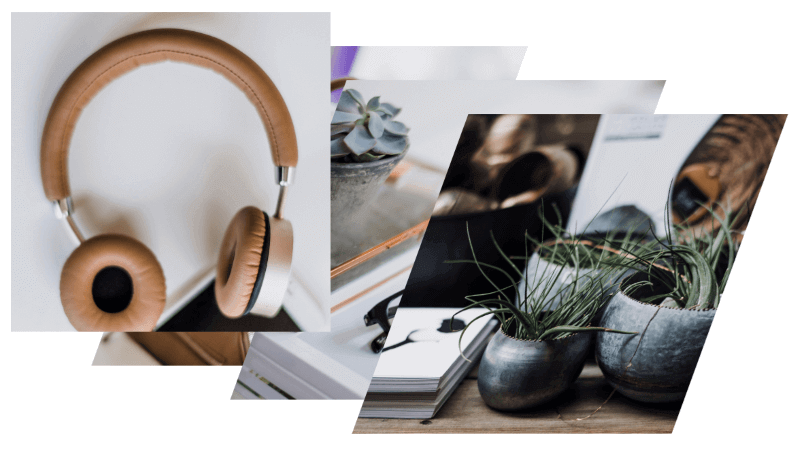
With a little bit of tweaking the horizontal and vertical positioning, I got the exact layout I wanted. It creates a beautiful collage that overlaps the previous and next sections, and each photo comes forward on hover and opens in a lightbox on click.
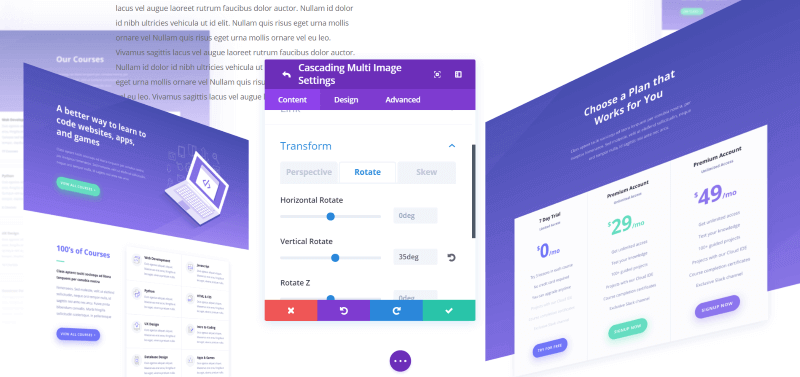
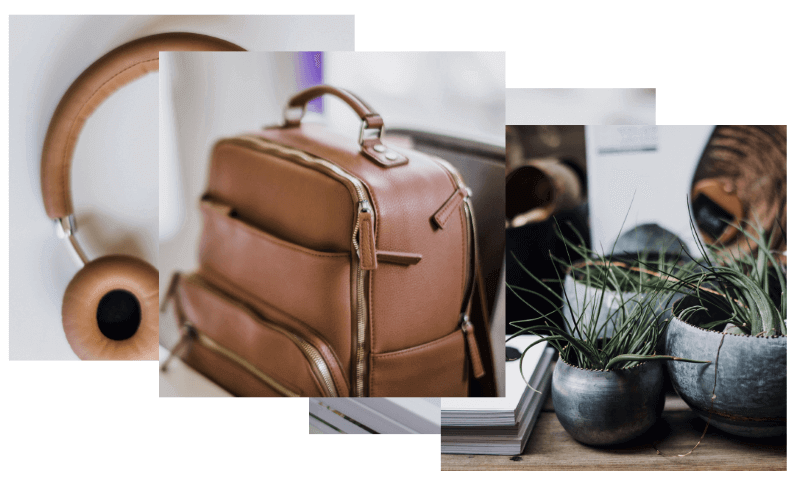
In this one, I’ve used vertical tilt with a perspective of 1000 on both images. This is an interesting way to show layouts.
You can tilt them as you’d see in those professionally designed Photoshop templates. Here I’m in the process of adjusting perspective, horizontal, vertical, and rotate z to create a product page image for a Divi layout.
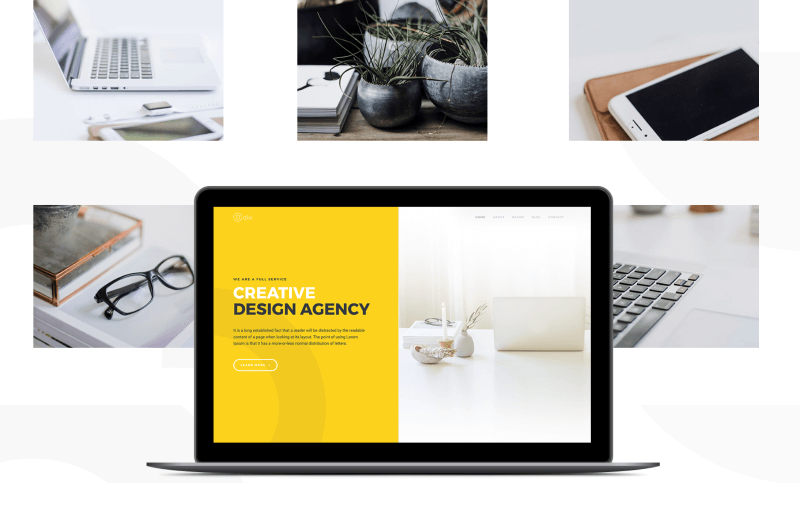
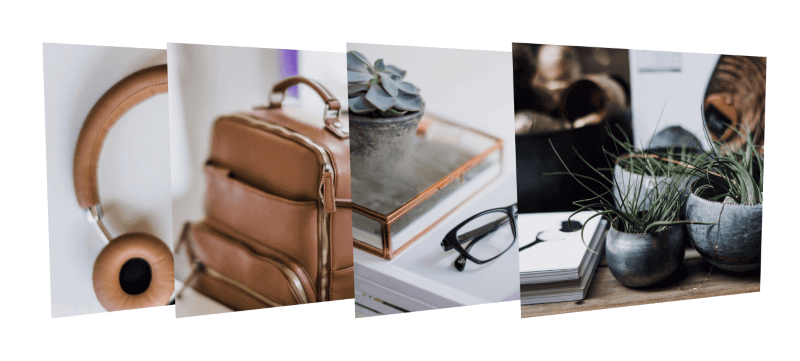
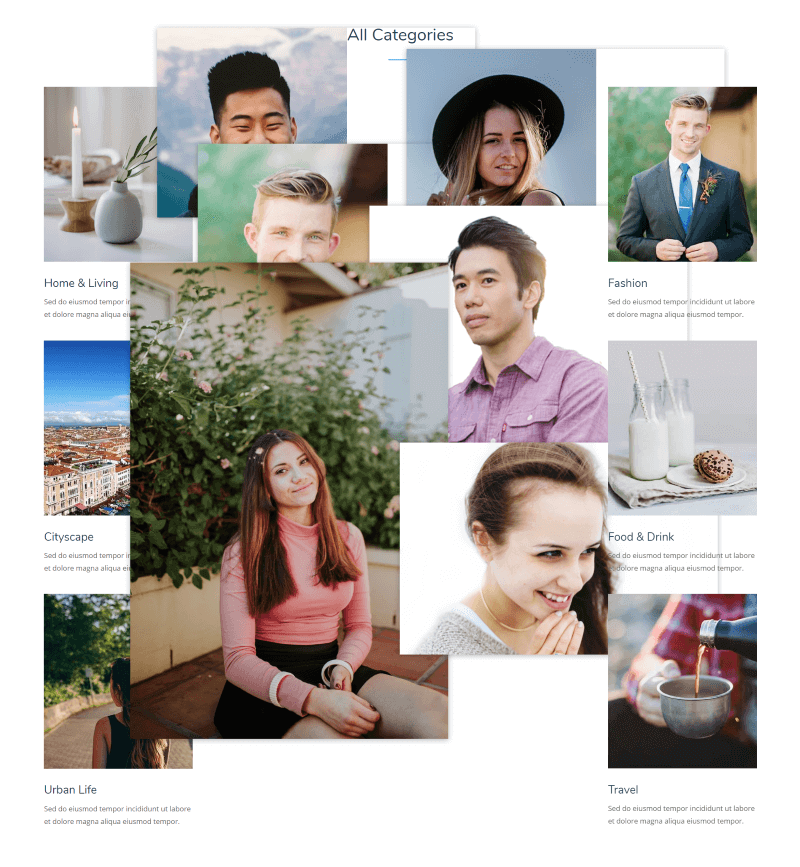
In this example, I’ve recreated a section from one of the Elegant Themes layouts. They used 3 rows with 6 image modules. I used 1 row and 1 module.
Of course, this lets us do something completely different with the images. I’ve left the main image alone, but I’ve skewed the surrounding images by 10 degrees.
Hovering over an image brings it forward and corrects the skew.
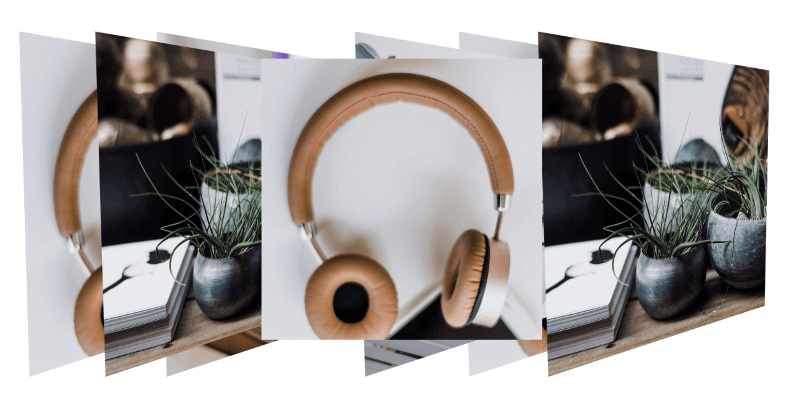
In this one, I’ve tilted each one horizontally to create a little bit of chaos in the design. Of course, each one straightens on hover. There are lots of design possibilities here.
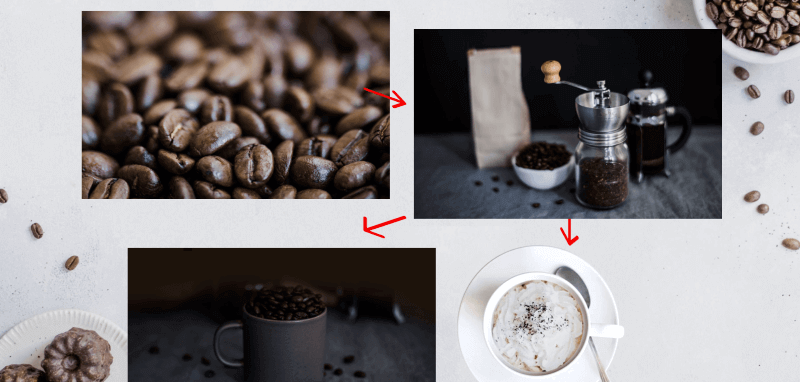
You can use icons as well as images. In this example, I’ve added four images and three icons. Each one of these is a different item within the module that can be adjusted independently. I’ve placed the arrows so they point to the next option. I’ve skewed them just for fun. This could be useful for providing instructions, creating a timeline, menu, etc.
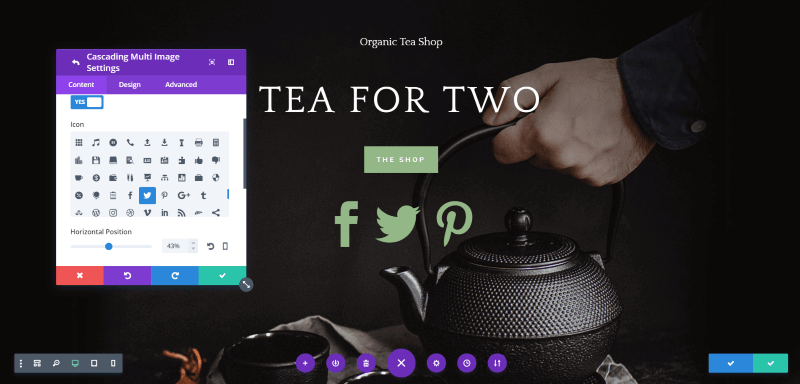
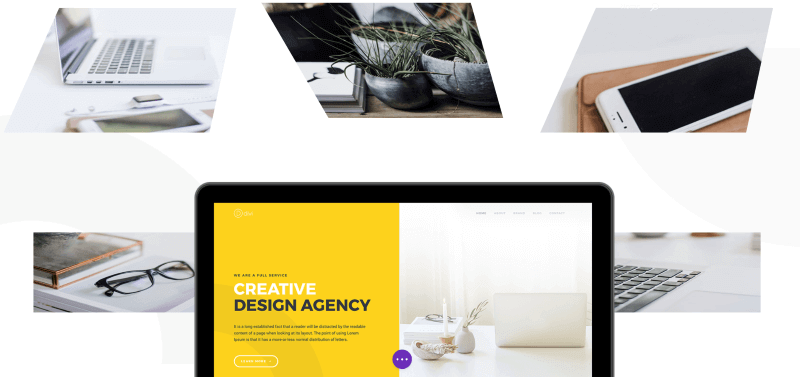
In this example, I’m adding social follow icons to the header. I’ve taken the color from the button on the page and aligned to sit under the button. I’ve added a custom link so it opens the social network in a new tab. This could be used to create a section for social follow buttons, visual menus for the header, footer, or somewhere within the layout, etc.
Layout Packs
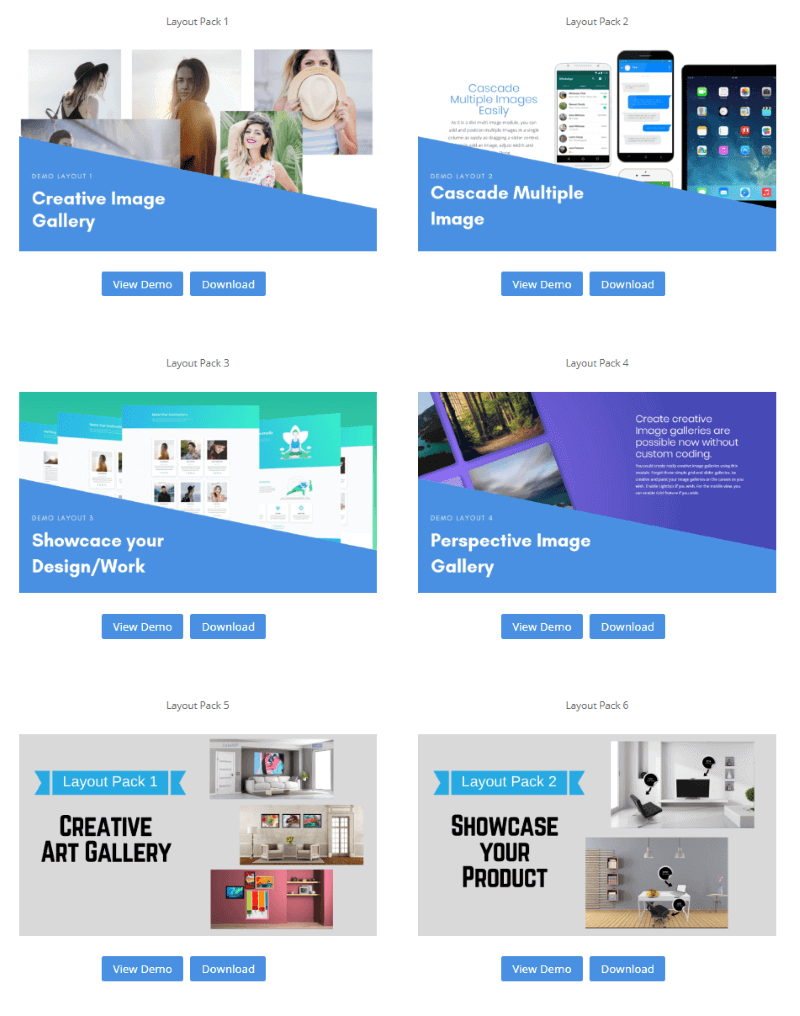
There are several free layout packs that you can download from the developer’s website. They provide the galleries and product mockups that you see in the demos and are a great place to start when creating your own layouts.
License
Divi Cascading Multi Image is $28 per year and includes updates and support.
You can purchase this plugin in the Elegant Marketplace shop.
Ending Thoughts
Divi Cascading Multi Image is highly intuitive and makes it easy to create interesting designs. My favorite uses are product features and photo collages. This is excellent for creating product mockups and image clouds. Normally it would require Photoshop or a similar app to create the types of product mockups that this plugin can create on the fly.
I also found this to be a fun plugin to use (as you can probably tell by the number of photos in this article). It’s easy to have images not only overlap each other but also other sections, rows, or modules around them. I like the 3D effects that you can get from the horizontal and vertical tilts.
If you’re interested in creating gallery clouds and product mockups with a single module within the Divi Builder, Divi Cascading Multi Image is an easy plugin to recommend.
We want to hear from you. Have you tried Divi Cascading MultiImage? Let us know what you think about it in the comments below.


