
Many websites use modals – popup windows or overlays with content that you want to show your readers. They typically include a call to action such as a newsletter sign-up offer. Modals can do so much more than that but they’re not always easy to make. What if you wanted to add and edit modals using the Divi Builder? Well now you can with Multi Modal + from SA Web Solutions.
Multi Modal + is a modal generator that allows you to use practically any kind of content you want including text, shortcodes, and videos from YouTube or Vimeo. The modals can be customized for look and feel, and cookie controlled so your visitors won’t have to see your newsletter form even though they’ve already signed up. In this article I step through the features of Multi Modal + and show some examples along the way.
Getting Started
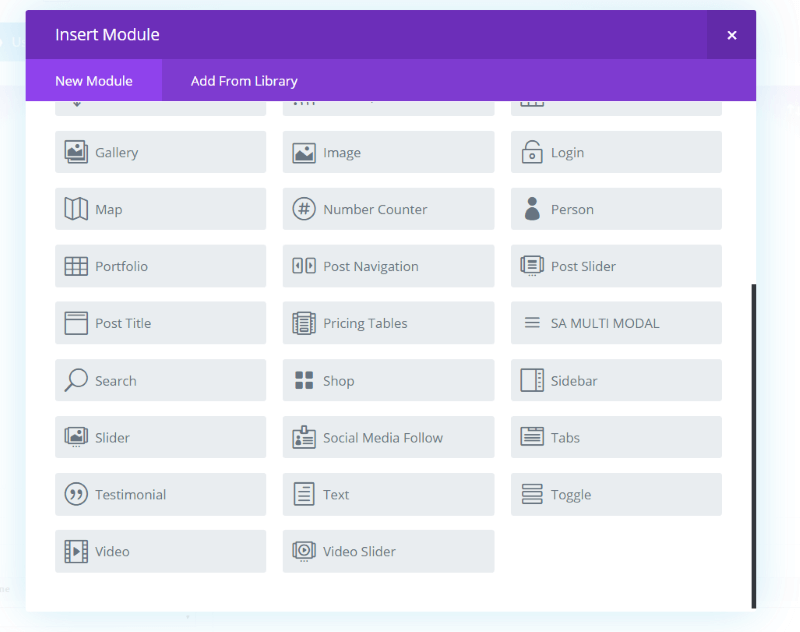
Installation of Multi Modal + is the same as any premium plugin – simply upload and activate. Once you have the plugin installed, the SA Multi Modal module will be added to your Divi Builder. To use it add it to your layouts just like any module. Where you can place it will depend on the type of modal you choose.
Placing the Modal
The Instant modal doesn’t actually display within the layout like a normal module. You can place it just about anywhere you want because its content only shows up as a popup. It can affect the layout though, because it takes up space like an empty text box. I had better luck placing it under modules than over them. Placing it above a module bumped the module down while placing it under it made it seem invisible. I recommend placing it under the last section. The Onclick modals do appear where you place them.
Settings
The module includes the familiar Divi module tabs with settings specifically for the module.
General Settings
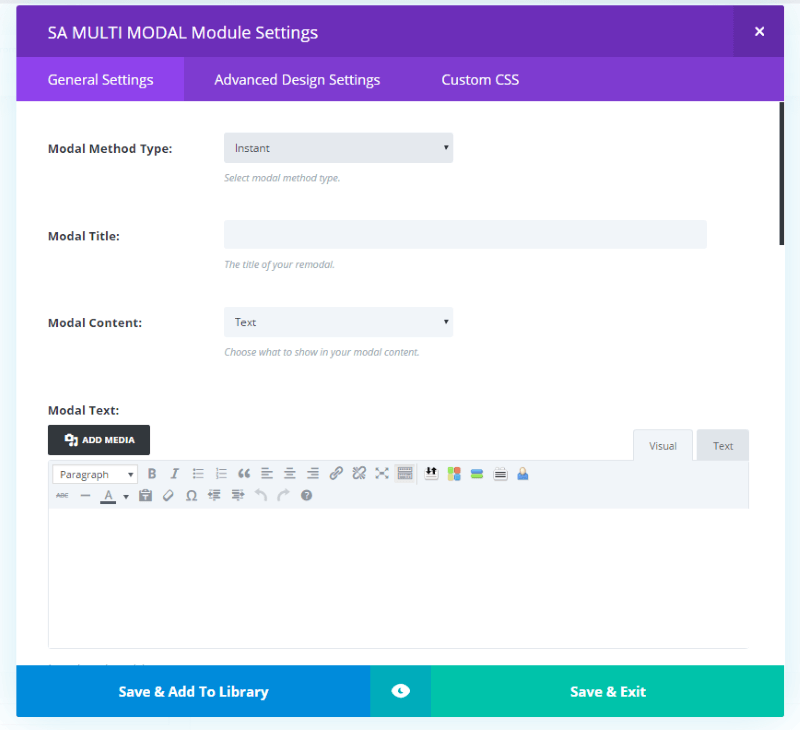
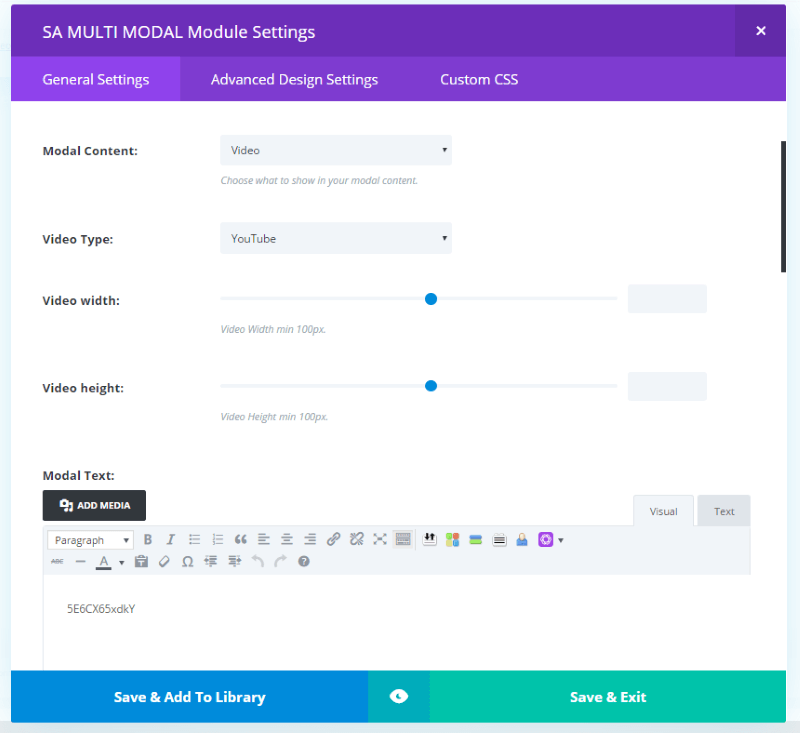
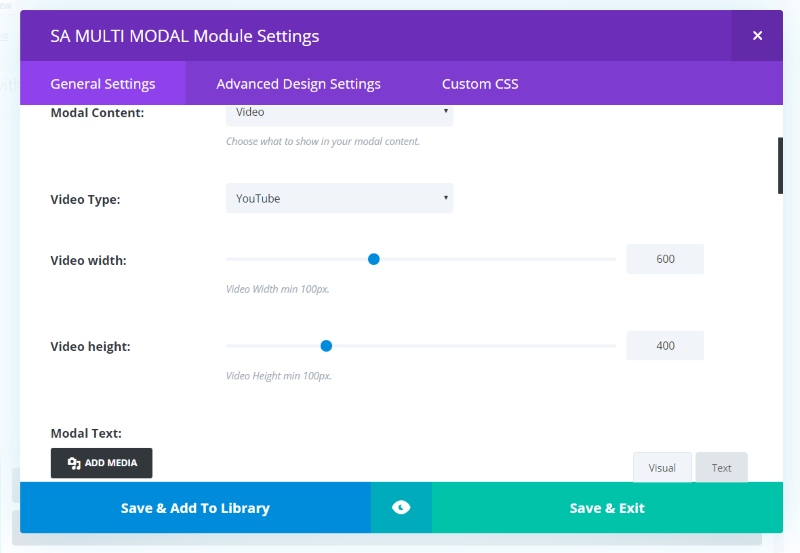
The General Settings let you choose your modal type. There are four modal types in two categories: Instant or Onclick. You can also give the modal a title and select the content type. The content can be text, a shortcode, or a video. Place your content into the visual editor.
For video, choose video from the dropdown box and select either YouTube or Vimeo. Choose the video width and height, and then paste the video id into the visual editor.
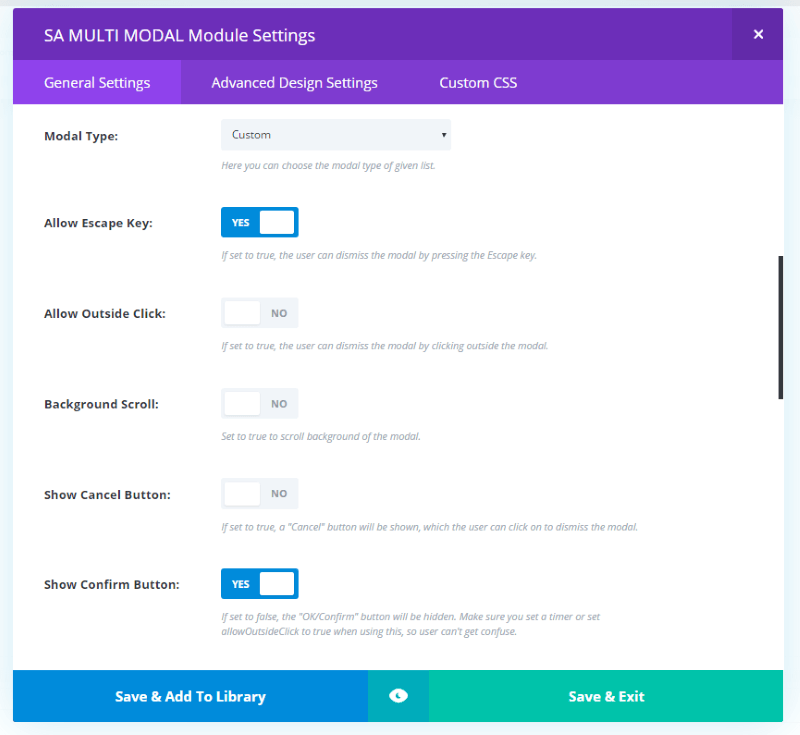
You can choose the type of modal it will display. Each one will display an icon to indicate what type of modal it is. Your choices are:
- Custom
- Warning
- Error
- Success
- Info
- Map
Other options include an escape key, allowing outside click, background scroll, cancel button, confirm button, show a loader, choose icon/text settings, add an icon, set a timer, choose animation, choose position, overlay, delay, use an SVG icon, and use cookies.
Advanced Settings
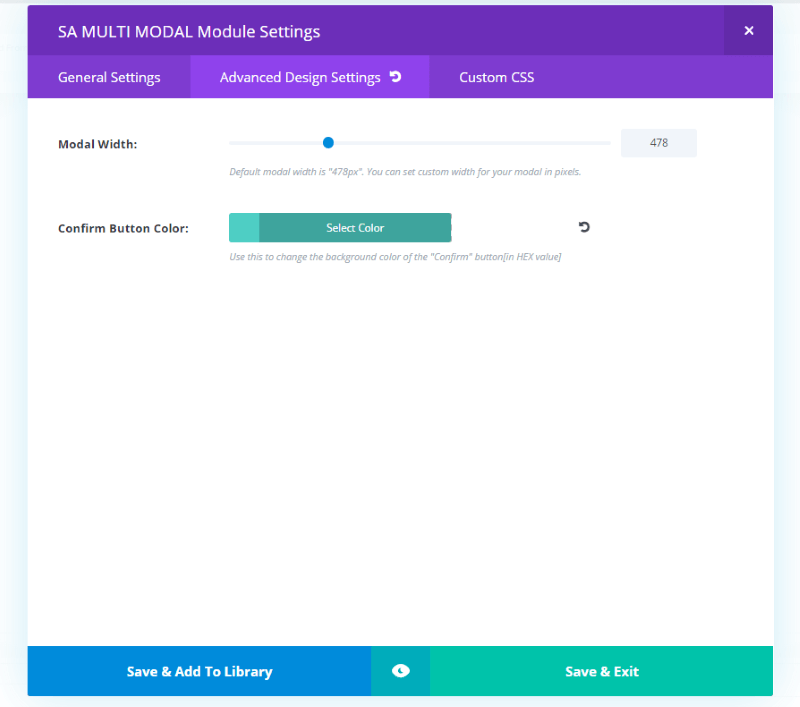
In the Advanced Settings you can set the width and change the button color.
Creating a Simple Text Modal
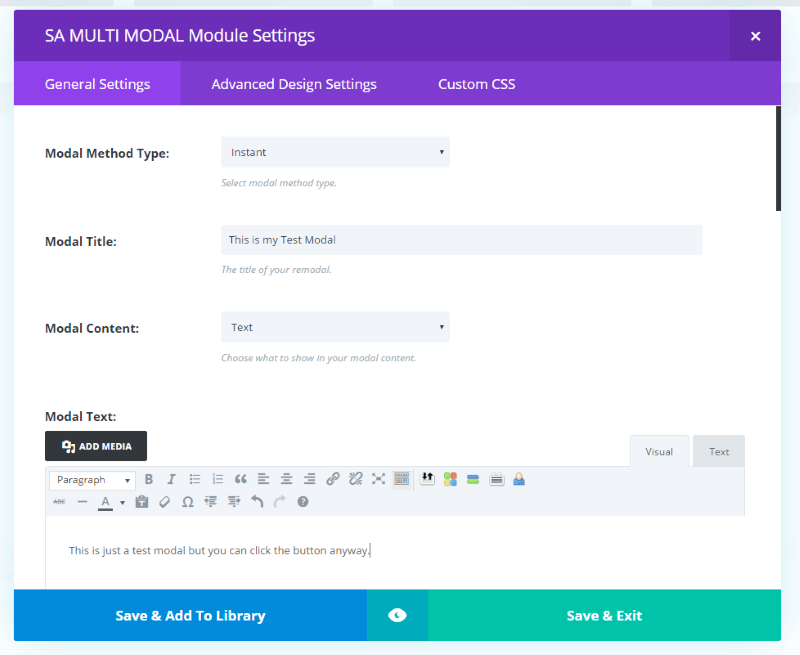
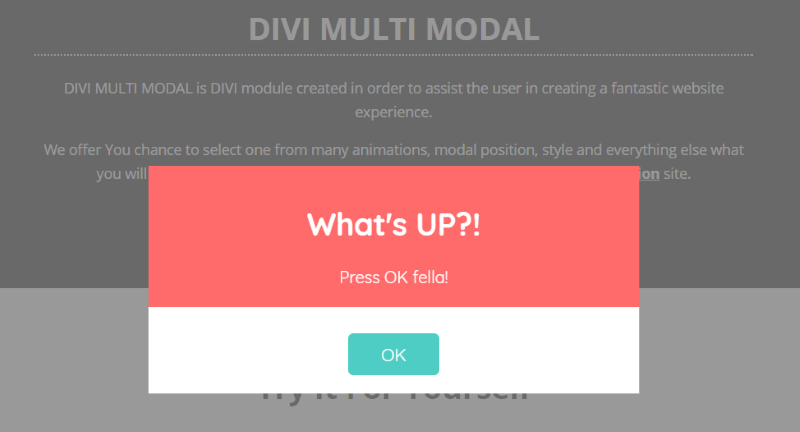
For the first modal I just gave it a label and placed a message in the visual editor.
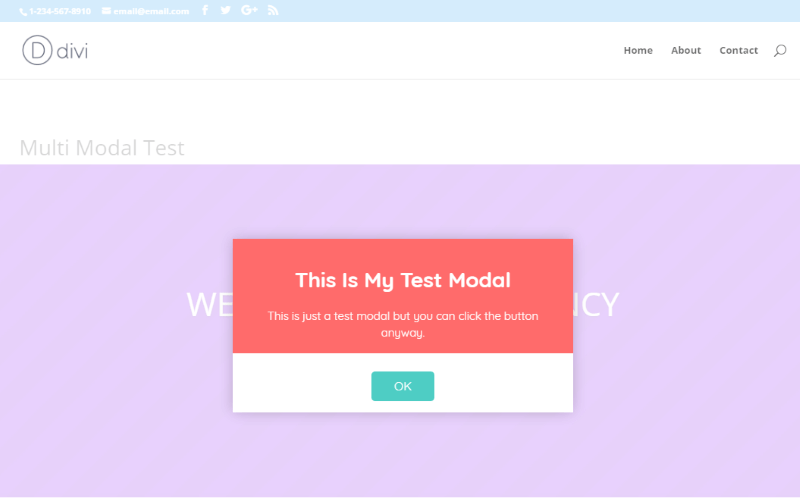
An animated modal popups up on screen when the page is loaded. This one uses the default colors, fonts, and animation. The background is white. Clicking the button closes the modal. This is a great way to add messages or images.
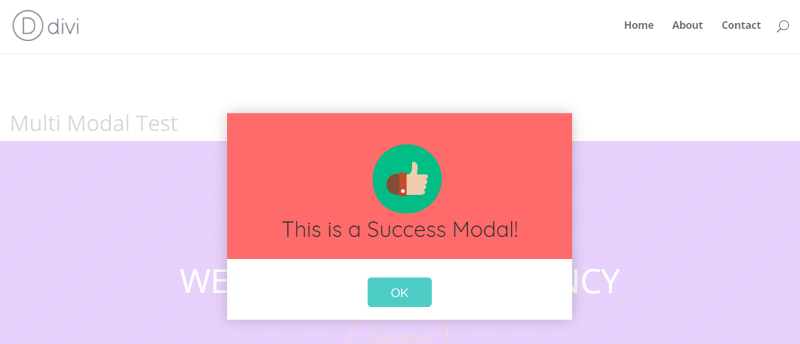
This a Success modal. It gives a thumbs-up icon and displays your content. The Map modal is the only one that displays different content. We’ll take a look at it later.
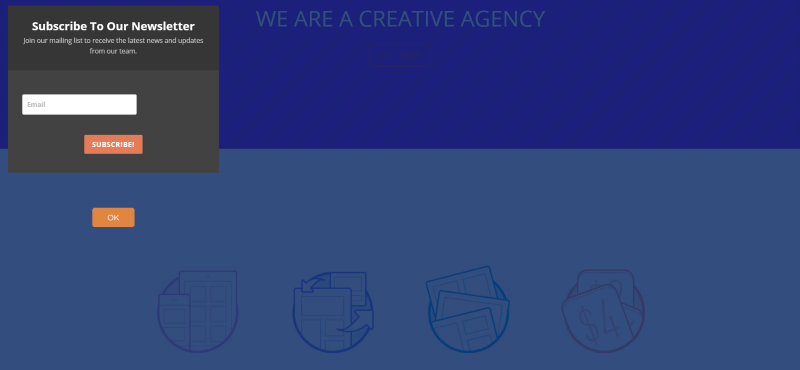
Using Shortcodes – Newsletter Signup Example
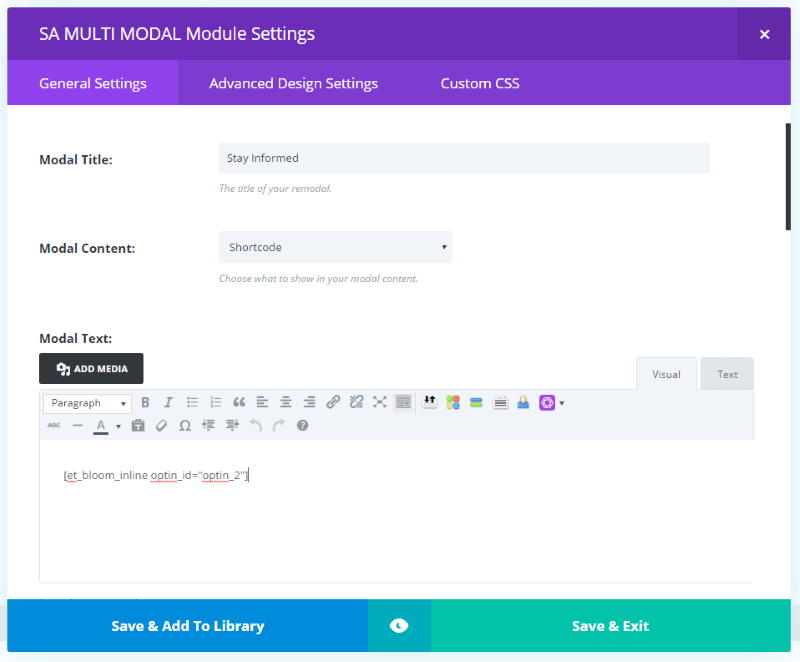
This example uses the shortcode feature. Select shortcode from the Modal Content dropdown box and paste the shortcode into the visual editor.
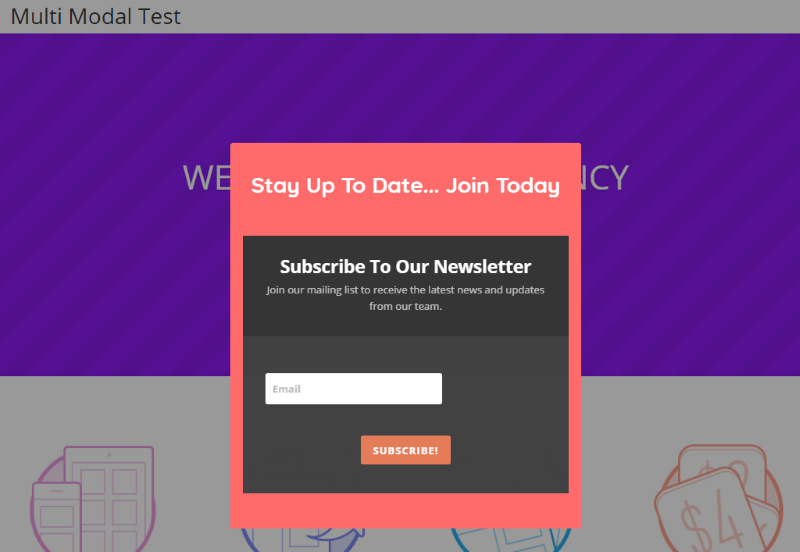
In this example I’m using the Bloom newsletter plugin from Elegant Themes. I’ve added a dark background with an opacity of 54%.
Practically any type of shortcode will work within the modal. You can even use a plugin such as AC Shortcodes to place Divi modules within modals.
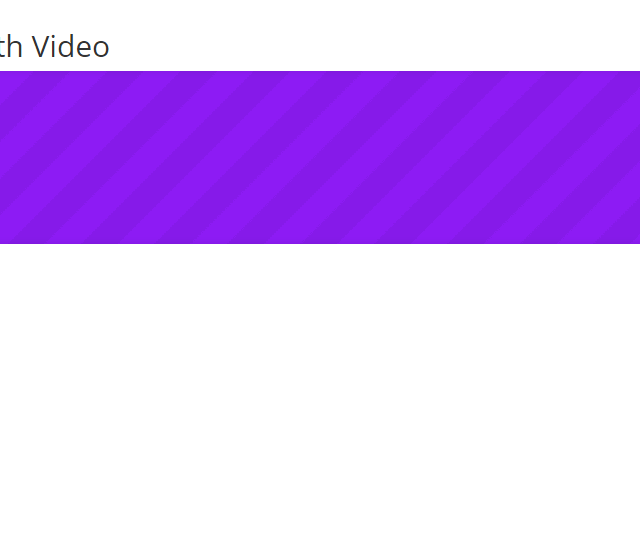
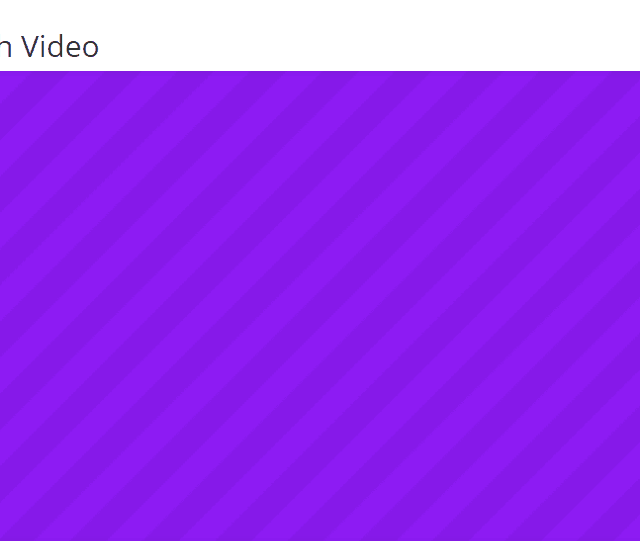
Using Video
Adding video to a modal is easy to do but it’s slightly different than using the standard visual editor. Since we’re choosing the type of video, its full URL isn’t needed. The module takes care of that.
Rather than pasting in the URL or the embedded code, copy the end of the URL (the text after the last /). This is the video’s id. It works the same for YouTube and Vimeo – just make sure you’ve selected the video source in the Video Type dropdown box.
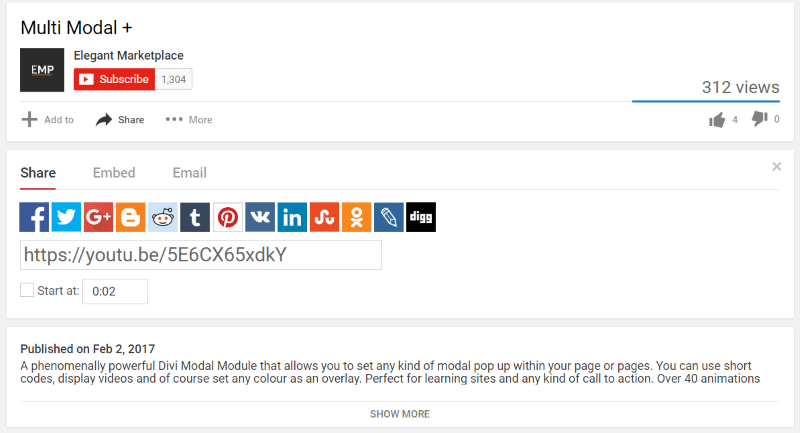
In this example I’m posting a video from YouTube. Choose Video as the Modal Content type and select YouTube from the Video Type from the dropdown boxes. In this example, I copied 5E6CX65xdkY and pasted it into the visual editor.
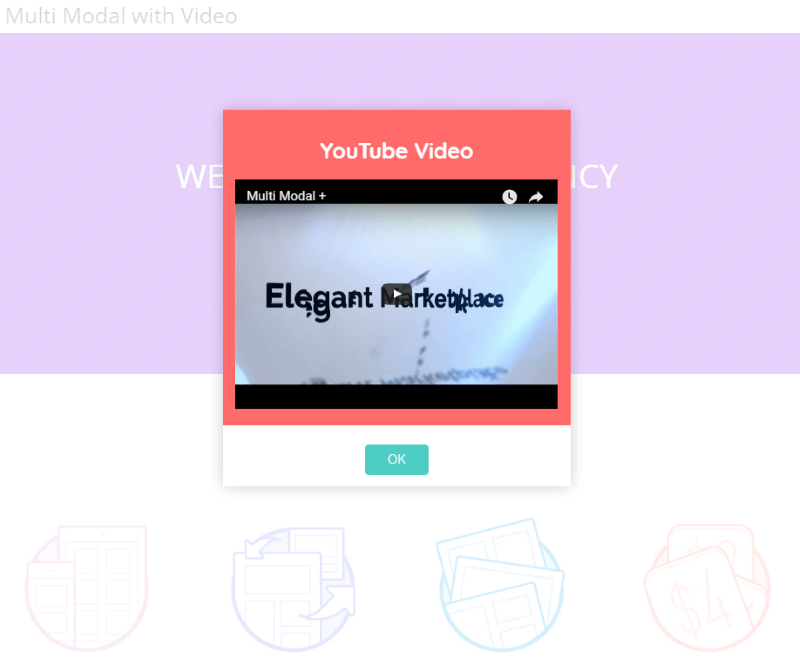
The result is a video in a small modal. Let’s look at some of its customizations.
Customizing the Video Modal
In the General Settings tab we can change the width and height of the video. I set the width to 600 and height to 400.
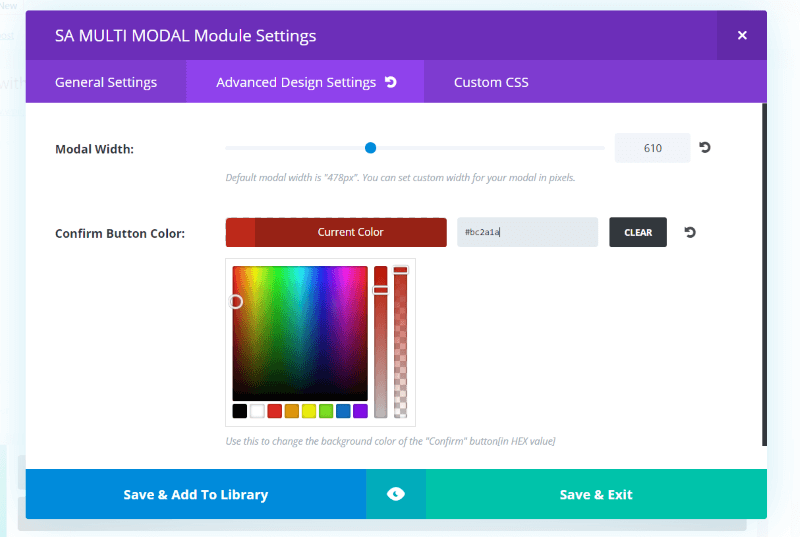
In the Advanced Design Settings tab I set the Modal Width to 610 and selected a button color.
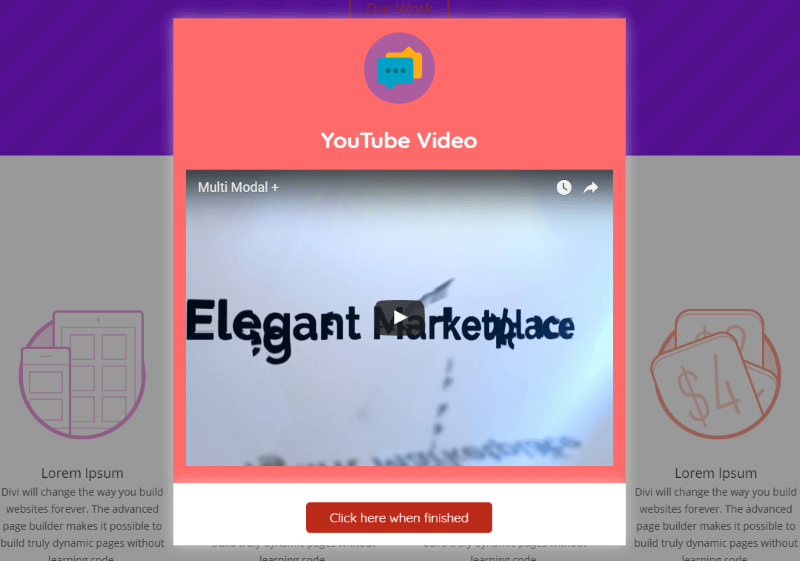
The background is set to custom, the background overlay to black shadow, and I’ve added a Message SVG icon.
Modal Method Type
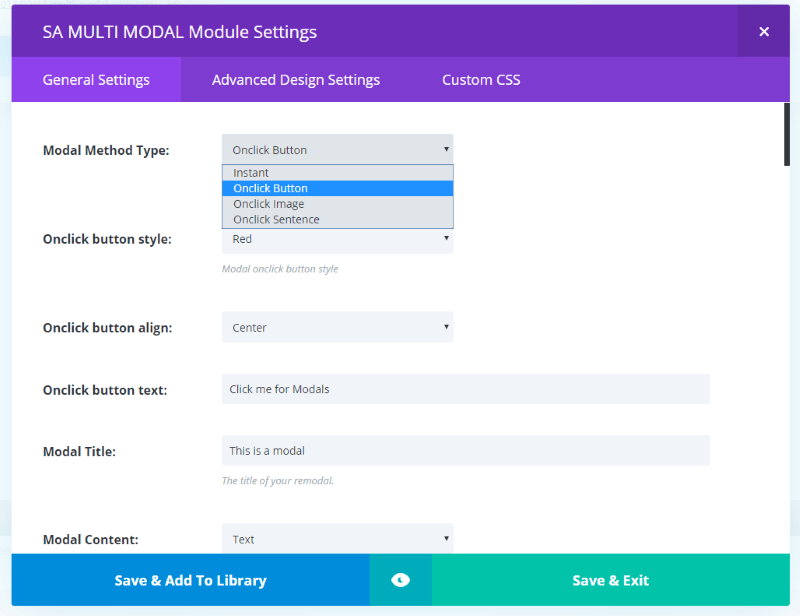
You can determine how the modal appears on screen. You can have it to pop up automatically by selecting Instant, or appear when a button, image, or text is clicked by using Onclick.
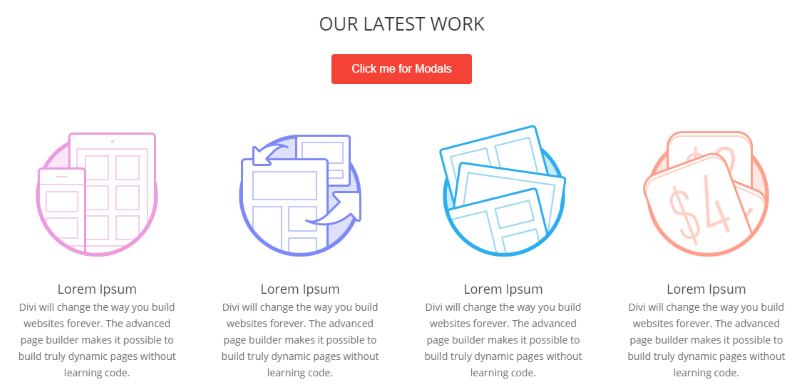
This modal example uses Onclick Button. It creates a button and the modal only appears if the users click it. The button appears where I’ve placed the module. The button can be aligned by left, right, or center.
Creating a Map Modal
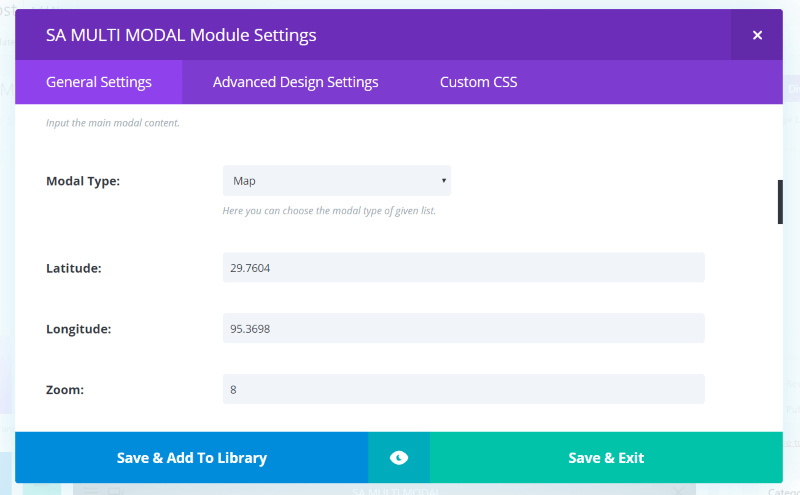
The Map modal type lets you display a Google map. To create a map, select Map in the Modal Type dropdown box, add the latitude and longitude, and select the zoom level that you want.
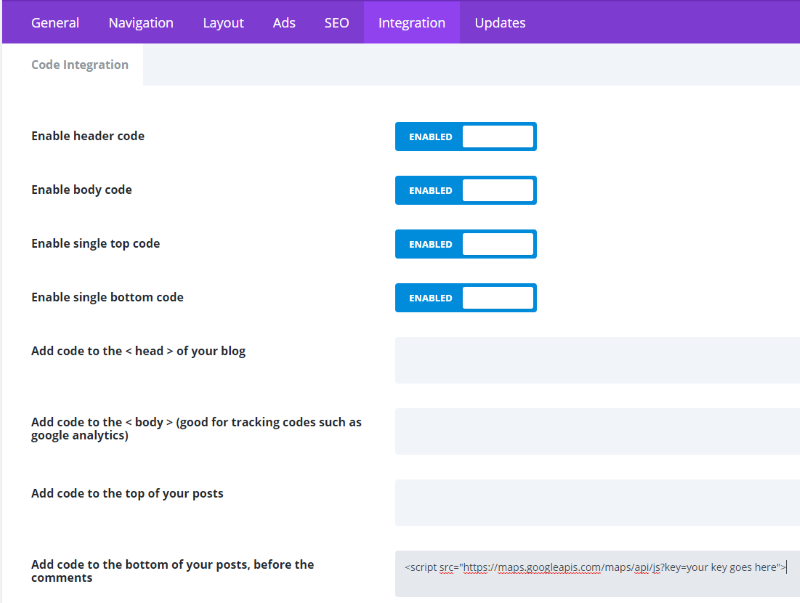
In order to use it, you’ll need a Google Maps API and you’ll have to add a script to Divi. In your dashboard, go to Divi, Theme Options, and select the Integration tab. Enable the code box that you want to add your code to and paste in this code (replace ‘your key goes here’ with your API key):
// <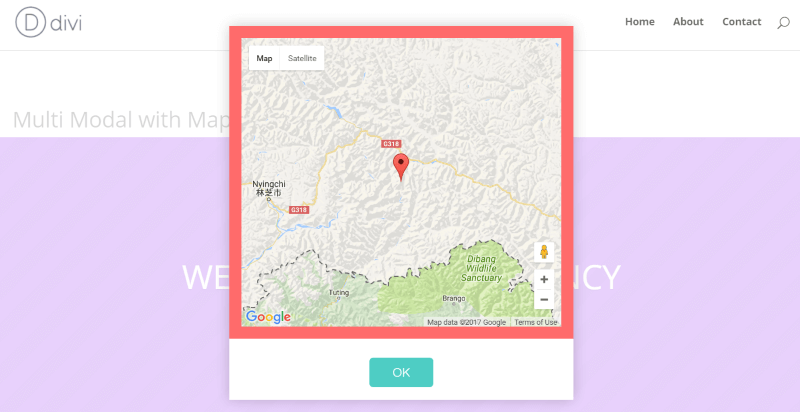
The Google Map now appears in the modal. Just like all the other modal types you can adjust the size and colors.
Animations
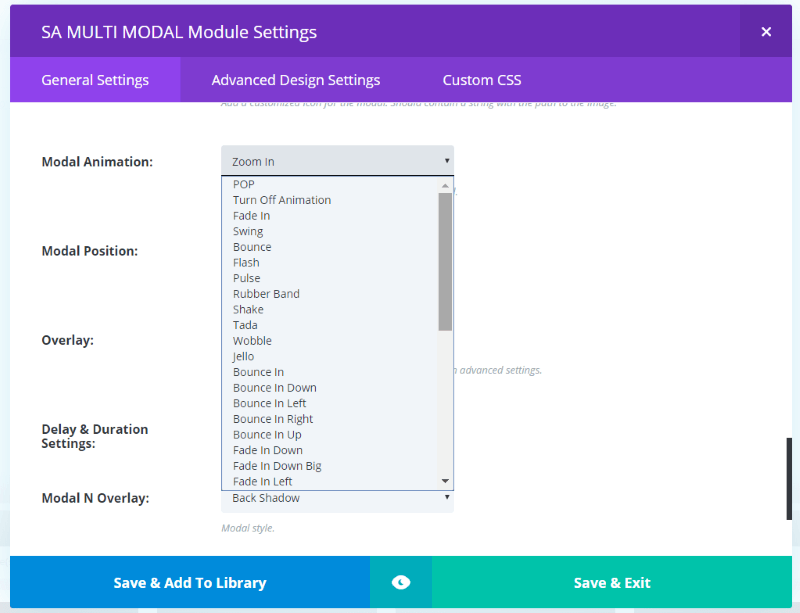
Animations control how the modals first appear on the screen. It includes over 40 animations to choose from.
The animations can be affected by the timing features. Delay determines how long the page will be open before the animation begins. Duration is the speed of the animation. It determines how long it will take before the animation is competed.
Here’s a quick look at just a few of them.
This one is POP. It’s the default animation. I’ve selected Text for the Modal Content and added an image. It uses a white overlay.
This is Swing. Everything else is set to default.

This one is Rubber Band. It uses a custom modal color, an email SVG icon, and a blurred overlay.
Here’s a look at Flip In X. It uses a custom modal color, an email SVG icon, a black overlay, and a custom button color.
This is Zoom In. It has a duration of 2 seconds, a black overlay, and a custom modal and button color.
Modal Position
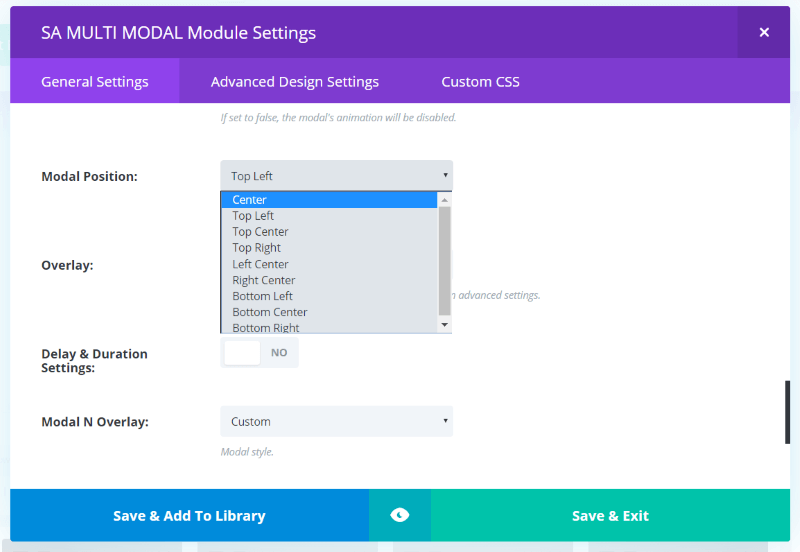
You can place your modal in different locations on the screen. There are 9 positions to choose from.
This example places the modal in the top left corner. The Modal N Overlay is set to Transparent. This uses a custom overlay and button color.
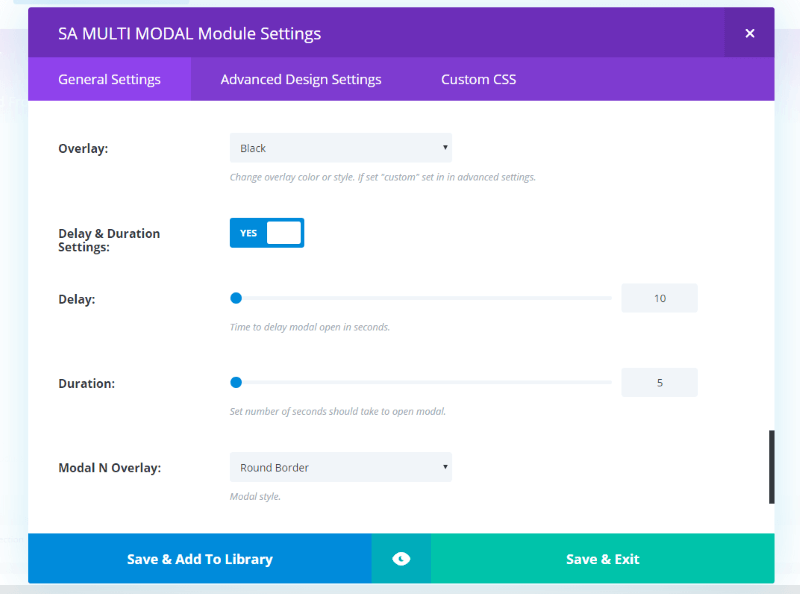
Cookie Settings
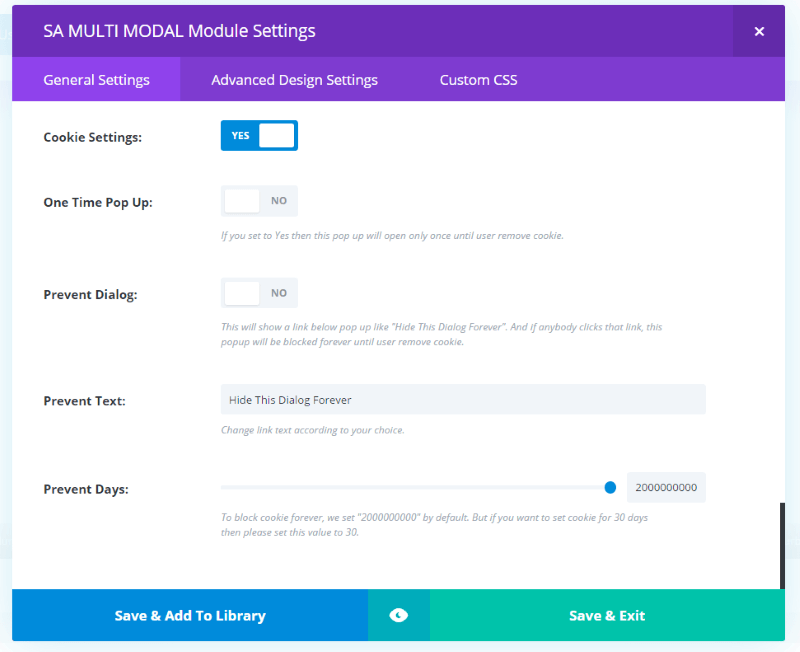
The cookies can keep the modal from popping up based on whether or not the user has seen it before or has chosen not to see it. You can set the modal to popup only once, add a button to prevent the modal popup in the future, and set the number of days for the cookie to be active on the user’s device.
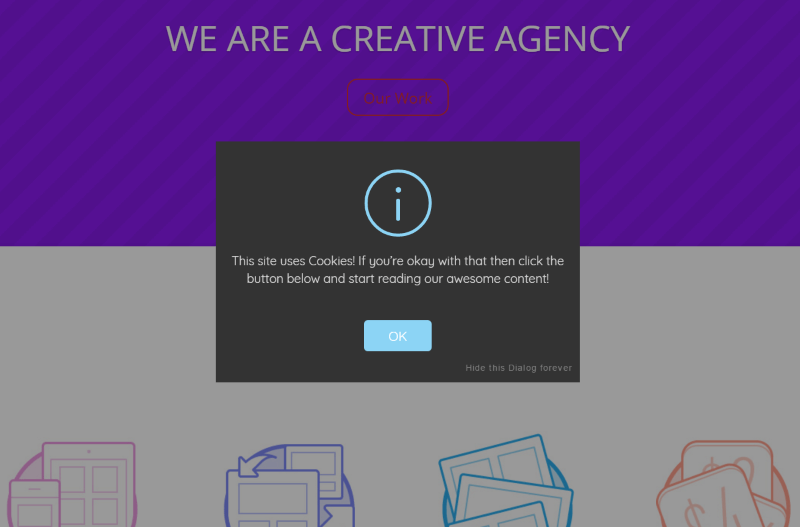
This example uses a cookie. It includes text modal content with the modal type set to info (which adds the info icon to the top of the modal), a custom overlay, and a clickable message to hide the dialog. I adjusted the button color to match the icon color.
License, Price, and Documentation
Multi Modal + costs $40 and includes lifetime updates and 6 months support. The license agreement includes unlimited usage for personal and client sites. Documentation is provided at SA Solutions website.
Final Thoughts
Multi Modal + is a simple plugin that adds a much-needed modal feature to Divi. Easily create modals with content such as text, shortcodes, or videos. Change the size, position, animation, color, icons, and more. Control when and how the modal opens and closes, and include a cookie so your visitors won’t need to see the same modal every time they visit your website.
I found Multi Modal + to be intuitive to use. The features make it easy to create some interesting modals. Modals are easy to customize using the settings and, like most Divi modules, they can be customized even further with CSS. Multi Modal + is a great addition to the Divi Builder.
Have you tried Multi Modal + for Divi? Let us know about your experience in the comments below.


Could I use this Modal plugin to create a single posts using several Modules? For example, could I create a grid type post that featured instagram, video, twitter and other HTML content using Modal modules for each one? I am trying to create multimedia grid posts.
Are there no triggers based on scroll position, time on page, or exit intent?
Are we able to use a video that is on not on Youtube or Vimeo, but on a website’s server and have it autoplay?
Not in the video module but – if you have the link or embed code, you could do that using a text module 🙂
Hello,
It’s very interesting.
I am interested in the plugin but I want to know if I can integrate input fields?
With thanks.
Hi Gérard. It does take input from shortcodes of newsletters, forms, etc.